Small Hole and Nail Pop Repair
Nail pops and screw pops happen when framing lumber dries out and shrinks, or a fastener wasn't seated into the stud properly during the original drywall hanging.
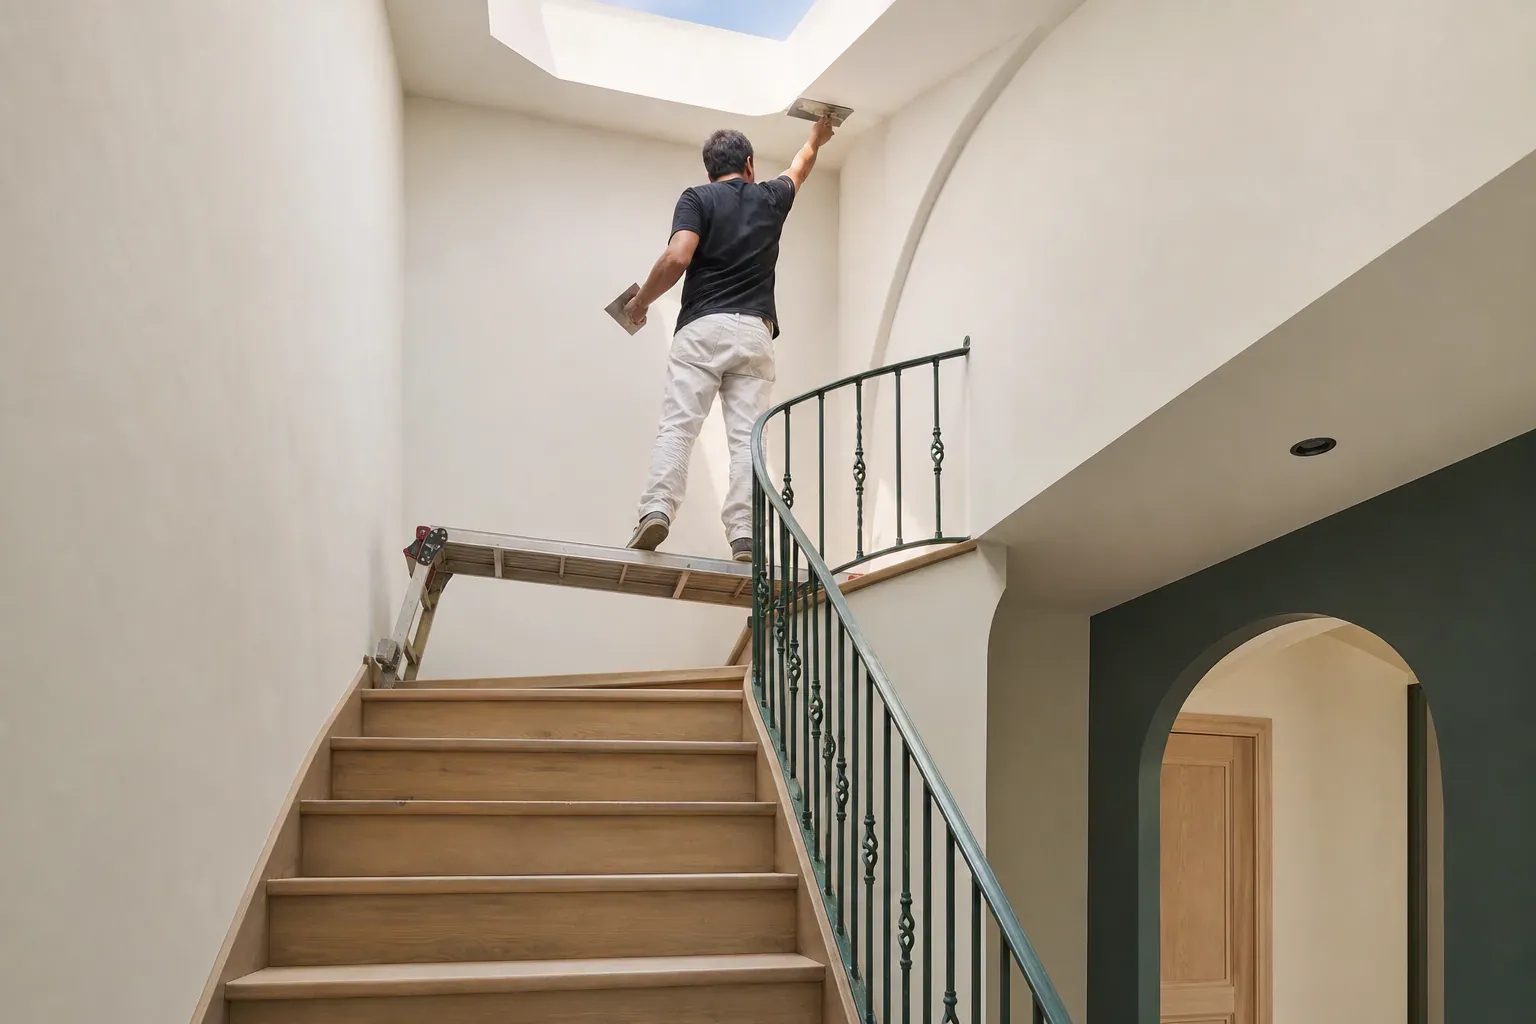
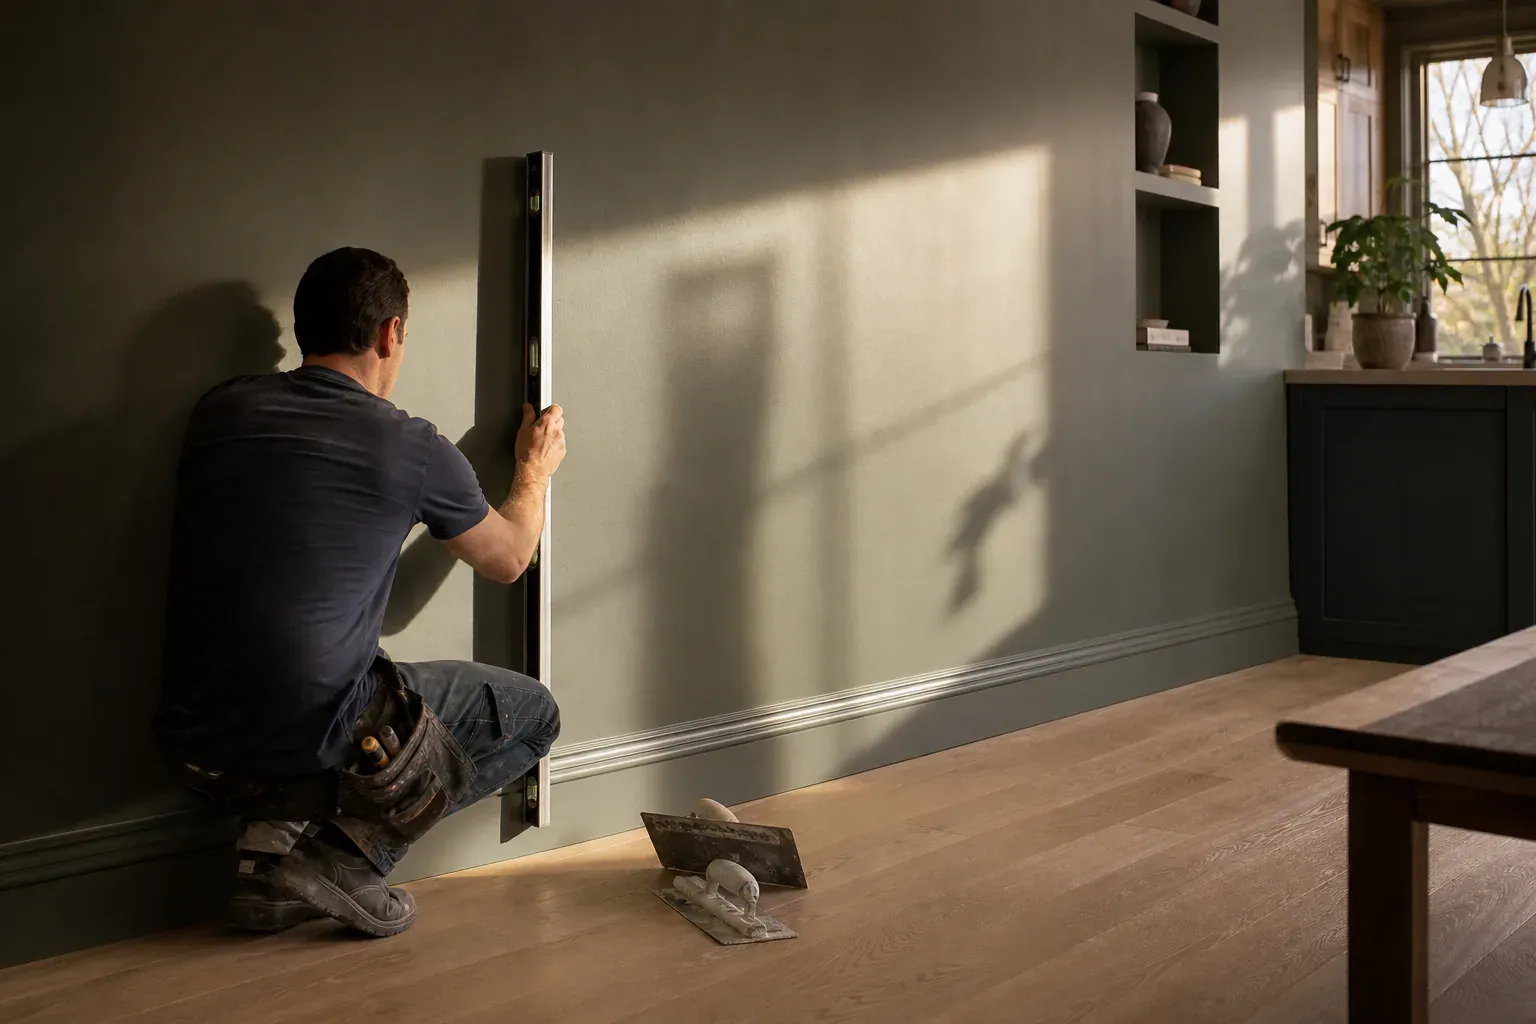
Glendale Quality Drywall is a drywall contractor that installs, patches, and finishes drywall for homeowners, property managers, and builders throughout Glendale, CA, handling everything from a single nail pop to a full remodel. Residential drywall services and commercial drywall services run out of the same crews, so a call about a cracked hallway wall or a tenant improvement build-out goes to people who've done both. We're a local drywall company, not a dispatch service — the crew that scopes the job is the one that finishes it.
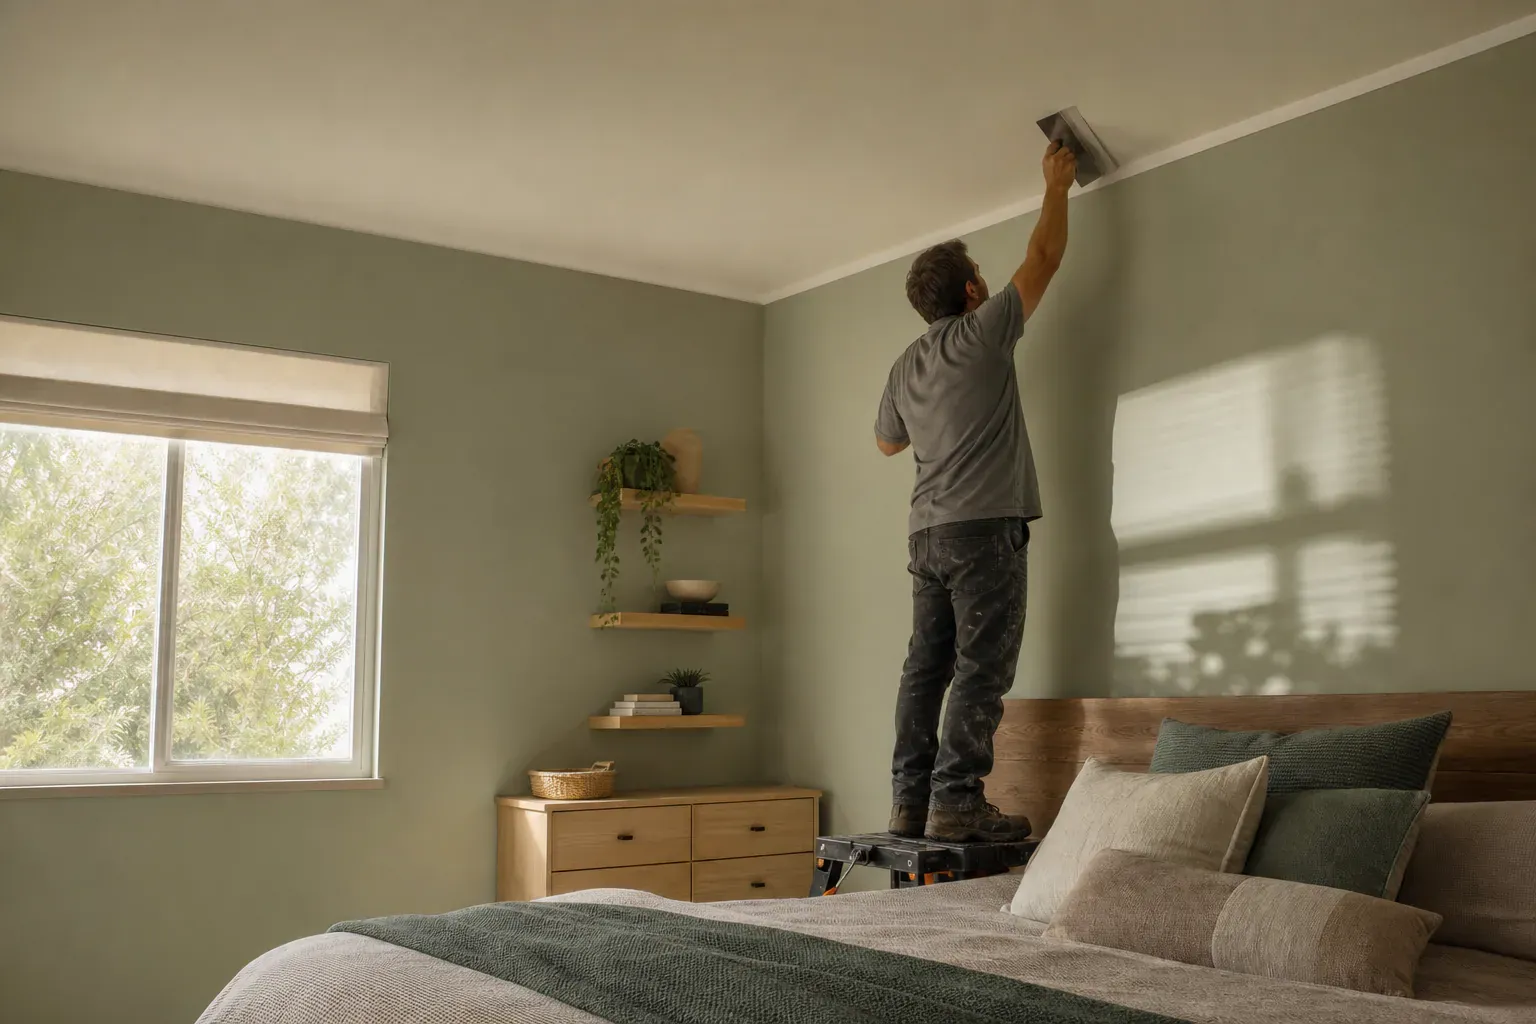
Glendale's housing stock runs from older hillside homes with real plaster-and-lath walls to mid-century flats with builder-grade sheetrock to newer construction on the commercial corridors with steel-framed multi-unit buildings. Each of those needs a different approach, and a drywall contractor who only knows one type of wall assembly ends up guessing on the others.
Our drywall services cover drywall patching, full drywall installation, texture matching, ceiling work, and specialty assemblies like fire-rated and soundproof walls. Most calls are from someone who found a hole in a wall or a water stain on a ceiling and wants a drywall contractor who can actually assess it, not just quote a number over the phone. General contractors and property managers pricing a bigger scope get the same treatment — we bid framing-to-paint-ready jobs the same way we bid a single patch.
Most calls start with something visible: a hole from a doorknob, a crack running from a window corner, or a soft spot on a ceiling. The fix depends entirely on size and cause, and guessing wrong is how a small patch turns into a wall replacement.
Nail pops and screw pops happen when framing lumber dries out and shrinks, or a fastener wasn't seated into the stud properly during the original drywall hanging. The fastener head works loose and pushes a small dome through the paint. Painting over it lasts a few months at most.
The permanent fix is to drive the old fastener below the surface or pull it, set a new screw into solid framing a couple inches away, apply joint compound in thin coats, sand, and prime. Small punctures and doorknob dings get the same logic — a self-adhesive patch and a smear of spackle is the cheap version; the fix that holds is a backing piece, taping, mudding, and a sanded finish that disappears into the wall.
Once a hole gets past a few inches across, spackle alone won't hold — there's nothing for it to grab onto. We check what's behind the wall and cut a clean rectangular or "California patch" opening back to the nearest studs. A new piece of gypsum board gets screwed to the framing or to a scrap backer, then it's drywall tape, three coats of joint compound feathered progressively wider, sanding between coats, and texture to match. Drywall crack repair on longer diagonal cracks follows similar logic — we find out whether it's cosmetic settling or a sign of structural movement before mudding over it, because taping over a crack that's still moving just guarantees a callback.
Wet drywall doesn't always look wet. Look for discoloration, a slightly saggy panel, a musty smell, or paint bubbling instead of cracking. Standard gypsum board is compressed paper on both faces of a gypsum core, and once it's saturated it loses strength and becomes a food source for mold within a day or two in a warm bathroom or kitchen.
We cut back damaged sections past the visible stain line, check the studs and insulation behind for moisture and mold before closing anything up, and rebuild with mold-resistant panels — a paperless or coated-face board — in bathrooms, laundry rooms, and kitchens where the same failure is likely to repeat. If the source was a roof leak or plumbing failure, we flag it, because replacing drywall without fixing the leak is a repeat service call waiting to happen.
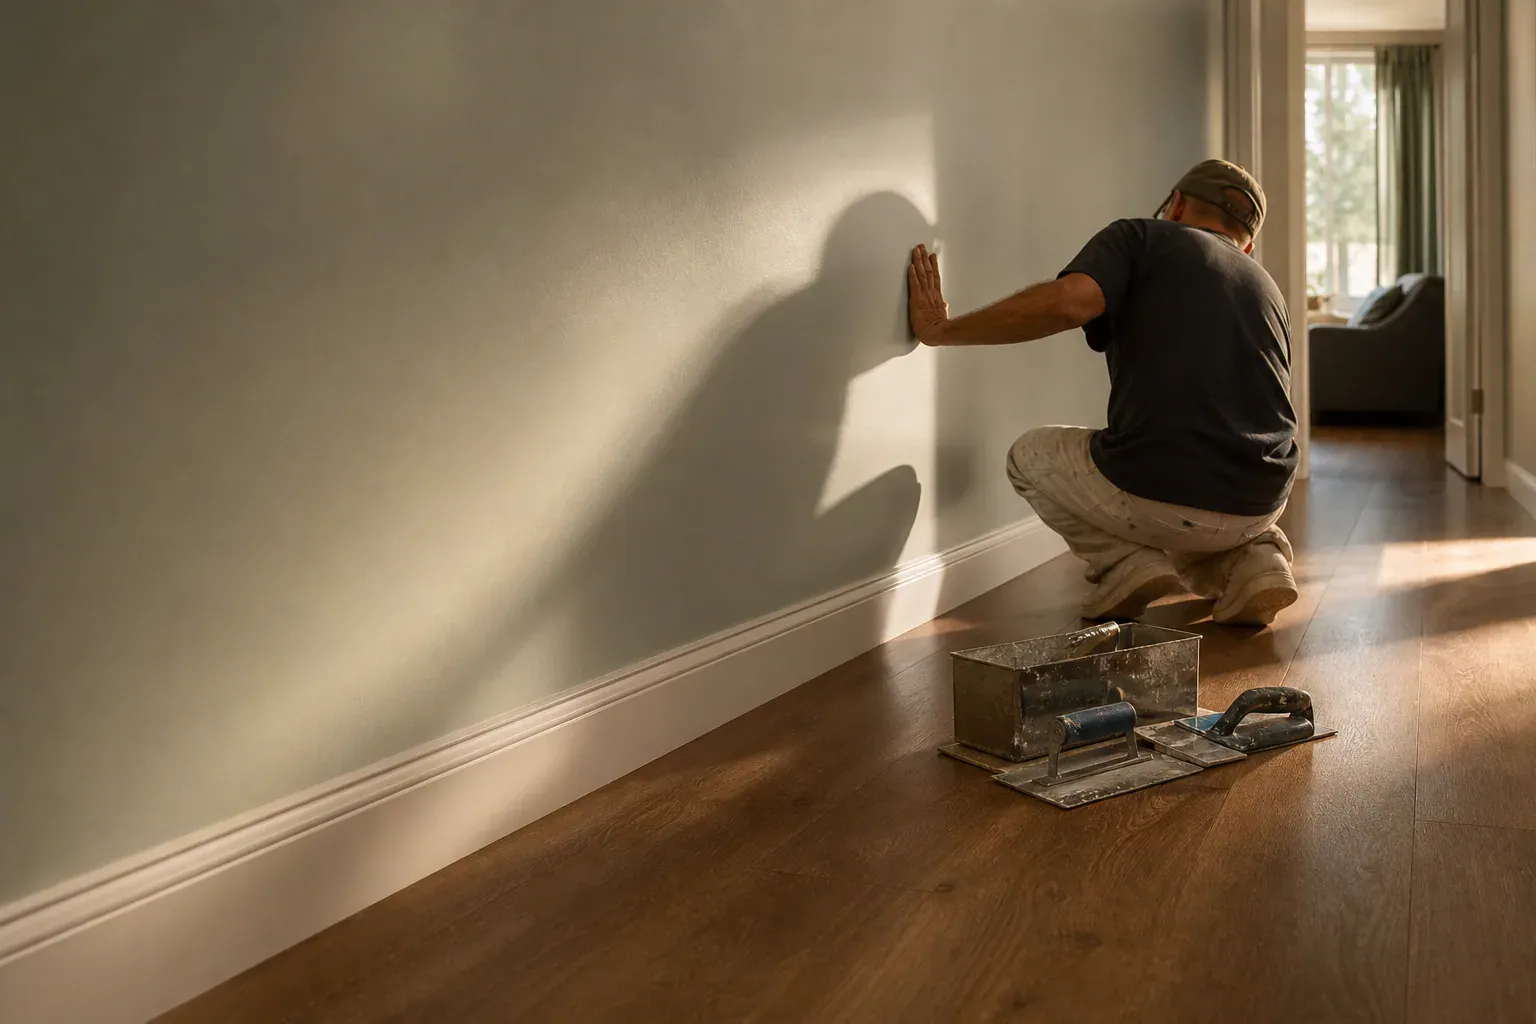
New drywall installation and drywall renovation work make up a steady share of our schedule — additions, garage conversions, gutted kitchens, ADUs, and full interior remodels where walls come down to the studs.
Standard half-inch gypsum board covers most bedrooms, living rooms, and hallways in residential work. Commercial buildouts and multi-family construction often call for different board types, framing systems, and assembly ratings, covered further down this page. We bid and hang both under one crew structure rather than farming commercial work out to a separate sub.
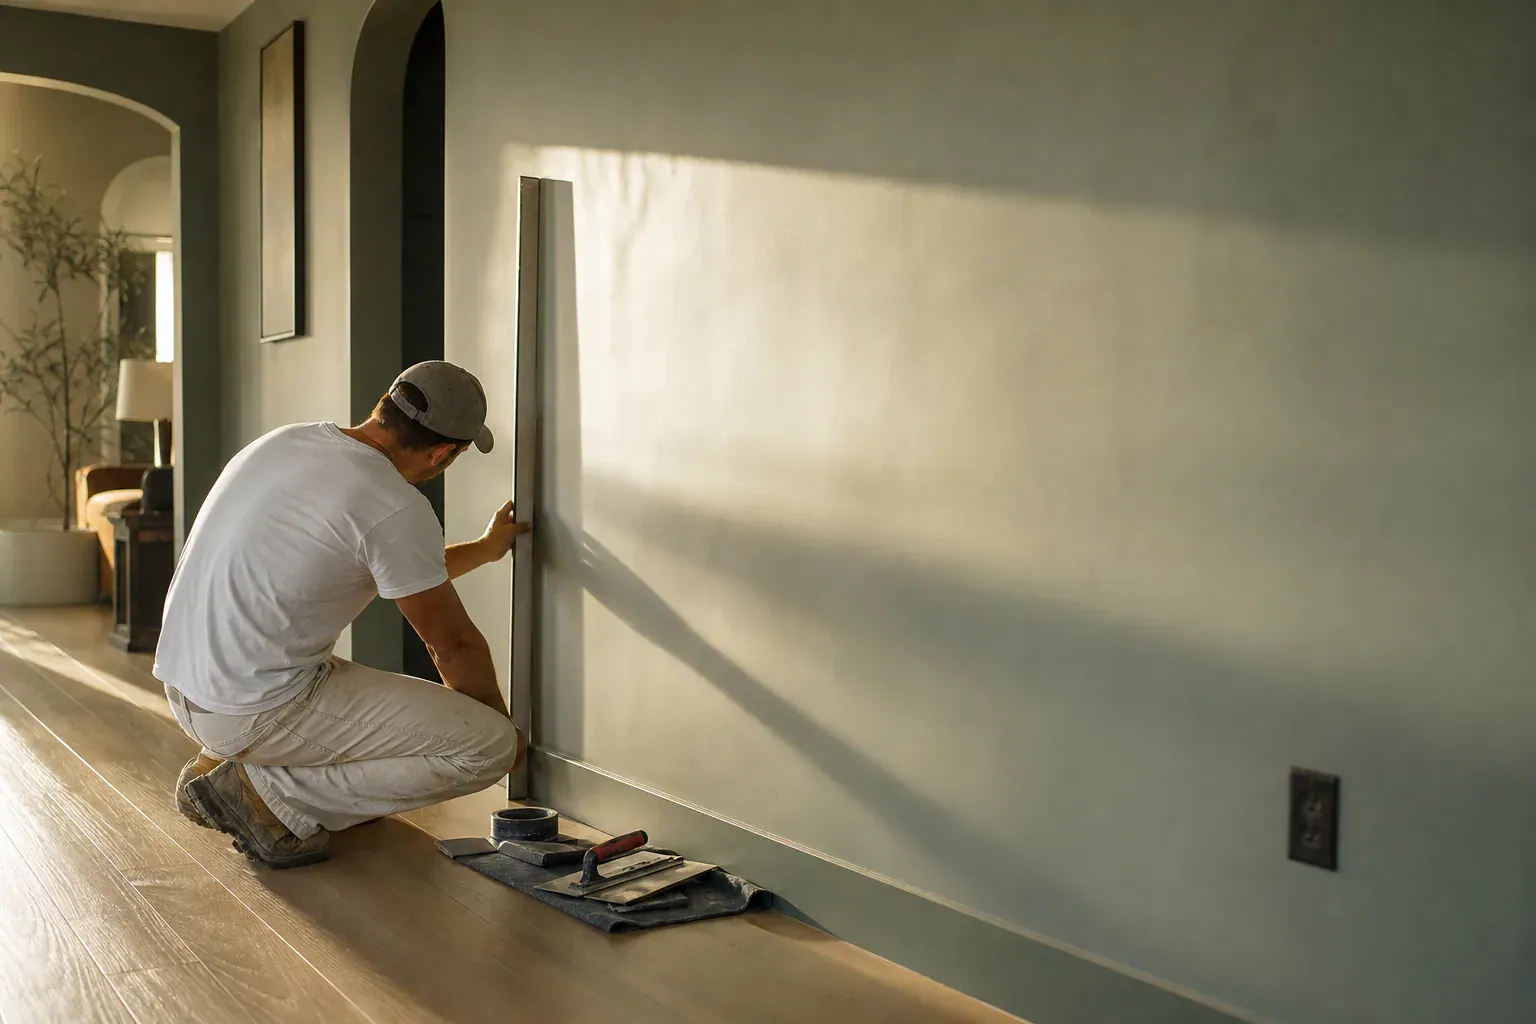
We start every job, big or small, by actually looking at the wall or ceiling — not quoting off a phone description. That means checking behind the surface where we can, identifying whether damage is cosmetic or tied to moisture, framing movement, or a prior failed repair, and giving a written scope before any cutting starts. Hidden issues like old water damage or undersized framing get flagged up front so there are no surprise change orders halfway through.
Once work starts, expect dust control measures — plastic sheeting, negative air where needed — because cutting and sanding gypsum board generates fine dust that travels. Installation and patching happen first, then joint compound application in multiple coats with drying time between each, usually a day per coat depending on humidity and thickness, then sanding, then texture, then primer. A small patch might be done in a day or two. A full room or a larger drywall renovation with new framing typically runs a week or more once drying time is factored in — rushing the mud coats is the most common way a finish ends up with visible seams later.
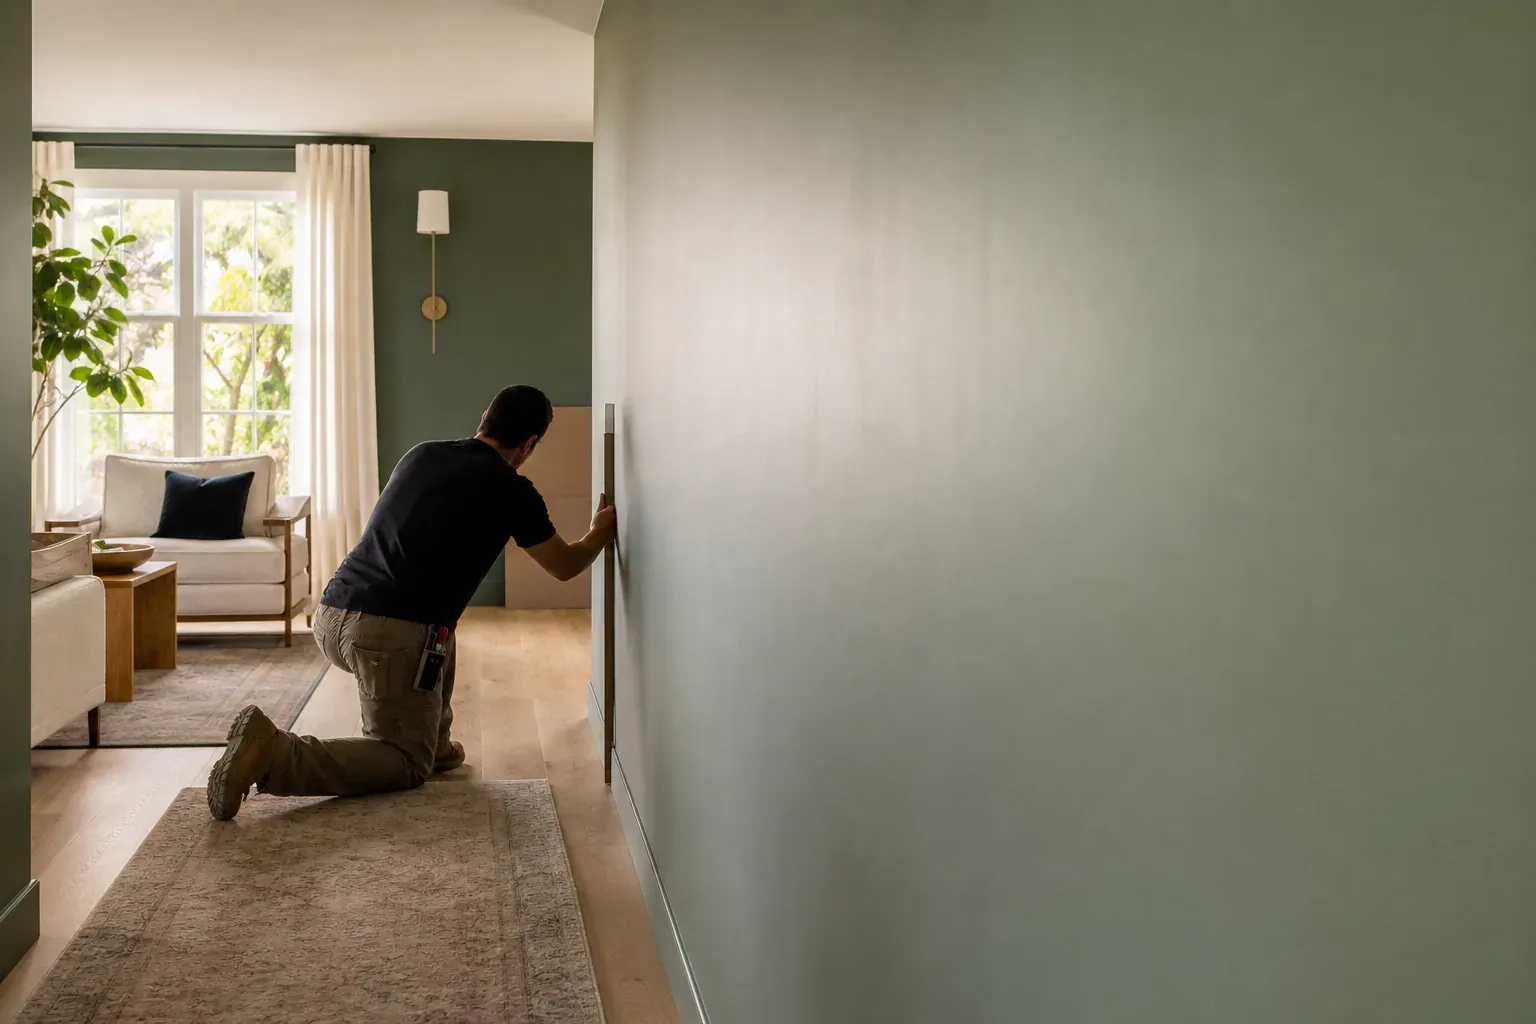
Drywall cost estimation isn't a flat per-job number — it comes from a handful of concrete factors: the size of the damaged area, whether the repair needs matching texture, what finish level the surrounding wall requires, how hard the area is to access (a ceiling or a stairwell costs more in labor than an open wall), and whether the cause of damage — a leak, a structural issue — needs addressing first. A small nail-hole patch is a fraction of the cost of a water-damaged ceiling section needing mold-resistant panels and a full re-texture. We walk the space, measure square footage, and give a written estimate after that assessment rather than a phone-quote number, because two "quarter-sized holes" can mean very different scopes once we're looking at what's behind the wall.
We cover the flats, the foothill neighborhoods, and the older hillside blocks of Glendale alike, residential and commercial both, and we're generally already working somewhere in the area on any given week.
The framing and hanging are the easy part to judge from across the room. What actually shows is the finish, and a rushed finish is the single biggest reason a patch stands out under side lighting even after paint.
The industry grades finish quality on a Level 1 through Level 5 scale. Level 1 is tape embedded in joint compound with no additional coats — fine for spaces above a suspended ceiling. Level 2 adds a skim coat over tape and fasteners, common in garages and storage rooms. Level 3 is typical prep for heavily textured walls where texture hides minor imperfections. Level 4 — three coats of compound, sanded smooth, ready for flat or eggshell paint — is standard for most bedrooms, hallways, and living rooms. Level 5 adds a thin skim coat over the entire surface, not just the joints, and is what we spec for kitchens, accent walls, or any space getting gloss or semi-gloss paint under strong light, where unevenness at Level 4 would show as flashing.
Every existing house already has a texture pattern — knockdown, orange peel, skip trowel, or a heavier hand-troweled pattern in older hillside homes. Matching it on a patch means testing hand or spray texturing technique on a scrap piece first, matching mud consistency and knockdown timing, then blending edges into the surrounding wall so the repair doesn't read as a different patch under raking light.
Popcorn ceiling removal comes up often in homes built before the late 1970s, and the first step is always finding out whether the texture contains asbestos before any scraping starts — that requires a sample test, not a guess. Once cleared for removal, we scrape it back, skim coat to a smooth or light-texture finish, and prime it, which is a full day of dust control work, not an afternoon job.
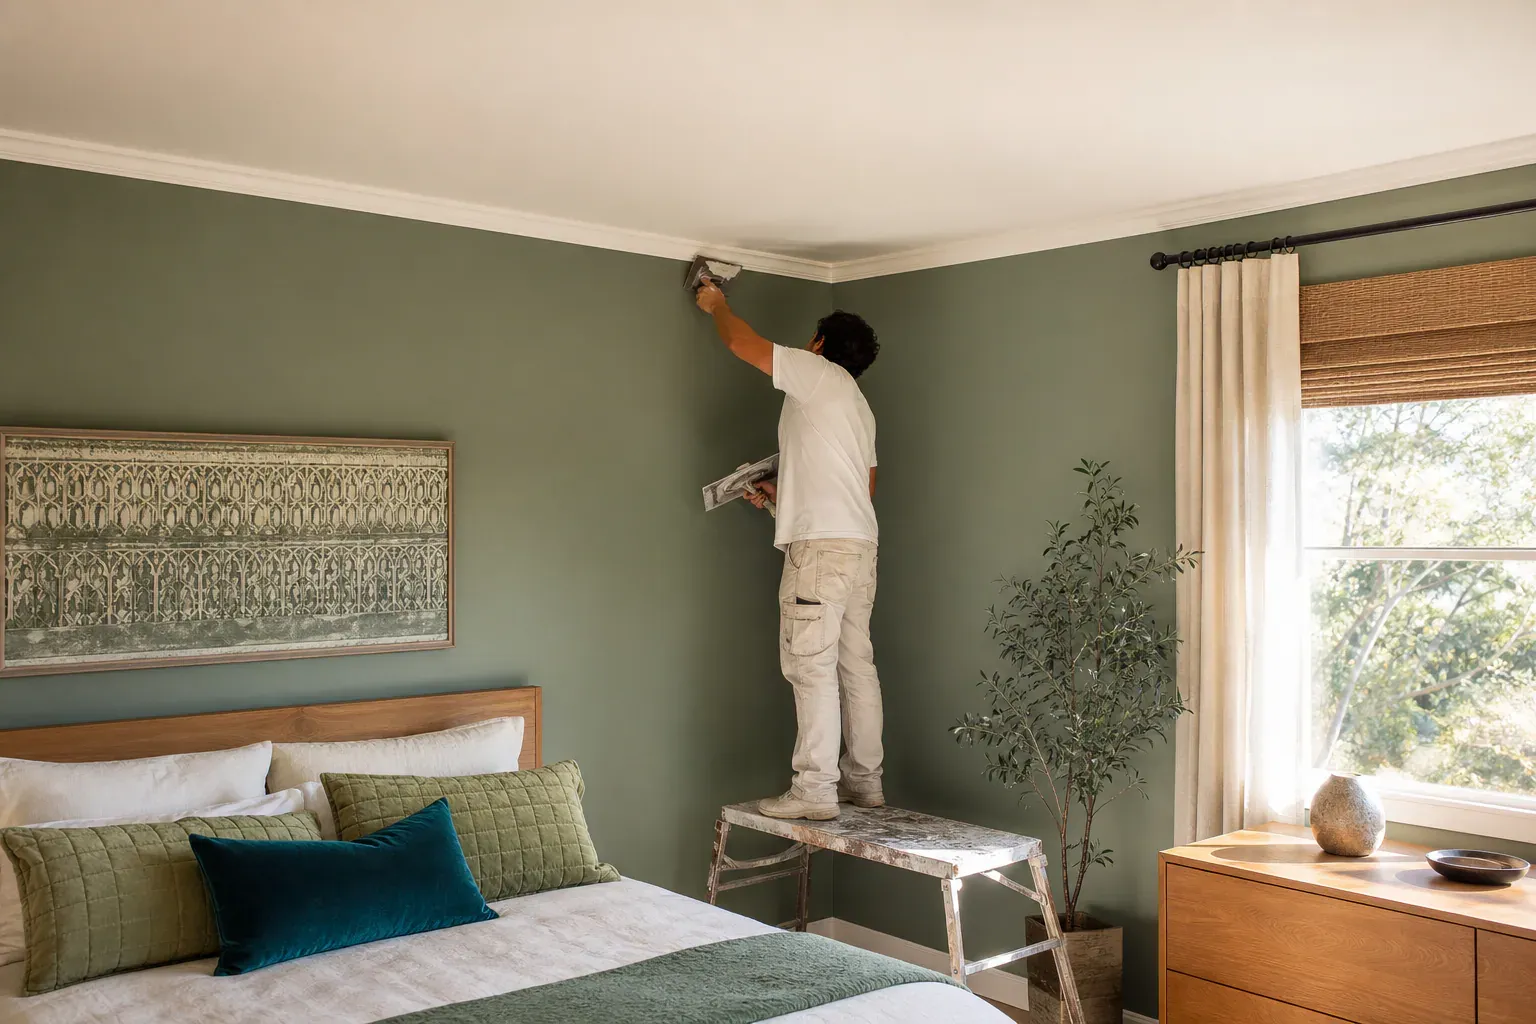
Older Glendale homes are almost always wood-framed with dimensional wall studs on 16-inch centers, and we match that spacing when patching into existing framing. Commercial buildouts and a lot of newer multi-family construction use steel stud framing instead — lighter, non-combustible, and dimensionally consistent, which matters for long straight runs and for meeting fire-rated assembly requirements. We also handle exterior sheathing where drywall work overlaps with exterior wall assemblies on additions, tying new framing into existing structure without weak points at the seams.
Type X fire-rated drywall is required in garages, shared walls between units, and certain commercial corridors — glass fibers mixed into the gypsum core hold the panel together longer under fire exposure, which is why code calls for it in specific fire-rated assemblies. Those assemblies are tested and rated as a whole system — specific combinations of Type X layers, framing spacing, and fastener patterns rated for one-hour or two-hour fire resistance — so we build to the assembly spec, not just "thicker drywall."
Lead-lined drywall shows up less often but matters in medical offices and X-ray rooms, where a lead sheet is laminated to the back of the panel for shielding. For high-rise and multi-story commercial construction, we've also handled elevator shaft drywall, which carries its own fire-rating and clearance requirements that a residential crew unfamiliar with commercial code will miss.
Shared walls in duplexes, condos, and apartment buildings need more than a single layer of gypsum board to control noise. We build soundproofing drywall assemblies using resilient channel or staggered studs, soundproof insulation batts in the wall cavity, and sometimes a second layer of drywall with a viscoelastic damping compound between panels — a different construction than a fire-rated assembly even though both add layers, because one solves for sound transmission and the other for combustion time.
Offices, studios, and some commercial spaces use suspended ceiling systems instead of hard-lid drywall. That means t-bar ceiling installation — hanging a grid of main and cross tees from the structure above, then dropping in acoustic panels or tiles sized to the grid. It's faster to access wiring and HVAC above the ceiling, and acoustic solutions like mineral fiber tiles cut down reverberation in a way a flat drywall ceiling doesn't.
We build architectural details in drywall — soffits, coffers, and arches — and coordinate cutouts for recessed lighting installation so fixture locations are framed correctly before any mud goes on, instead of cutting holes into a finished ceiling afterward. That coordination matters more on a Level 5 ceiling finish, where a fixture cut after the skim coat means patching a smooth surface that was already sanded flat.
A few habits we see repeatedly make a repair harder or more expensive by the time we get there:
Nail pops and screw pops happen when framing lumber dries out and shrinks, or a fastener wasn't seated into the stud properly during the original drywall hanging.
Once a hole gets past a few inches across, spackle alone won't hold — there's nothing for it to grab onto.
Wet drywall doesn't always look wet. Look for discoloration, a slightly saggy panel, a musty smell, or paint bubbling instead of cracking.
We start every job, big or small, by actually looking at the wall or ceiling — not quoting off a phone description.
Once work starts, expect dust control measures — plastic sheeting, negative air where needed — because cutting and sanding gypsum board generates fine dust that travels.
The industry grades finish quality on a Level 1 through Level 5 scale. Level 1 is tape embedded in joint compound with no additional coats — fine for spaces above a suspended ceiling.
Why homeowners call us
Every drywall job is scoped and priced in writing, so the number you approve is the number you pay. If something behind the wall changes the work, we stop and price it first.
You speak to the people doing the work, not a call centre, and cover certificates go to your building manager or general contractor on request.
Containment, floor protection and same-day debris removal on every interior job — the space stays usable while the work is going on.
Crews work Glendale and the surrounding cities every week, so a walkthrough is usually available within the same week you call.
FAQ
It depends on the size of the damage, whether texture matching is needed, the finish level of the surrounding wall, and how accessible the area is. A small nail hole or crack is inexpensive to fix. A larger patch needing new framing backing, texture matching, and repainting costs more, and a water-damaged section with mold-resistant panel replacement costs more still. We provide a written estimate after an in-person assessment.
Drywall is the general term for gypsum board panels used to build interior walls and ceilings. Sheetrock is a specific brand name of gypsum board that became so common in the trade that people use it interchangeably with "drywall," similar to how people say "Kleenex" for tissue. Functionally, on most jobs, sheetrock and drywall refer to the same gypsum panel product.
Look for discoloration or a yellow-brown stain, a ceiling or wall panel that sags or feels soft when pressed, paint that's bubbling rather than just cracking, and a musty smell in the room. Mold can grow inside the wall cavity before it's visible on the surface, so a recurring smell or stain without an obvious paint cause is worth having checked before it's patched over.
Finishing levels run from Level 1, tape only for hidden areas, up to Level 5, a full skim coat over the entire surface. Most bedrooms and hallways only need Level 4 — three coats, sanded smooth, ready for flat or eggshell paint. Kitchens, accent walls, and any surface getting gloss or semi-gloss paint under strong light need Level 5, since a lower level will show flashing at the joints once painted.
Call (213) 555-0110 for a walkthrough, usually within the same week.