Small Hole Patching and Doorknob Damage
Doorknob hole repair is the single most common job we run. A knob swings into a wall once, punches a two-to-three-inch hole, and now there's a permanent dent behind every door in the house…
Glendale Quality Drywall provides Glendale Quality Drywall drywall repair, drywall patch work, and drywall crack repair for homes and businesses across Glendale, CA, from small doorknob dings in the flats to full ceiling sections in the older hillside blocks. We handle drywall repair services near me searches every week for the same handful of problems — a hole, a crack, a water stain, a texture mismatch — and we've got a set process for each one. This page covers what actually drives cost and timeline so you know what you're paying for before we show up.
Most calls we get fall into three buckets: a hole from an impact, a crack from settlement or seasonal movement, or a popped nail head that's been telegraphing through paint for months. Each one has a different repair method and a different price point, and lumping them together is how homeowners end up either overpaying for a five-minute fix or underpaying for something that needed a full re-tape.
Glendale's housing stock ranges from older plaster-and-lath construction in the hillside neighborhoods to newer gypsum board tract homes in the flats, and the repair approach shifts depending on which one we're dealing with. Plaster repair on an older home is not the same job as patching a 1990s stucco-and-drywall build, and we tell customers upfront which category their wall falls into before we quote anything.
Doorknob hole repair is the single most common job we run. A knob swings into a wall once, punches a two-to-three-inch hole, and now there's a permanent dent behind every door in the house that gets opened too fast. For anything under about six inches we use a self-adhesive mesh tape patch or a butterfly patch — a scrap of drywall cut slightly larger than the hole, backed with a bracing strip, set flush, then coated.
For pinhole-sized damage, dents, and scratches that haven't broken through the paper face, we skip the patch entirely and go straight to small dent and scratch filling with lightweight joint compound, feathered out and sanded smooth. This is the cheapest repair category and usually a same-day job including paint touch-up, assuming the texture is simple.
We also install door stops as part of doorknob hole repair jobs when a customer wants to stop the cycle. It's a five-dollar part that saves a repeat service call.
Large hole patching covers anything from a moved piece of furniture punching through a wall to a vehicle backing into a garage-adjacent room — we've seen both. Anything larger than a standard patch kit calls for cutting drywall patch pieces to size, usually squared off to the nearest stud bay rather than following the ragged edge of the damage, because a straight cut lines up cleaner with the surrounding gypsum board.
For these repairs we use the California patch method: cut a clean rectangular or square opening back to the framing, screw in furring strips or scrap wood behind the exposed edges to give the new patch piece something solid to fasten to, then cut a drywall sheet section to match and screw it in flush. This avoids the older approach of trying to float a patch off nothing but tape and mud, which cracks again within a year.
Corner bead replacement comes up often with impact damage near outside corners — a cart, a moving box, or a kid on a bike clips the corner and bends the metal or vinyl bead underneath the paint. We cut out the damaged section, fasten new corner bead, and build up the joint compound in layers to blend it back to a straight edge.
Drywall crack repair is mostly a seasonal-movement problem here. Glendale gets real temperature swings between the flats and the foothill areas, and older homes especially show hairline cracks at ceiling-to-wall joints and above door and window headers as framing expands and contracts. A crack that's cosmetic gets bridged with mesh tape and two coats of compound. A crack that keeps coming back in the same spot, especially a diagonal crack running from a door or window corner, usually means there's structural movement behind it, and we say so rather than just patching over a symptom.
Popped nail head repair is its own small category — you'll see a raised dot in the paint where a fastener has backed out slightly, usually from wood framing drying out over time. We drive the nail back or remove it, replace with a drywall screw set slightly below the surface, and re-mud the spot. Skipping the screw and just re-mudding over a popped nail is the most common shortcut that fails within a year.
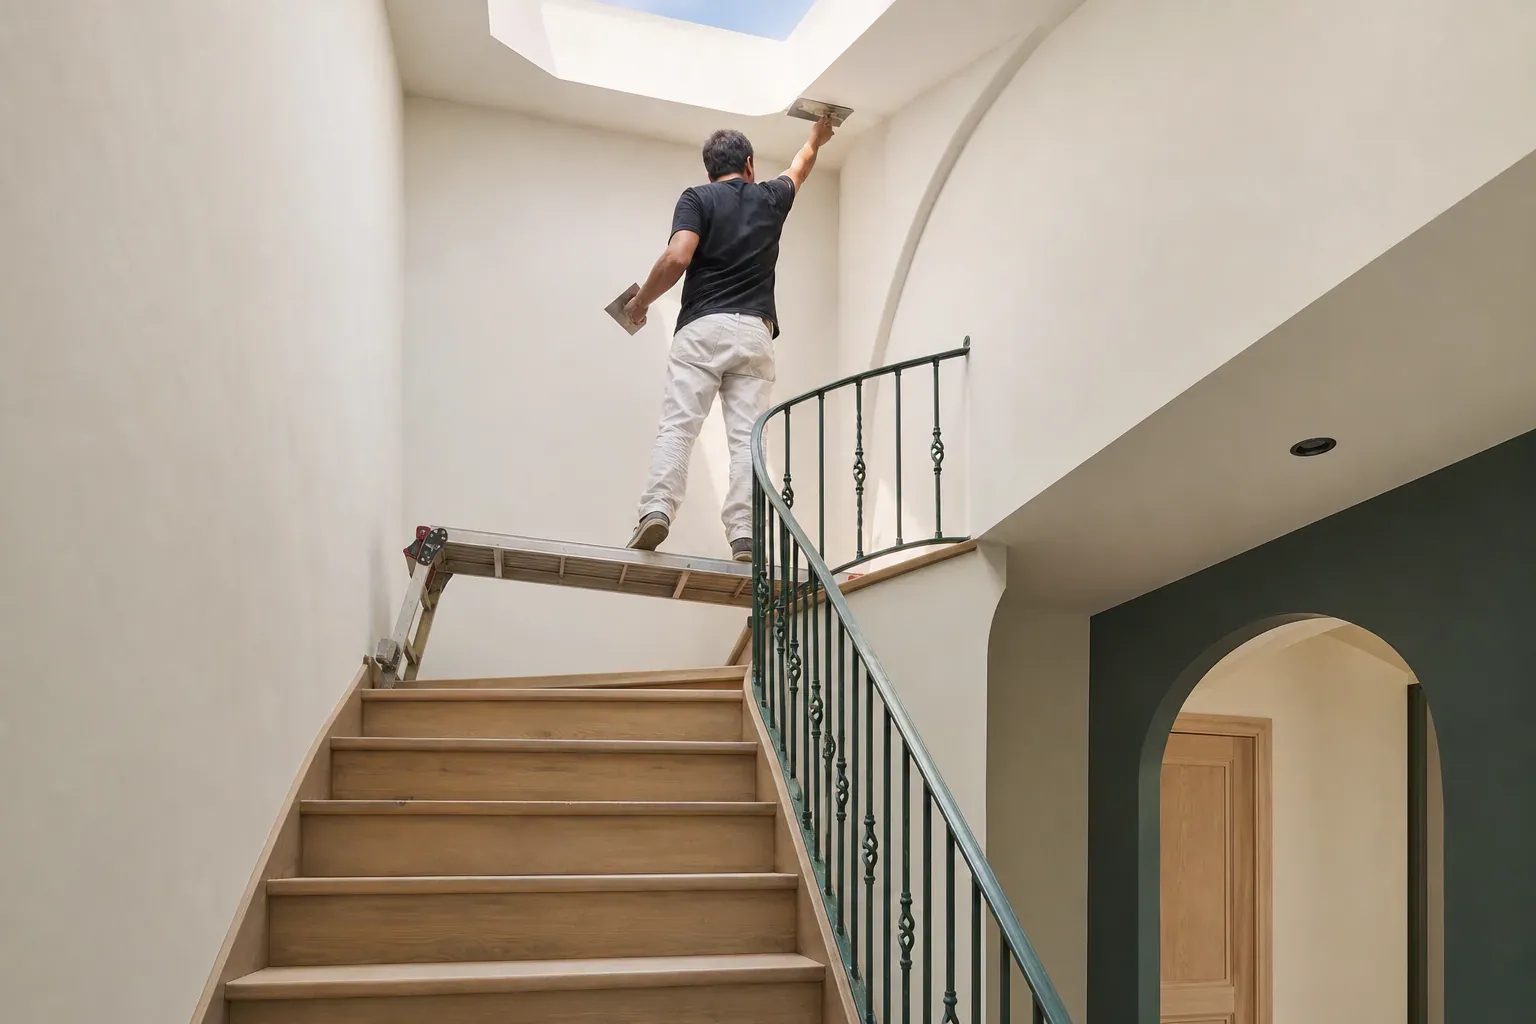
Ceiling repair is a different job than wall repair, and we price and schedule it differently. Gravity works against every coat of mud you put overhead, which means thinner coats, more drying time between coats, and a lot more sanding dust falling straight down onto whatever's below — furniture, flooring, light fixtures.
Ceiling drywall repair also usually means working off a ladder or scaffold plank rather than standing flat-footed at a wall, which slows down cutting drywall patch pieces and holding them in place while screws go in. We use temporary support boards to hold a ceiling patch flush while it's fastened, since ceiling drywall is heavier per square foot to work overhead than wall board.
Water stains on ceilings are the other big driver of ceiling calls, usually from a roof leak, an attic condensation issue, or a bathroom fan venting into the attic instead of outside. We won't skim-coat over a ceiling stain and call it done — the compound will re-brown right through fresh paint within weeks if the moisture source isn't fixed first. We flag the source, get it addressed, then patch and repaint with a stain-blocking primer.
Popcorn ceiling removal comes up on a lot of the older Glendale housing stock, especially homes built before the material fell out of favor. When we're already doing a ceiling drywall repair in a textured popcorn ceiling, we'll scrape and skim-coat the surrounding area to remove the texture entirely if the customer wants a smoother look, or we'll match the existing popcorn texture if they'd rather keep it consistent with the rest of the ceiling.
Drywall water damage repair in bathrooms, kitchens, and basements needs a different material approach than a dry-area patch. Standard gypsum board absorbs and holds moisture, which is exactly how mold gets started behind a shower surround or under a kitchen sink cabinet. We cut out water-damaged drywall well past the visibly stained area — usually a foot beyond the stain line — because the paper facing wicks moisture sideways faster than it shows on the surface.
Before we patch, we let the area dry out completely and check the framing behind it for soft spots or standing moisture. Patching over damp framing just traps the problem behind new drywall, and it comes back worse. In bathrooms we'll often recommend moisture-resistant board for the replacement section, particularly around tub surrounds and behind toilets where splashing is routine.
Basements bring their own issue: moisture migrating up through concrete slabs or foundation walls, which shows up as bubbling paint or soft drywall near the floor line rather than an obvious leak. If we see that pattern we tell the customer it's worth checking drainage and grading outside before we repair the same spot twice.
Mold prevention on any water-damaged repair means using a mold-resistant primer, making sure the framing is bone dry before we close the wall back up, and, where it makes sense, adding a small gap or vent detail so moisture doesn't get trapped again behind the new patch.
Cost on any drywall repair job comes down to three things: how big the damage is, how many coats and how much drying time it needs, and how hard the texture and paint match will be. A small nail-hole or dent repair is the cheapest category — it's a single coat, quick sanding, and touch-up paint. A doorknob-size hole patch with mesh tape and two coats runs a step up because of the extra coats and dry time.
Large hole patching that requires cutting in a new piece of drywall, adding furring strips or backing, taping all four edges, and running three coats costs more because of the labor and material involved, not just the size of the hole. Ceiling repairs cost more than equivalent wall repairs because of the overhead work and scaffolding or ladder time. Water-damaged repairs cost more still once you factor in demo of the wet material, drying time, and often a specialty primer.
Texture matching adds a line item on top of any of these. A flat, smooth wall is the cheapest to blend. A heavy knockdown or orange peel texture takes more skill and more product to match without a visible seam, and popcorn ceiling texture matching is its own specialty.
Timeline is driven almost entirely by drying time between coats, not by how long it takes to actually apply the mud. A bed coat of standard all-purpose joint compound needs a full day to dry before the next coat goes on in most weather. Quick-set compound cuts that down to under an hour per coat, which is why we use it on jobs where the customer needs a same-day turnaround, but it's less forgiving to sand and doesn't feather quite as smooth.
A small patch with two coats and a paint touch-up is often a same-day job. A large hole patch or a ceiling repair with three coats, full feathering, texture matching, primer, and paint typically runs two to three days when you account for drying time between each coat. Water-damaged repairs take longer up front because the area has to dry completely before any compound goes on — sometimes several days if there's no fan or dehumidifier helping it along.
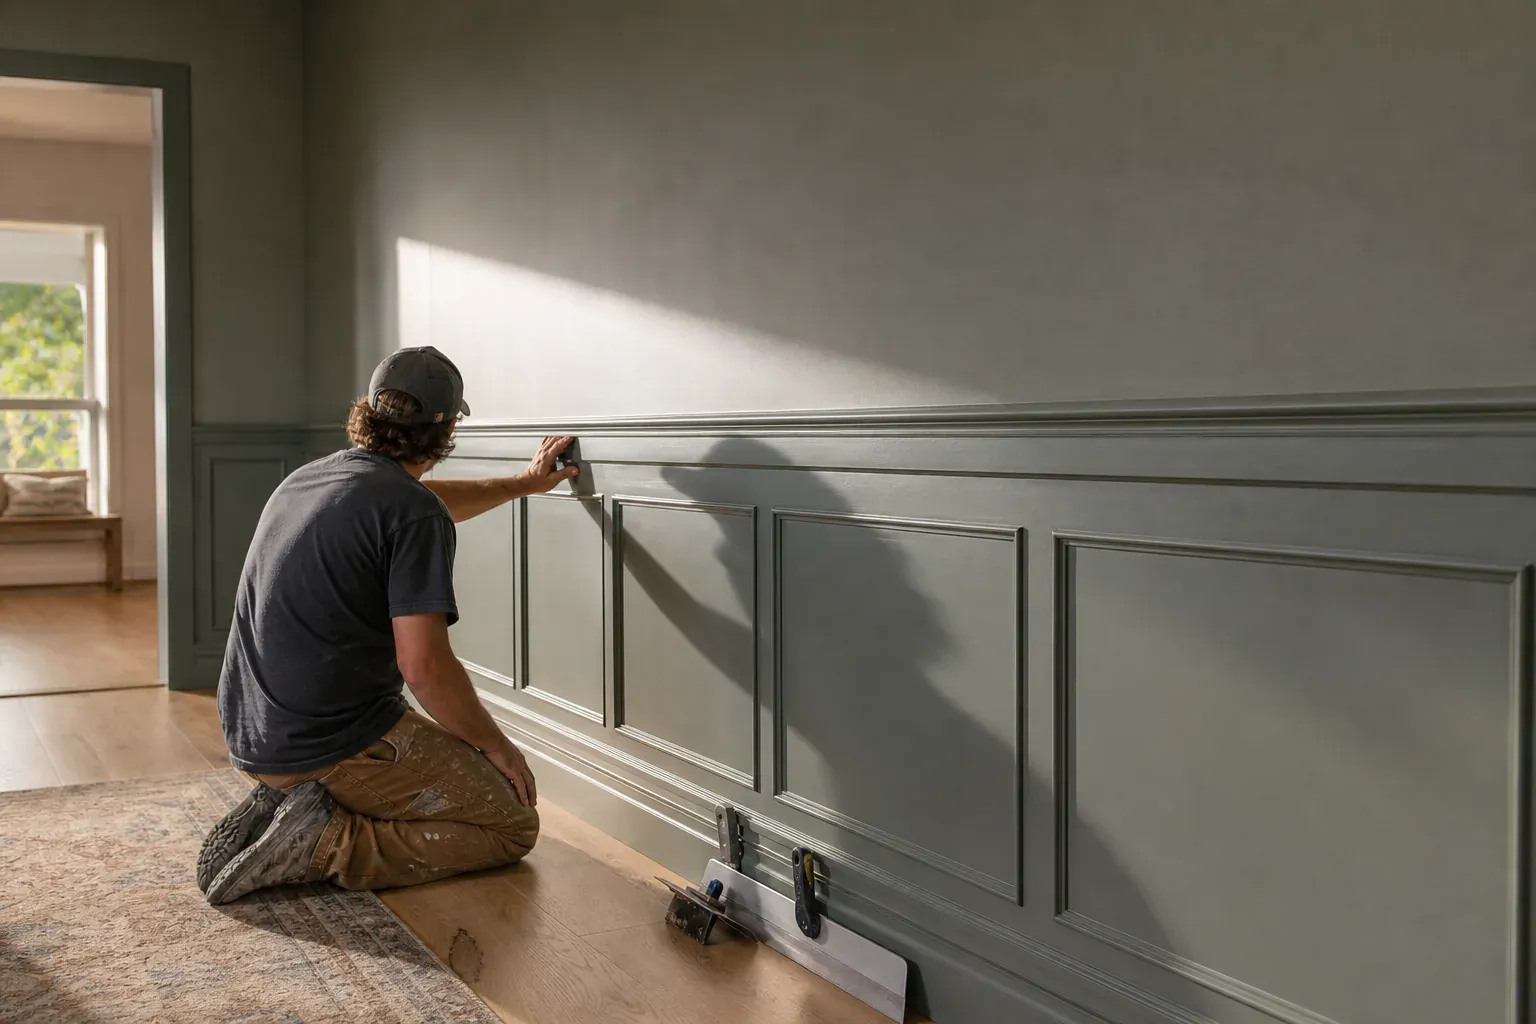
A small nail hole, a scuff, or a single hairline crack is genuinely a reasonable DIY job if you've got a putty knife, a small tub of lightweight joint compound, and a sanding sponge. Fill, let it dry, sand it smooth, prime, and touch up the paint. That's within reach for most homeowners and doesn't justify a service call.
Where DIY starts costing more than it saves is anything involving cutting drywall patch pieces, taping seams across multiple joints, or matching a textured finish. A patch that isn't taped correctly with mesh or paper tape will crack along the seam within months, and a texture mismatch is very hard to fix after the fact without redoing a much larger section of wall than the original damage. We get a fair number of calls from homeowners who tried a patch kit, got a visible ring or a flat spot in a textured wall, and now need us to redo a bigger area than if they'd called first.
The honest breakpoint: if the damage is smaller than your hand and the wall is flat or lightly textured, try it yourself. If it's larger, on a ceiling, involves water damage, or the wall has any kind of knockdown, orange peel, or popcorn texture, hiring it out usually costs less overall than a failed DIY attempt plus the professional repair after.
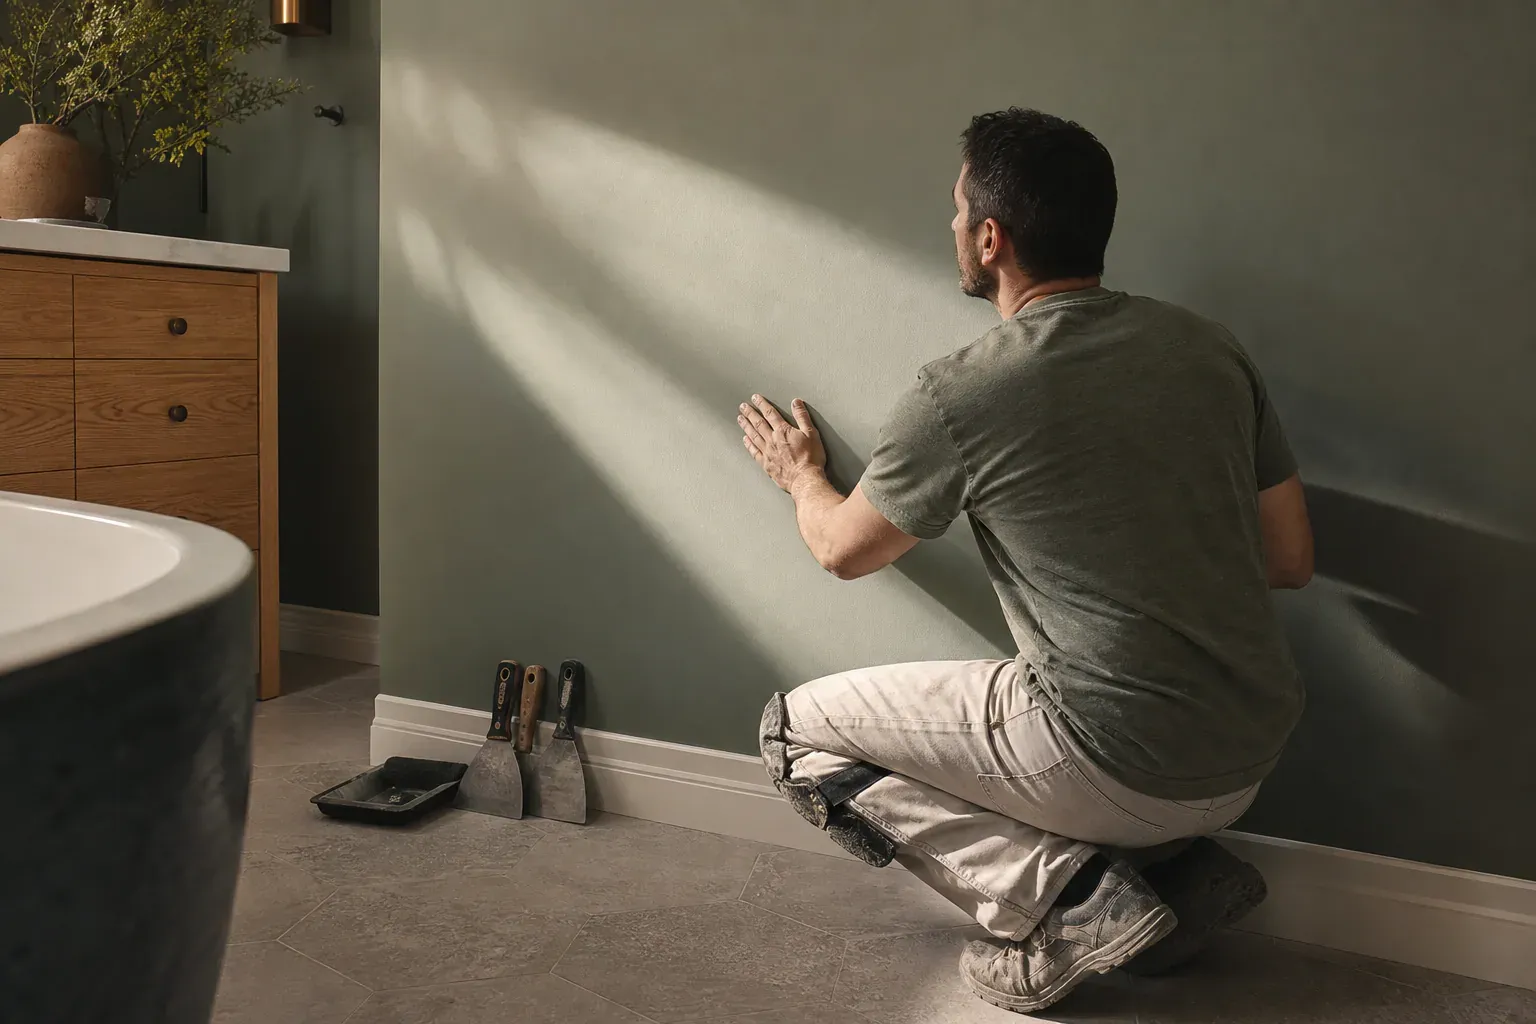
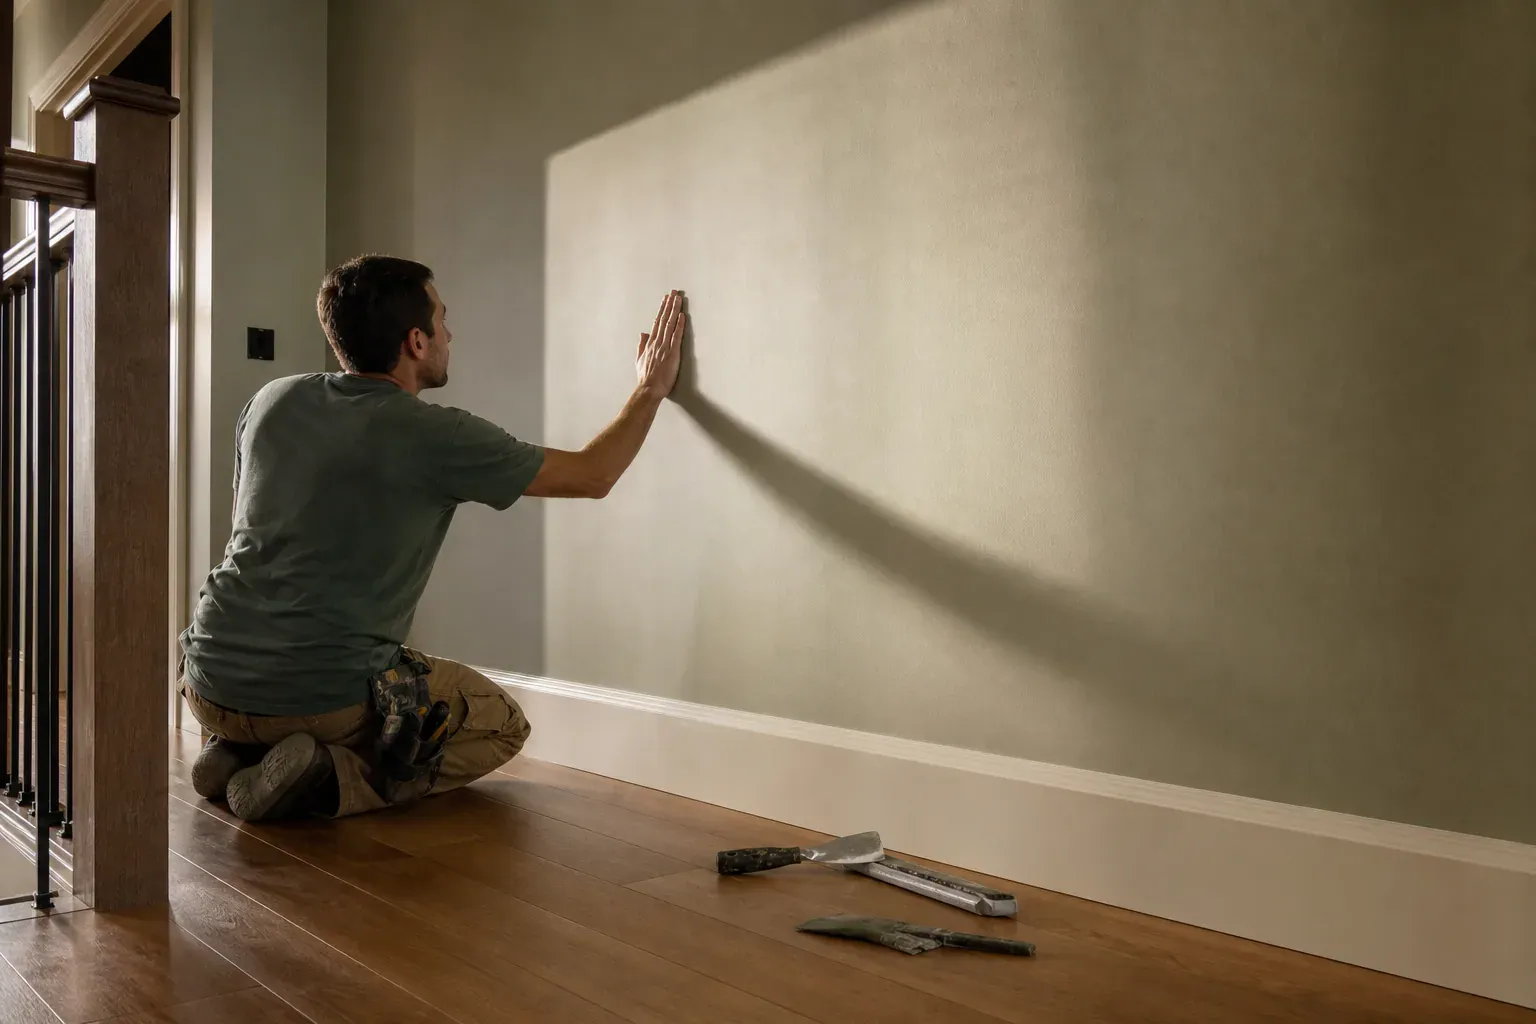
Before any patch gets textured, we identify what's already on the wall, because guessing wrong means redoing the whole blend. The common types we see across Glendale homes are smooth or flat finish, orange peel (a light, even stipple), knockdown (a flattened, blotchy pattern made by skimming down wet orange peel), and popcorn or acoustic texture on ceilings, mostly in older builds.
Homeowners can usually tell us which category their wall falls into by describing whether it looks bumpy and uniform (orange peel), bumpy but flattened in spots (knockdown), or has raised clumps overhead (popcorn). When we're on-site we confirm it by eye and sometimes by matching against sample boards, since lighting and paint sheen can make a texture look different than it is.
Drywall texture blending is where a repair either disappears or stands out forever. After the compound coats are sanded smooth and flat, we apply texture material to match the surrounding wall — sprayed for orange peel and knockdown, hand-applied with a stomp brush or trowel for heavier patterns, and matched stipple for popcorn ceilings. The key is feathering the texture out past the edge of the mud patch so there's no hard line where old texture meets new.
Getting the texture right on paper isn't the finish line — sheen matching in the primer and paint step matters just as much. A patch that's textured perfectly but painted with the wrong sheen will still show up as a slightly different reflection under certain light, especially in bathrooms and hallways with strong overhead lighting.
We keep a few different types of joint compound on hand because one product doesn't fit every job. All-purpose mud is our default for taping seams and finish coats — decent working time, sands well, holds up on most repairs. Lightweight joint compound is easier to sand and shrinks less, which we favor on ceiling repairs and finish coats where less sanding dust and less shrinkage matter. Quick-set compound, sold by set time in a bag rather than a tub, is what we reach for when a customer needs a same-day repair or when we're filling a deep large hole and can't wait a full day between coats.
For most patch jobs we use self-adhesive mesh tape — it sticks directly to the drywall without a bed coat first, which speeds up small and medium patches. It works well over flat seams and patch edges but isn't ideal for corners, where paper joint tape folded down the center holds a sharper, straighter line. Paper tape needs to be set into a bed coat of compound rather than stuck on dry, which adds a step but gives a stronger, flatter joint on butt seams and inside corners. We pick the tape based on where the joint sits, not just habit.
Every taped or patched joint gets a bed coat first, embedding the tape into wet compound with a taping knife, followed by at least one finish coat spread wider than the last using a wider drywall knife — six inches on the first finish pass, ten to twelve on the final pass. This is the feathering technique: each coat spreads a little further out and a little thinner than the last, so the patch tapers down to nothing instead of leaving a hard ridge.
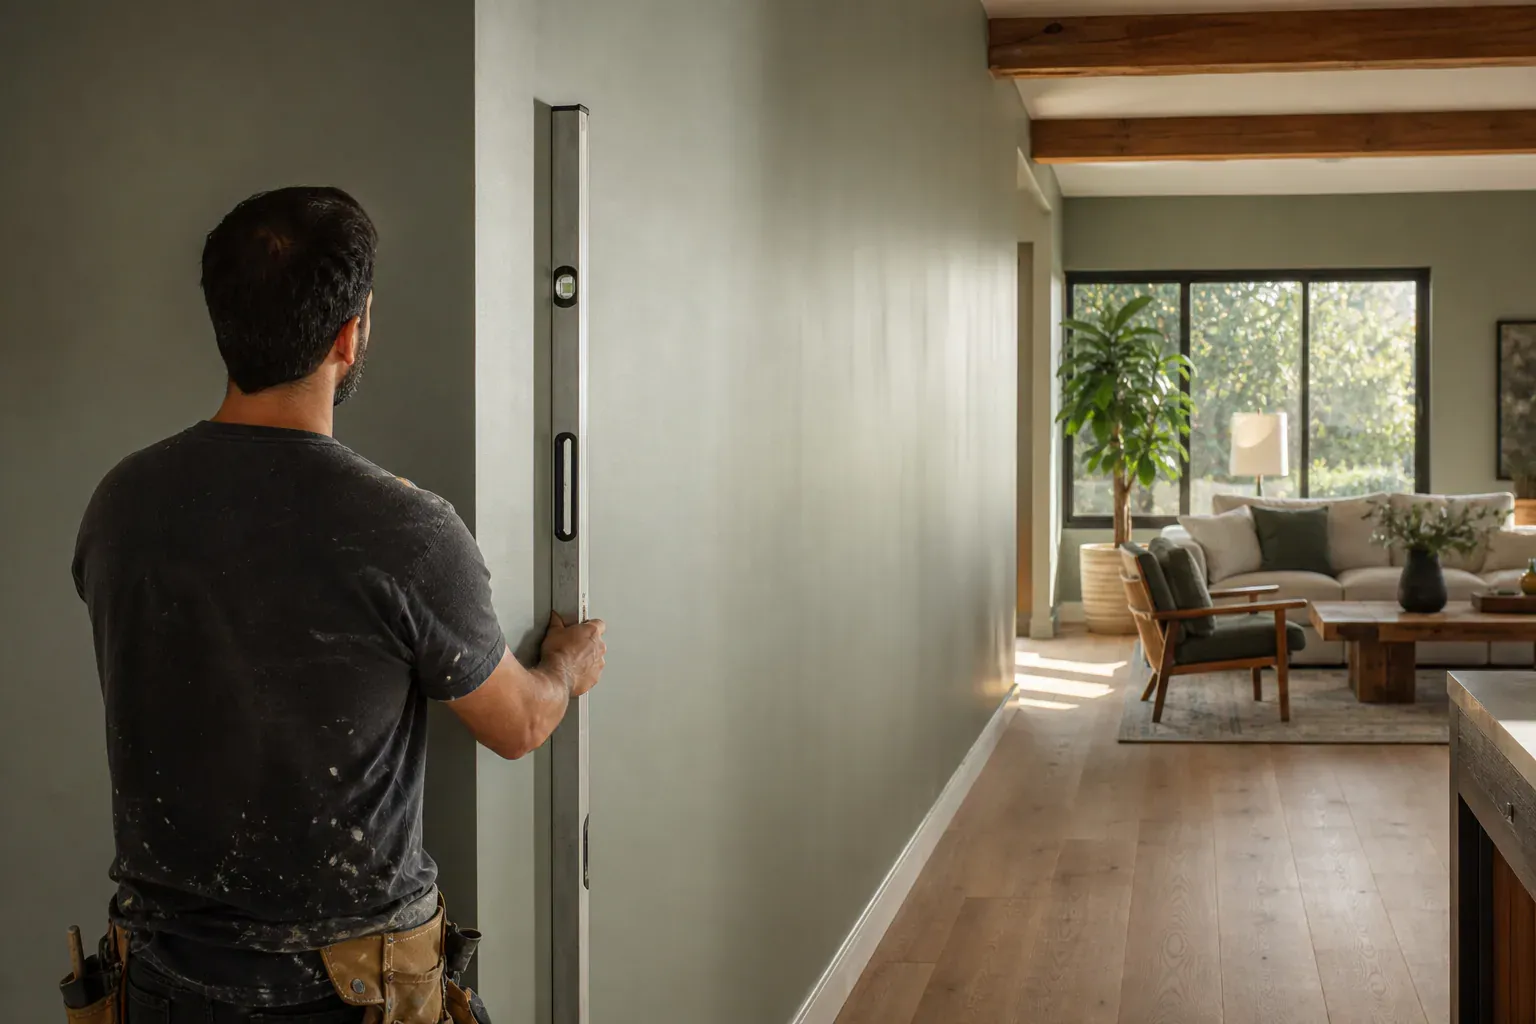
Multi-coat mud application is standard on anything beyond a nail hole — a bed coat, at least one finish coat, sometimes two if the patch is large or the texture needs extra buildup to blend. For work that needs to hold up to raking light — a hallway wall lit by a side window, for instance — we'll take a repair closer to a full level 5 finish, with a final skim coat across the whole surface rather than just the patch, so no flashing or texture difference shows up under strong light.
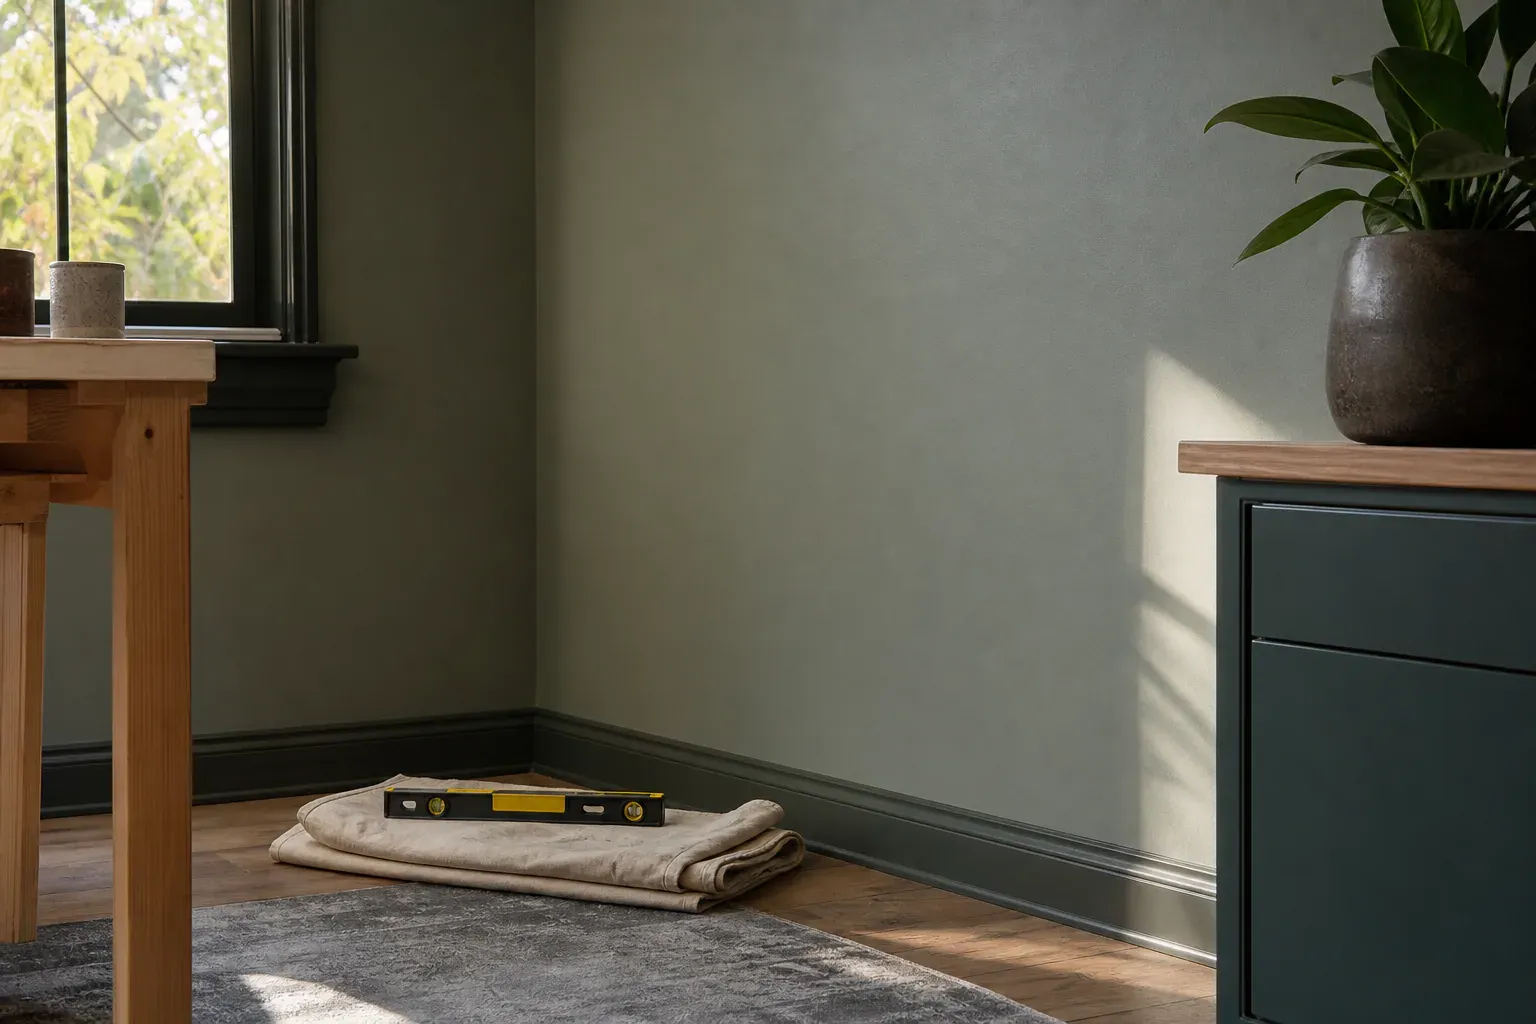
Sanding between coats and after the final coat uses medium-grit sandpaper to knock down ridges and fine-grit sandpaper or a sanding sponge for the final smoothing pass before primer. We keep drywall dust cleanup part of the job, not an afterthought — drop cloths down before we start, a shop vac with a fine filter for sanding dust, and wiped-down surfaces before we prime, since dust left behind shows up as texture in the fresh paint. Once the patch is smooth and clean, drywall primer goes on before paint — skipping primer on new compound is the single most common reason a patch flashes a slightly different sheen than the surrounding wall after painting.
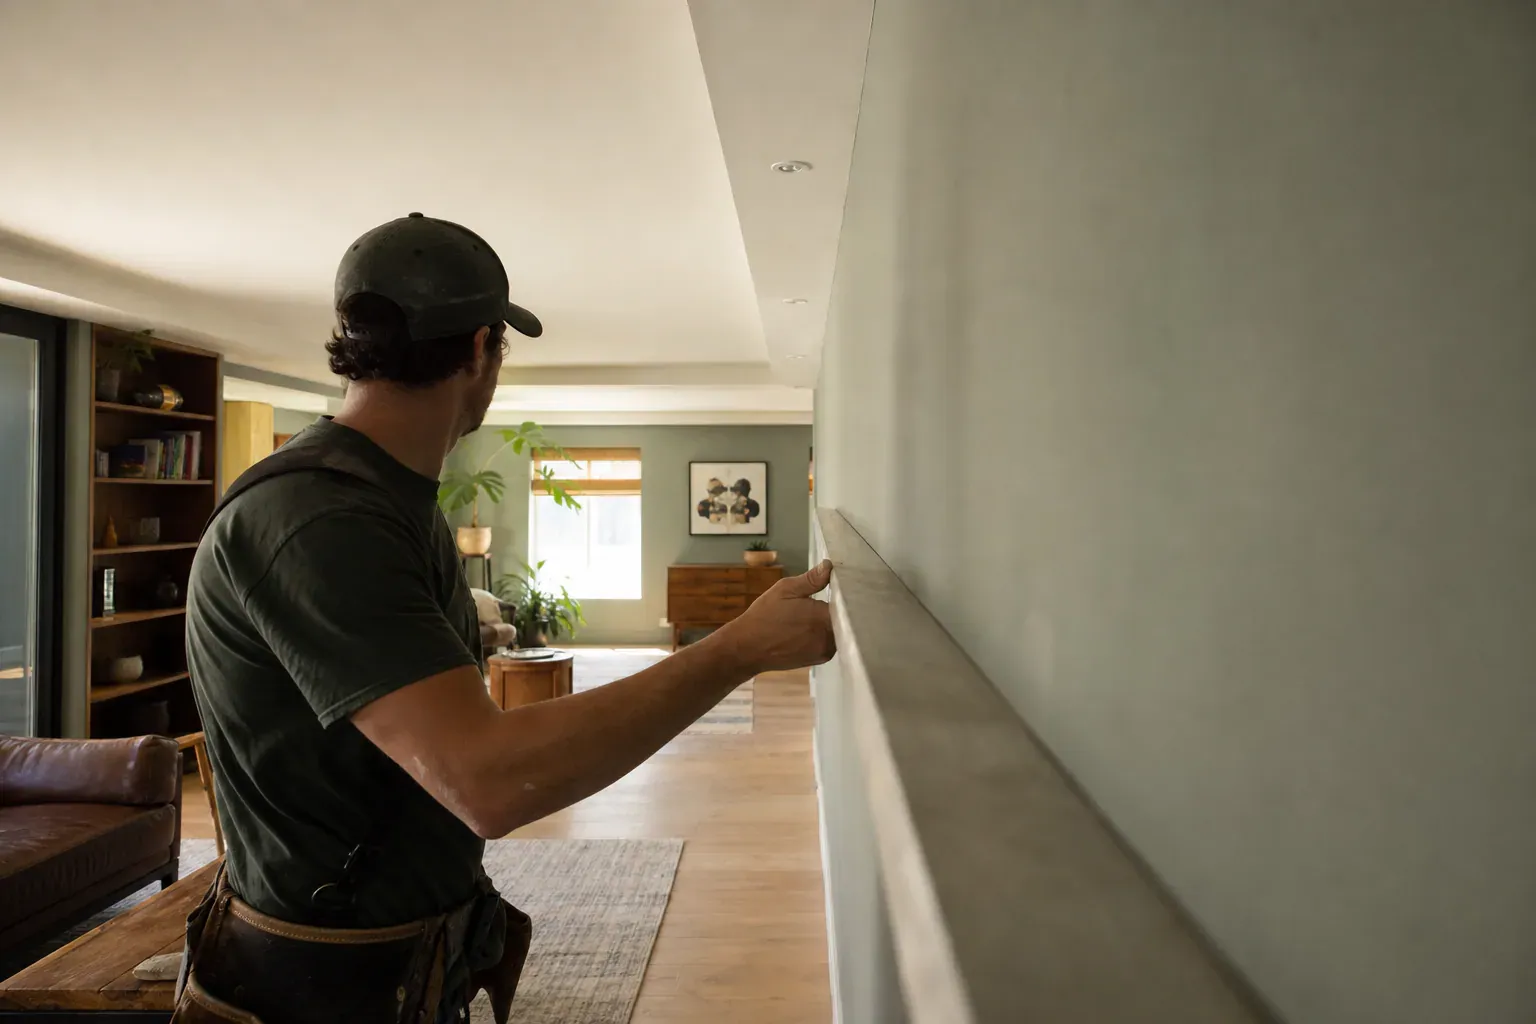
Full drywall installation starts before a single sheet goes up. We check framing spacing, mark stud and joist locations, and hang sheets perpendicular to framing with staggered seams so no long joint runs the full length of a wall or ceiling. Screws go in every eight to twelve inches along the field and every seven inches along edges, set just below the paper surface without tearing it, since an overdriven screw is one of the most common causes of a weak joint later on.
Once sheets are hung, mesh tape goes over every seam before any compound is applied. We prefer self-adhesive fiberglass mesh tape for most flat seams because it resists shrinking and doesn't require a bed coat to hold it in place the way paper tape does, though it needs a slightly harder-setting compound to bridge properly since mesh alone won't stop a joint from telegraphing. Corners and butt joints still get reinforced separately so the tape doesn't bunch or lift.
Primer and paint preparation is the last step and the one most easily rushed. Every patched and taped area gets sanded smooth, wiped free of dust, and sealed with a full coat of primer before paint goes on, since bare compound absorbs paint unevenly and leaves visible flashing under any sheen higher than flat.
Doorknob hole repair is the single most common job we run. A knob swings into a wall once, punches a two-to-three-inch hole, and now there's a permanent dent behind every door in the house…
Large hole patching covers anything from a moved piece of furniture punching through a wall to a vehicle backing into a garage-adjacent room — we've seen both.
Drywall crack repair is mostly a seasonal-movement problem here. Glendale gets real temperature swings between the flats and the foothill areas, and older homes especially show hairline…
Cost on any drywall repair job comes down to three things: how big the damage is, how many coats and how much drying time it needs, and how hard the texture and paint match will be.
Timeline is driven almost entirely by drying time between coats, not by how long it takes to actually apply the mud.
Before any patch gets textured, we identify what's already on the wall, because guessing wrong means redoing the whole blend.
Why homeowners call us
Every drywall job is scoped and priced in writing, so the number you approve is the number you pay. If something behind the wall changes the work, we stop and price it first.
You speak to the people doing the work, not a call centre, and cover certificates go to your building manager or general contractor on request.
Containment, floor protection and same-day debris removal on every interior job — the space stays usable while the work is going on.
Crews work Glendale and the surrounding cities every week, so a walkthrough is usually available within the same week you call.
FAQ
Cost depends on the size of the damage, how many coats and how much dry time it needs, and how complex the texture match is. A small nail hole or dent is the least expensive category. Large hole patching, ceiling work, and water-damaged sections cost more because of added materials, backing, and drying time. Texture matching, especially popcorn or heavy knockdown, adds to the total.
Small nail holes, scuffs, and hairline cracks on a flat or lightly textured wall are reasonable DIY jobs with basic tools. Anything larger than your hand, on a ceiling, involving water damage, or on a textured wall is where DIY attempts commonly go wrong — cracked patches, visible rings, or texture mismatches that end up costing more to fix than if a professional had done it the first time.
Small patches with one or two coats and a paint touch-up are often same-day jobs. Larger patches, ceiling repairs, and anything needing three coats typically take two to three days because compound needs drying time between coats. Water-damaged repairs take longer up front since the area has to dry out completely before any compound can go on.
We identify the existing texture first — smooth, orange peel, knockdown, or popcorn — then apply matching material with the right tool: sprayer for orange peel and knockdown, hand-applied stipple for popcorn ceilings. The texture is feathered out past the mud patch edge so there's no hard line, and sheen in the primer and paint is matched to prevent the patch from reflecting differently under light.
Yes. Ceiling repairs need thinner coats, longer dry time due to gravity, and usually a ladder or scaffold to work from. Sanding dust falls straight down, so dust control matters more. Ceiling patches are also more often tied to water stains from roof or attic issues, which need to be resolved before the patch goes on or the stain will bleed back through paint.
Check whether the damage is dry or shows signs of moisture, note the surrounding texture type, and look at whether the damage keeps recurring in the same spot, which can point to structural movement rather than a one-time impact. For water-stained areas, find the moisture source before patching. For repeat cracks or nail pops, expect the repair to include addressing the underlying cause, not just the surface.
Call (213) 555-0110 for a walkthrough, usually within the same week.