Bedding Tape and Joint Compound Selection
The first pass is bedding drywall tape into a layer of joint compound run down the seam with a 6-inch knife.
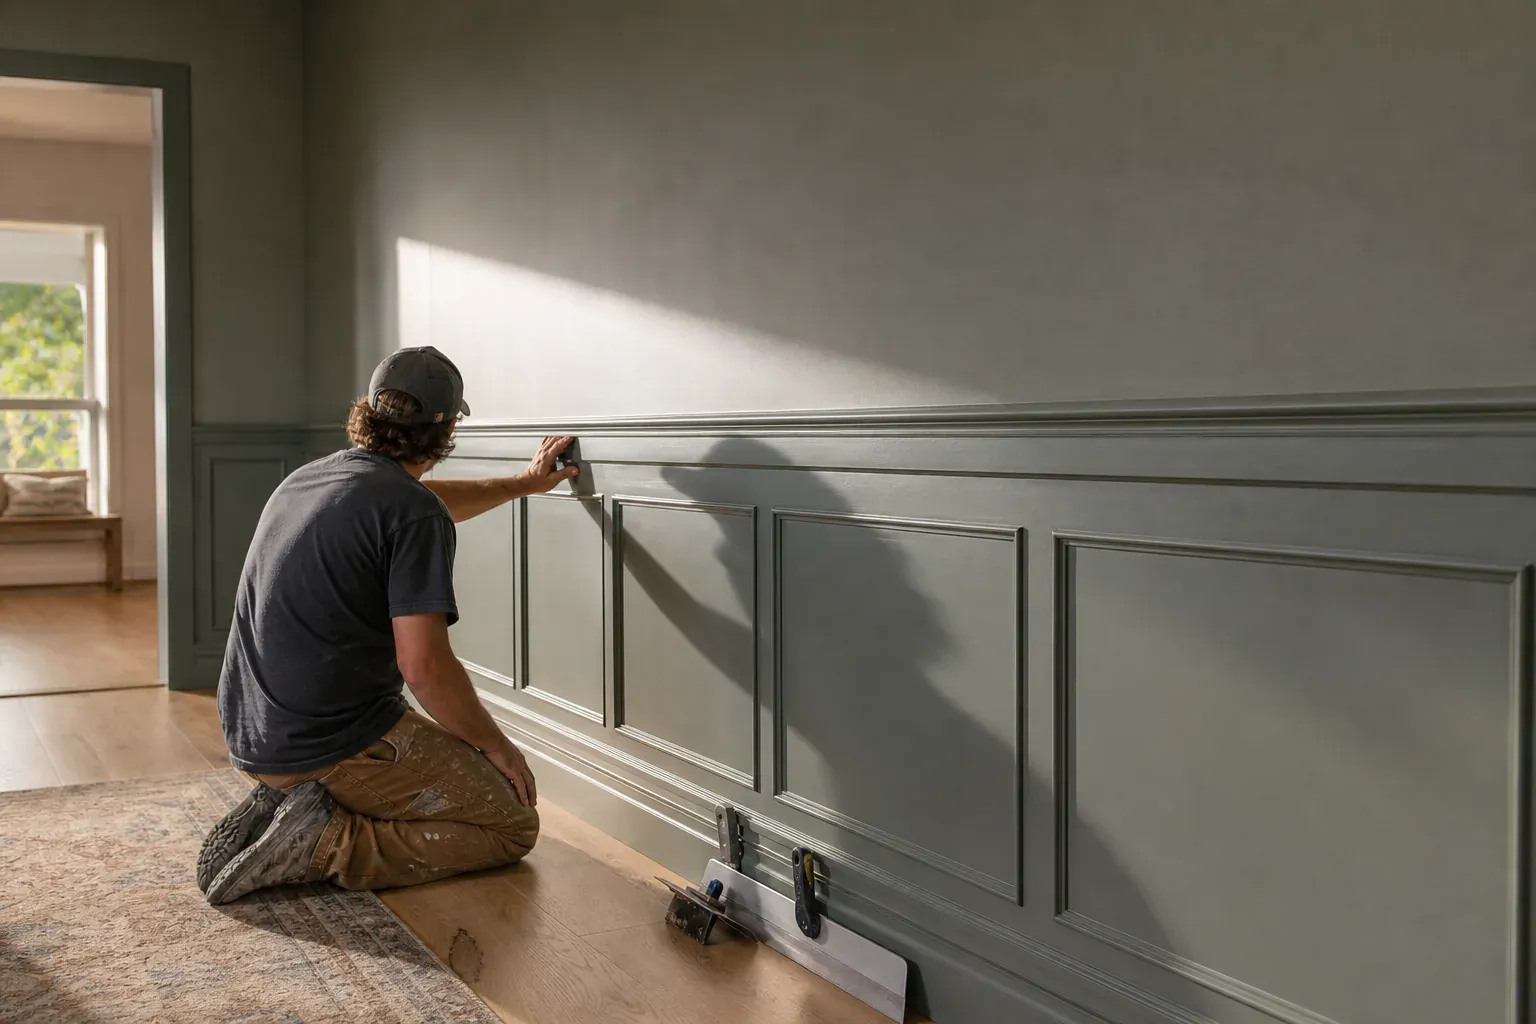
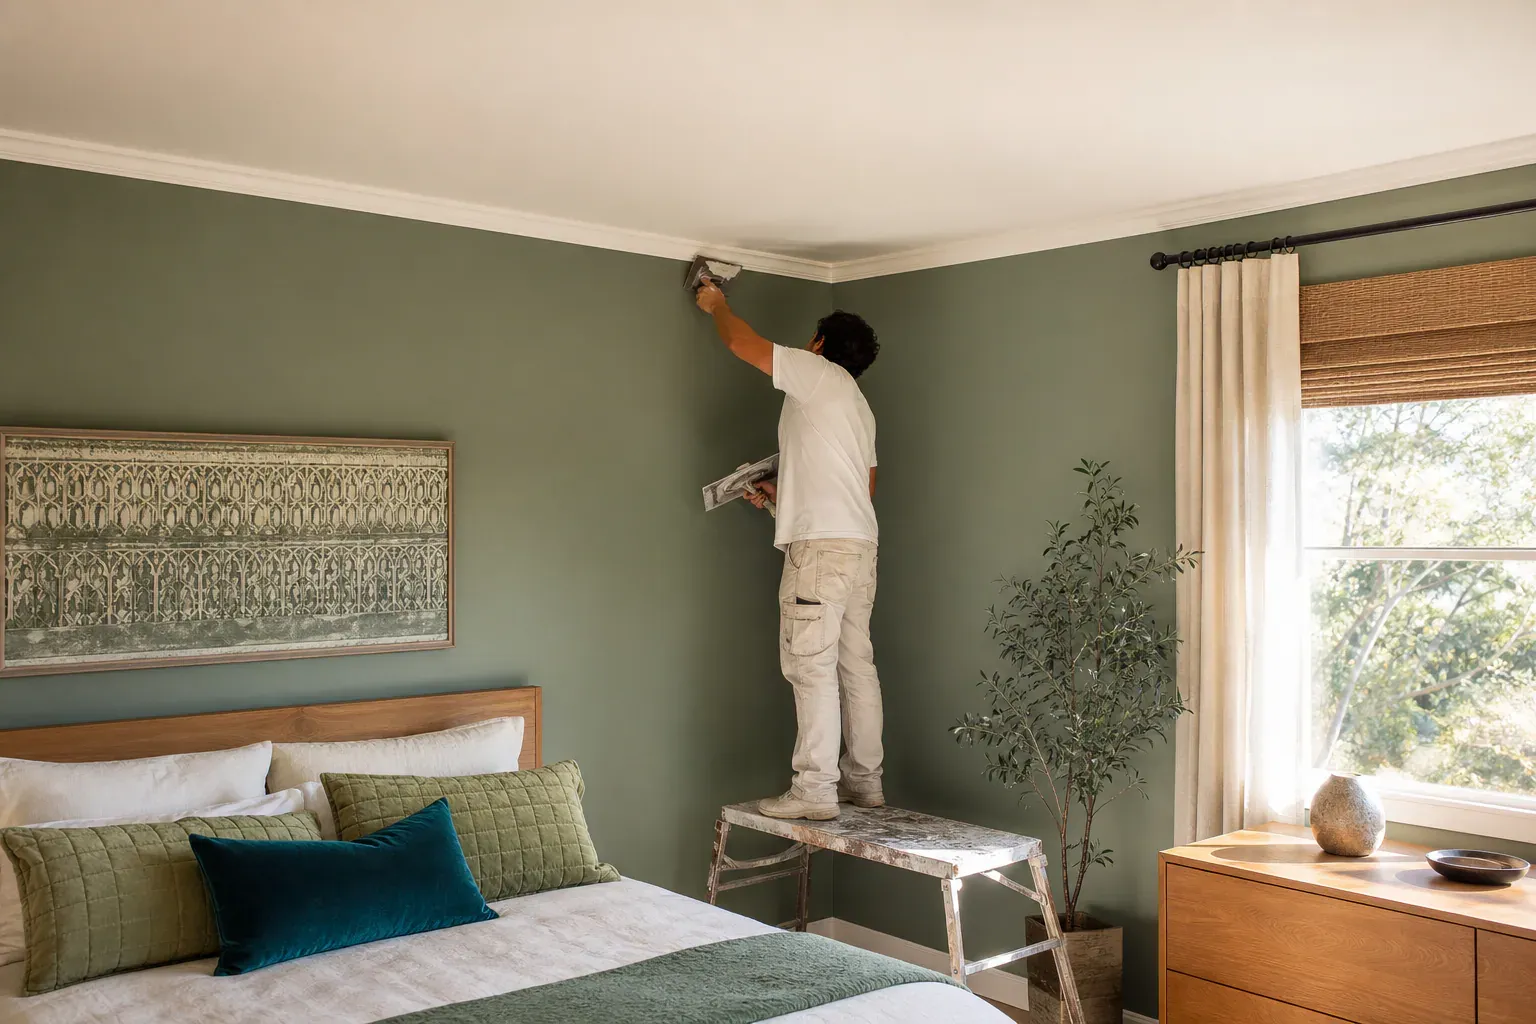
Glendale Quality Drywall handles drywall finishing, taping and mudding, and texture work for houses and small commercial spaces across Glendale, CA. Glendale Quality Drywall runs crews that do the finish work most homeowners never think about until it goes wrong — the skim coats, the corner work, the sanding — the layer between bare drywall board and a wall that looks like it was never installed at all.
Drywall finishing is everything that happens after the boards are hung and before paint goes on. It's a distinct trade from installation. Hanging drywall is carpentry — measuring, cutting, screwing panels to studs or joists. Finishing is closer to a plaster trade — taping and mudding joints, filling fastener heads, wrapping corners, and sanding the whole surface down until it reads as one continuous plane instead of a grid of four-by-eight sheets.
The goal is a monolithic surface — a wall or ceiling that reads as one continuous plane rather than a patchwork of panels, seams, and screw heads. Surface monolithic preparation is the work that gets you there: every joint filled and feathered to the same level as the board itself, every fastener buried, every corner brought flush, so the eye can't find where one sheet stopped and the next began. Paint doesn't create that effect — it just reveals whether the prep underneath actually achieved it.
The reason this matters is light. Under a window or a recessed can light, any ridge, any shadow line at a butt joint, any sunken screw dimple shows up the moment paint hits the wall — especially flat or eggshell paint, which shows surface texture more than gloss does. Good finishing isn't about hiding the drywall. It's about making the seams and fasteners disappear so the wall behaves like a single continuous surface under whatever light crosses it.
This is also where drywall finishing splits from drywall repair. Repair is patch work — matching an existing wall's texture and level after damage. Finishing is what happens on new construction, additions, and full remodels, where we're taking a whole room from bare board to paint-ready.
Taping and mudding joints is the core of drywall finishing, and it happens in three passes on every flat seam, whether it's a tapered seam on the long edge of two sheets or a butt joint where two cut ends meet.
The first pass is bedding drywall tape into a layer of joint compound run down the seam with a 6-inch knife. The compound goes down first, the paper tape gets pressed into it and squeegeed flat with the knife, forcing out air bubbles and excess mud from underneath. Tape embedding has to be tight — any bubble under the tape will eventually crack the finish coat above it as the compound shrinks.
For this first coat we generally reach for setting compound on butt joints and higher-stress seams because it hardens through a chemical reaction rather than by drying, so it won't shrink and crack the way all-purpose compound can when applied thick. On standard tapered seams, all-purpose compound bonds paper tape well and gives more working time to get the embed right before it starts to set up.
Once the tape coat is dry or set, the fill coat goes on with an 8-inch knife, spread wider than the first pass, to build the joint up level with the surrounding board and start feathering the edges thin. Compound feathering is what makes a seam disappear — each coat has to taper down to nearly nothing at the edges rather than stopping abruptly, or you'll get a visible ridge once it's painted.
The finish coat follows with a 10-inch or 12-inch knife, wider still, blending the edges into the surrounding drywall so there's no perceptible step. Finish coat blending is where most of the skill shows — a rushed finish coat leaves faint knife lines that only show up once primer goes on and the light changes. Between coats, compound consistency matters: each pass should be slightly thinner than the last, since a thick first coat needs body to bed the tape, but a finish coat needs to spread thin and smooth without dragging.
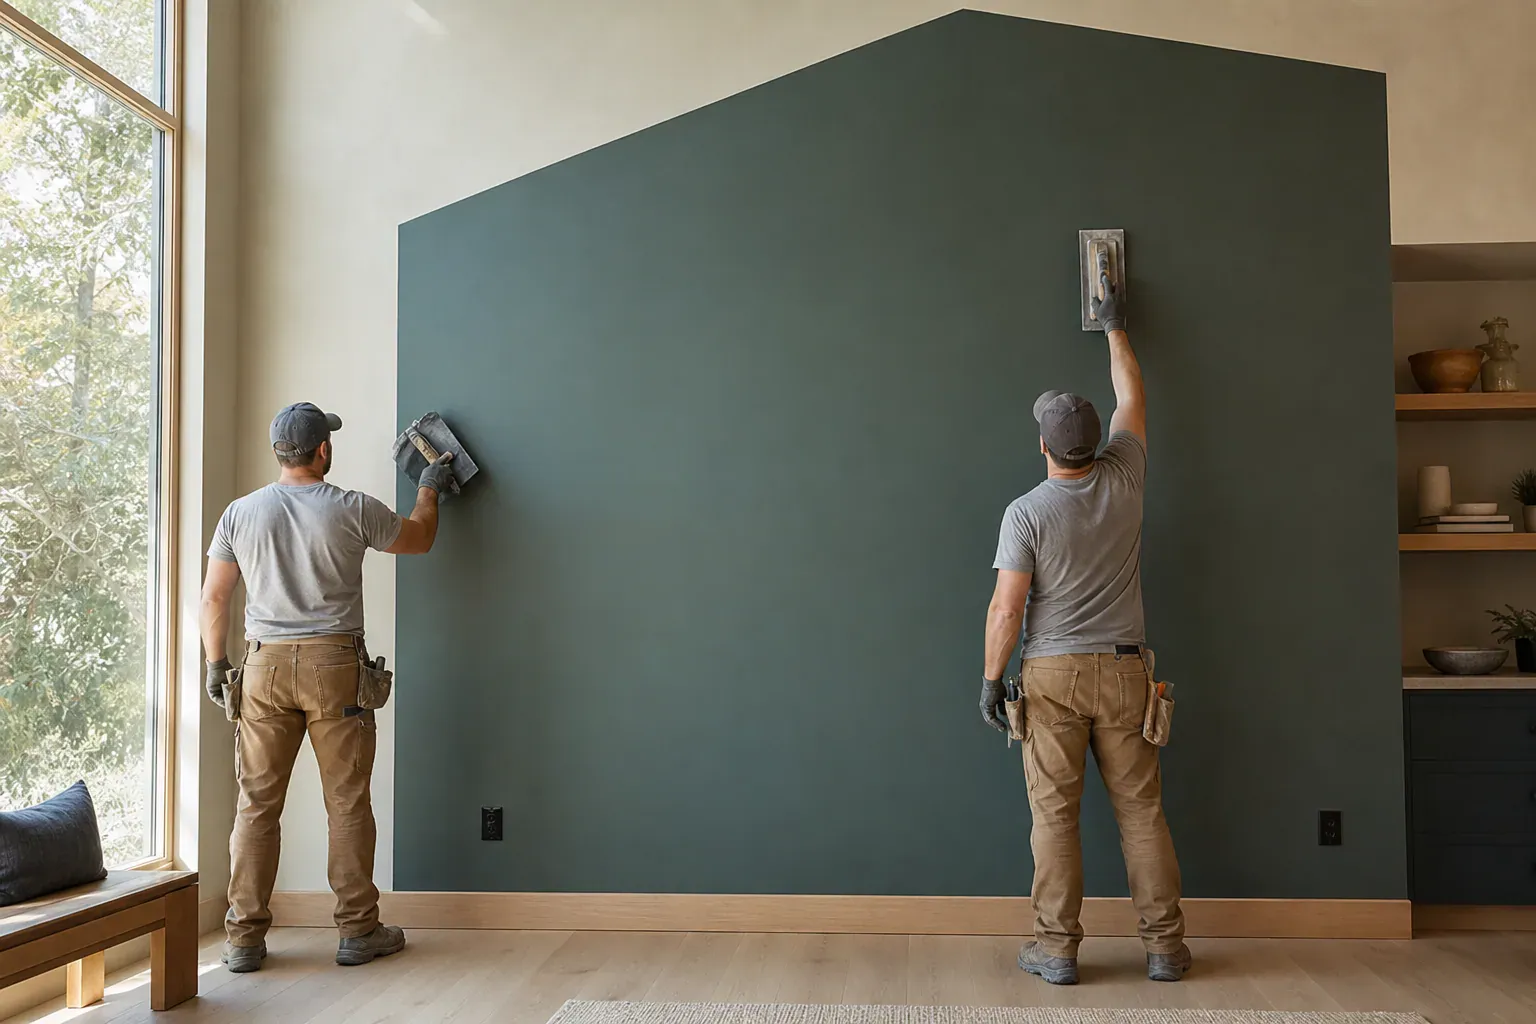
Corners get their own technique because they don't lie flat under a straight knife blade, and inside corners behave completely differently from outside corners.
Inside corner finishing uses paper tape folded down the center crease and embedded with a corner knife or a 6-inch knife worked into one side at a time. The compound goes on both sides of the corner, the tape gets pressed into the crease, and then each side gets its own fill and finish coats separately — trying to coat both sides of an inside corner in one pass almost always leaves one side thin.
Outside corner protection is a different problem: outside corners take physical impact from furniture, vacuum cleaners, and foot traffic, so they need rigid reinforcement, not just tape.
We use metal or vinyl corner bead on every outside corner — it's fastened or set in compound over the corner, then mudded and feathered out on both sides like any seam. Corner bead gives outside corners a hard, straight edge that survives impact; paper tape alone on an outside corner will eventually crack and peel under normal household bumps.
Inside corners, by contrast, don't take impact the same way and need to flex slightly with seasonal building movement, so paper tape stays the standard there — rigid bead in an inside corner tends to crack loose as the framing shifts a fraction of an inch through the year. The decision comes down to where the corner sits and what hits it, not personal preference.
Drywall patching for small holes — doorknob punctures, anchor holes, thermostat relocations — usually starts with a self-adhesive mesh patch or a scrap of drywall cut to fit and backed with scrap wood, or a California patch technique for anything larger than a few inches. Compound goes on in two or three thin coats over the patch, feathered out past the edges of the damage so the repair blends into the surrounding wall rather than sitting as a raised or sunken spot.
Not every crack is the same problem. Shrinkage cracks are thin, straight, usually along a taped seam or in a corner, and come from normal compound shrinkage or minor seasonal movement — a simple re-tape and re-mud fixes them. Structural cracks are diagonal, wider, often running from a door or window corner up toward the ceiling, and point to actual foundation settlement or framing movement.
For settlement-related drywall crack repair, we cut out the cracked section, install fiberglass mesh tape rather than paper tape since it holds up better over active movement, and coat it with setting compound for extra rigidity. If the movement is ongoing rather than historical, we'll say so — re-taping a crack that's still actively opening from a shifting foundation is a maintenance item, not a permanent fix, and the homeowner should know that going in. Older houses on the hillside lots around Glendale, where foundations were poured decades ago, tend to show more of this seasonal crack activity than newer slab construction down in the flats.
Water-damaged drywall gets cut back well past the visible stain — wet drywall wicks moisture sideways inside the wall cavity, so cutting exactly to the stain line usually leaves damp board that will bubble and mold later. Once the area's dry and any leak is actually fixed, we replace the cut section, and where the damage was near a bathroom, kitchen, or laundry area, we use moisture-resistant board with a moisture-resistant compound and primer on the patch rather than standard materials.
Moisture-resistant finishing matters most in areas that see regular humidity swings — around showers, under sinks, near exterior walls with condensation issues. It won't make drywall waterproof, but it slows moisture absorption enough to buy real protection against a slow leak turning into a mold problem before anyone notices.
After any patch, texture and paint have to match the surrounding wall or the repair sticks out worse than the original damage. We match texture first — knockdown, orange peel, or smooth — using the same tools and technique as the original application, then feather the texture edge out past the compound repair so there's no hard line. For paint, we prime the patch first since bare compound absorbs paint differently than a painted wall, which causes flashing — a visible sheen difference — if skipped. Matching the actual paint color usually means working from a chip or a can if the homeowner has one, or testing swatches in the actual room light before committing to a full blend coat.
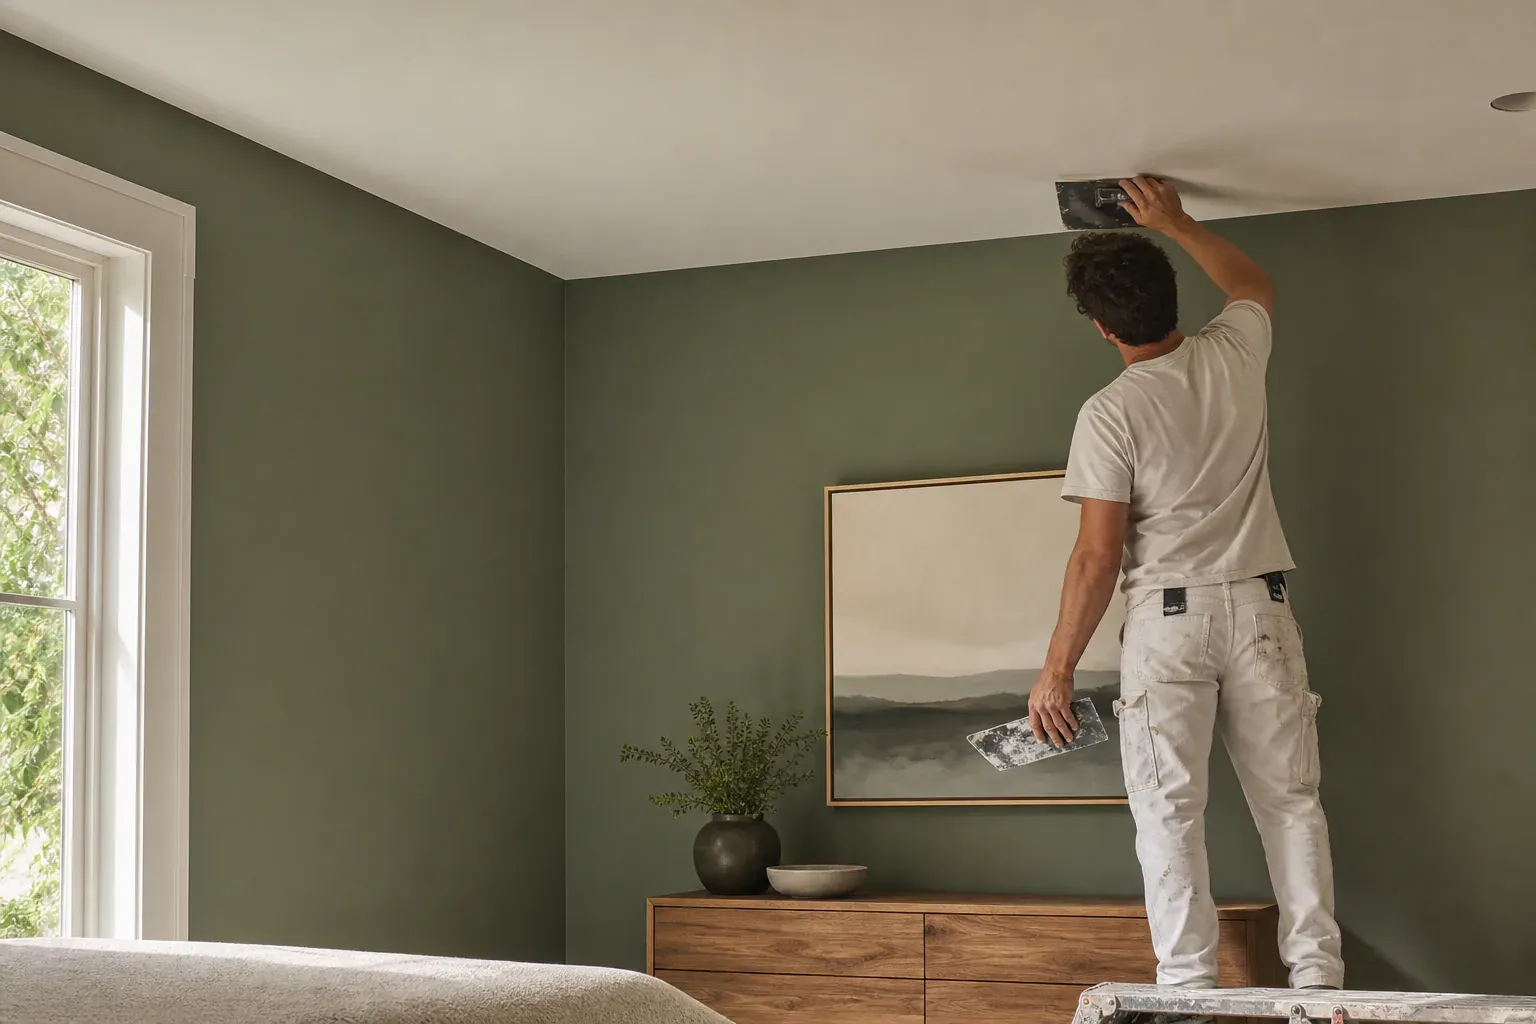
Texture is applied after the taping and mudding is done and the surface is at the appropriate level, and it does double duty — it's a look, and it also hides minor imperfections that a dead-flat finish would show.
Knockdown texture is sprayed on as compound splatter, left to set up for a few minutes, then flattened with a wide trowel that knocks the peaks down and leaves a mottled, slightly stucco-like pattern. It's forgiving of a level 3 finish underneath since the texture itself masks minor unevenness.
Orange peel is sprayed compound left to dry without troweling, giving a fine, even stipple that resembles citrus peel — common in hallways, closets, and rental units where a fast, durable texture matters more than a decorative look.
Smooth finish means no texture at all — this is where a level 4 or level 5 finish underneath actually matters, since there's no texture to hide seams or tool marks.
Spraying is faster and more consistent across large areas like whole ceilings, but hand application with a trowel or brush is often the only way to blend a patch into an existing textured wall without a visible seam around the repair.
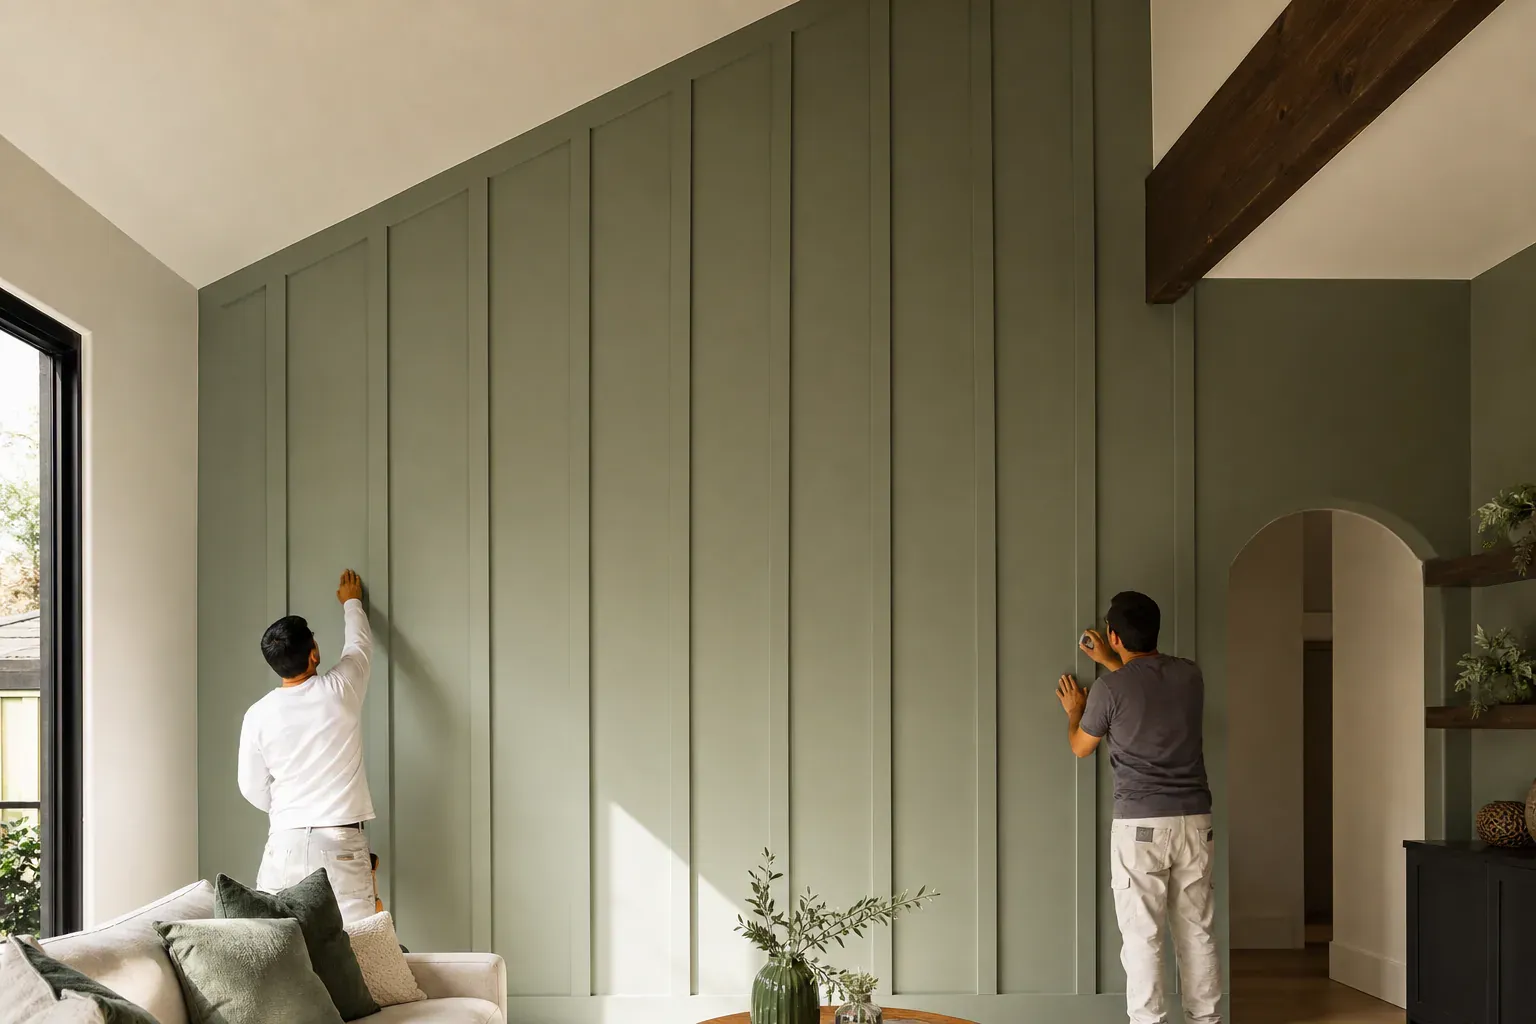
Ceilings get finished with the same three-coat process as walls, but gravity changes everything about the technique. Mud sags and drips overhead in a way it never does on a vertical wall, so we run coats slightly stiffer on ceilings and work in shorter sections to keep compound from sagging before it sets. Butt joints on ceilings — where sheets meet across a room's width — need extra fill coat width because there's no taper to work with, unlike the factory-tapered long edges.
Popcorn or heavy texture ceilings hide a lot of this, but any ceiling headed for a smooth or lightly textured finish, especially under a skylight or a run of can lights, needs the same feathering discipline as a level 4 or 5 wall — arguably more, since ceiling light rakes across the surface at a harsher angle than wall light usually does.
Fastener head concealment means burying every screw or nail head under enough compound that it's flush with the surrounding surface and invisible once painted. We set screws slightly below the paper surface without breaking it, then run two thin coats of compound over each head with a putty knife, sanding lightly between coats.
Nail pops happen when a fastener works its way back out of the framing — usually from lumber shrinking as it dries out over a house's first year, or from seasonal humidity swings pulling the wood away from the drywall. You'll see a small round bump or crack in the paint directly over a fastener. The repair is to drive the popped nail back in or remove it and set a new drywall screw a couple inches away, re-mud the spot with a putty knife, sand it flush once dry, and prime before repainting. Skipping the new screw and just mudding over a loose nail is a common shortcut that lets the pop come right back.
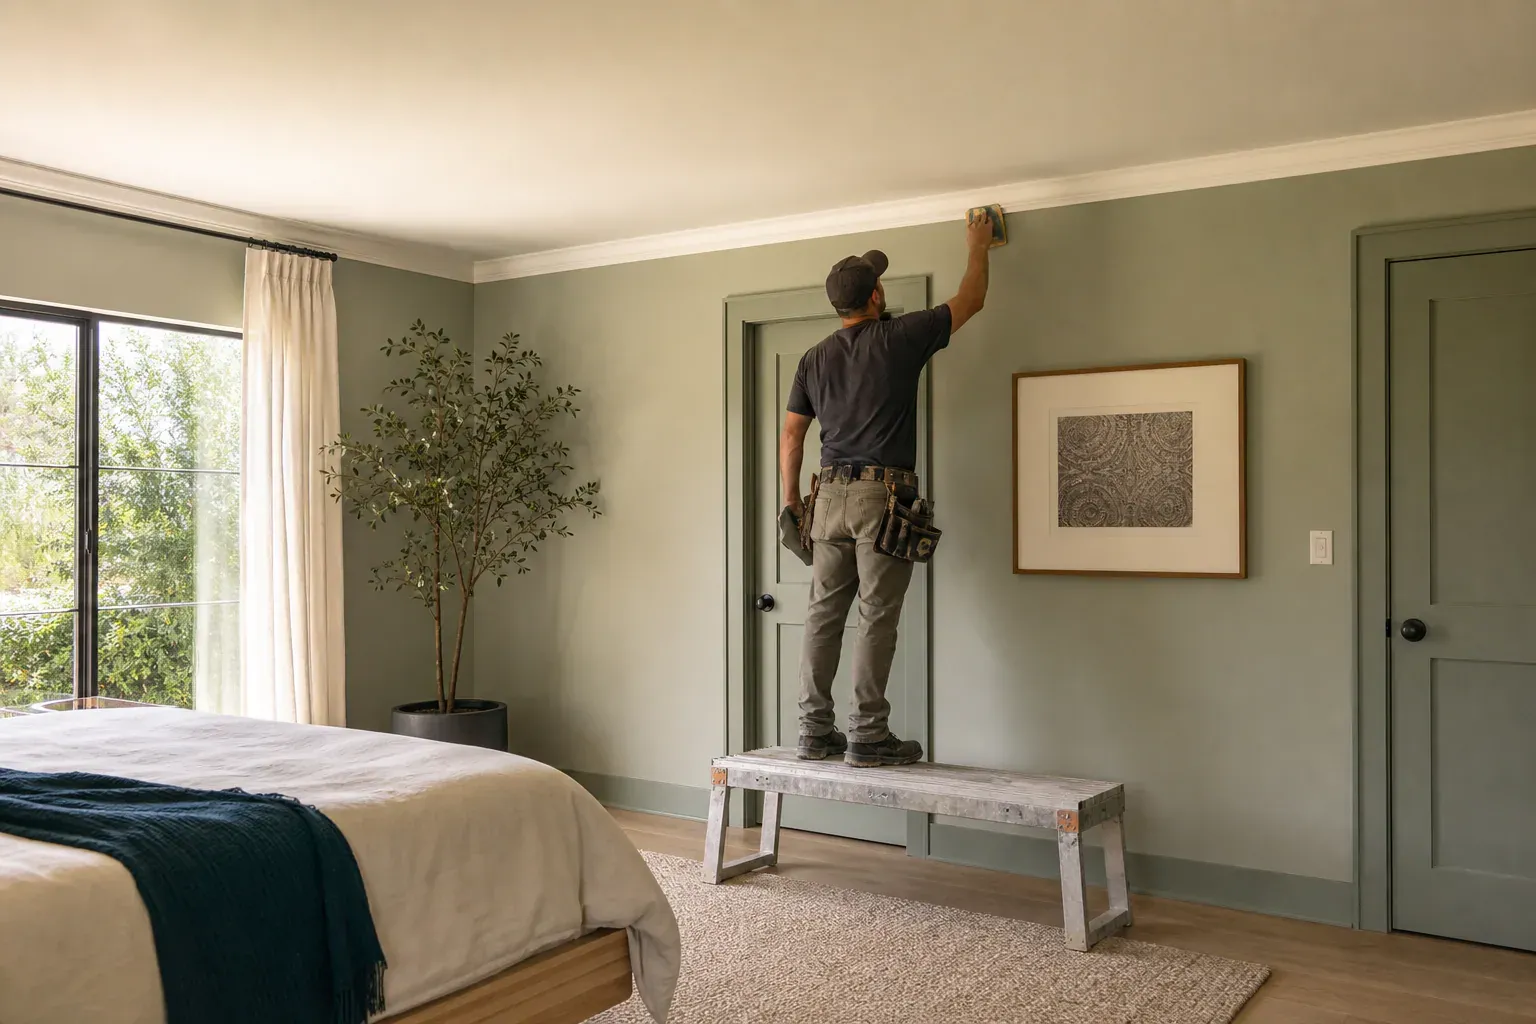
The drywall trade grades finish work on a scale of levels 0 through 5, and it's worth knowing where your project falls because the level drives both the labor and the cost. Higher levels mean more coats, more sanding passes, and more time with a trowel — not a different material, just more of it, applied more precisely.
Level 0 finish means no tape, no mud, no fasteners covered — bare board, usually temporary construction or a space getting torn out later. Level 1 finish is tape embedded in joint compound with the surface left rough, no additional coats; you'll see this above suspended ceiling grids or behind removable access panels where nobody will ever look at the wall closely. Level 2 finish adds a thin fill coat over the tape and fastener heads, enough to knock down ridges, but tool marks and joint lines are still visible. Garages, storage rooms, and attic spaces getting light use are candidates for level 2 — functional, not decorative.
Level 3 finish gets one additional coat of compound over the tape coat, wide enough to bury the tape edges, with a sanding pass to smooth ridges. It's common under heavy texture, where the texture itself hides minor imperfections — garages converted to living space, or walls getting a heavy knockdown or orange peel finish.
Level 4 finish is the standard for most living spaces getting a flat or eggshell paint: two fill/finish coats over the tape coat, each one feathered wider than the last, then a full sanding pass. This is the finish most builders spec by default in bedrooms, hallways, and living rooms, and it holds up fine under normal paint sheens and normal light.
Level 5 finish is the top grade: a skim coat of thinned joint compound applied over the entire surface — not just the joints — after the standard coats, then sanded smooth. That skim coat equalizes the paper texture of the board itself against the texture of the compound, so under raking light from a window or a wall wash light, there's no difference in sheen between where the tape is and where the bare paper is. It's the clearest example of true surface monolithic preparation — the whole wall, not just the joints, gets treated as one surface.
We spec level 5 on accent walls lit by can lights, on ceilings with skylights, and on any wall getting a high-gloss or satin paint where imperfections read as shadows. It takes real technique and more site time than level 4, which is why it costs more — there's no shortcut version of a level 5 finish that still holds up under grazing light.
Different stages of the work call for different knives and tools, and using the wrong one is a fast way to leave visible tool marks. Professional drywalling tools aren't interchangeable with whatever's in a homeowner's toolbox — a taping knife has a specific blade flex and a mud pan is shaped to load a knife evenly, and both matter more than they look like they should once you're trying to lay a flat coat across an eight-foot seam. A putty knife handles small fills and fastener heads. A 6-inch taping knife does the embed coat. 8-inch and 10-inch knives spread fill coats. A 12-inch knife or trowel does the final finish coat and feathering. A mud pan holds working compound at the wall so you're not dipping straight into the bucket. For larger jobs, an automatic taper applies tape and compound in one pass along a seam, speeding up production runs without sacrificing embed quality when it's run correctly. After everything's dry, a belt sander or pole sander with the right grit knocks down ridges and knife marks ahead of priming.
All-purpose compound is the workhorse — good bond, decent working time, sands easily, and it's what most fill and finish coats use. Lightweight compound is easier to sand and less prone to shrinkage cracking, often used for finish coats or texture work where less weight and less sanding effort matter. Setting compound hardens by chemical reaction on a fixed schedule rather than by air-drying, so it's the choice for same-day multi-coat work, deep fills, and any repair where shrinkage or crack resistance matters more than sanding ease. Ready-mix compound comes pre-mixed in buckets for convenience on smaller jobs and touch-ups, while setting compounds come as powder mixed to a specific consistency for the task at hand — some crews also run compound in tube form through a hand applicator for fast, consistent bead lines on corner work or repetitive fill passes.
Compound consistency mixing changes by stage: the embed coat needs enough body to hold tape in place without squeezing out completely, fill coats run a bit thicker to build height, and finish coats get thinned slightly with water so they spread thin and smooth off a wide knife without dragging or leaving ridges.
Sanding between coats removes ridges and knife lines before the next coat goes on, using a medium grit that won't tear the paper face of the board. Final sanding before primer uses a finer grit and even, overlapping passes rather than aggressive circular scrubbing, which can create low spots that show up as flat patches once primed.
Drywall primer application matters as much as the finish work underneath it — compound and drywall paper absorb paint at different rates, so skipping primer causes flashing, that patchy sheen difference across a wall. A PVA or drywall-specific primer evens out absorption across the whole surface before topcoat goes on, so the wall reads as one continuous, seamless plane rather than a patchwork of compound and paper.
We work to the Gypsum Association's GA-214 standard, the industry reference defining what each finish level actually requires — it's the document that keeps "level 4 finish" meaning the same thing on every job rather than being whatever a given crew feels like calling it.
The first pass is bedding drywall tape into a layer of joint compound run down the seam with a 6-inch knife.
Once the tape coat is dry or set, the fill coat goes on with an 8-inch knife, spread wider than the first pass, to build the joint up level with the surrounding board and start feathering…
We use metal or vinyl corner bead on every outside corner — it's fastened or set in compound over the corner, then mudded and feathered out on both sides like any seam.
Not every crack is the same problem. Shrinkage cracks are thin, straight, usually along a taped seam or in a corner, and come from normal compound shrinkage or minor seasonal movement — a…
Water-damaged drywall gets cut back well past the visible stain — wet drywall wicks moisture sideways inside the wall cavity, so cutting exactly to the stain line usually leaves damp board…
After any patch, texture and paint have to match the surrounding wall or the repair sticks out worse than the original damage.
Why homeowners call us
Every drywall job is scoped and priced in writing, so the number you approve is the number you pay. If something behind the wall changes the work, we stop and price it first.
You speak to the people doing the work, not a call centre, and cover certificates go to your building manager or general contractor on request.
Containment, floor protection and same-day debris removal on every interior job — the space stays usable while the work is going on.
Crews work Glendale and the surrounding cities every week, so a walkthrough is usually available within the same week you call.
FAQ
Levels run 0 through 5. Level 0 is bare board, levels 1–2 suit garages and utility spaces, level 3 works under heavy texture, level 4 is the standard for painted living spaces, and level 5 adds a full skim coat for a flawless finish under harsh or raking light. Most bedrooms and living rooms only need level 4; reserve level 5 for accent walls, ceilings with skylights, or glossy paint sheens.
Bed paper tape into a first coat of compound with a 6-inch knife, squeegeeing out air bubbles. Once dry or set, apply a fill coat with an 8-inch knife wider than the first, feathering the edges thin. Finish with a 10- to 12-inch knife spread even wider, blending into the surrounding board. Sand lightly between coats so no ridge or knife line survives to the painted surface.
All-purpose compound bonds tape well, has solid working time, and handles most fill and finish coats. Lightweight compound weighs less, sands easier, and shrinks less, which makes it a common choice for finish coats or texture work. Neither hardens chemically — both dry by evaporation, unlike setting compound, so they're not the right pick for same-day multi-coat repairs.
Nail pops happen when lumber shrinks as it dries or shifts seasonally, pulling a fastener back out from the framing and pushing a small bump through the paint. To repair, drive the nail back in or remove it, drive a new drywall screw nearby into solid framing, mud over the spot with a putty knife in two thin coats, sand flush, then prime before repainting.
Cut out the cracked section, apply fiberglass mesh tape rather than paper tape since it tolerates ongoing movement better, and finish with setting compound for added rigidity. If the crack traces back to active foundation settlement rather than old, stable movement, the repair should be treated as maintenance rather than permanent, since it can reopen while the underlying movement continues.
A full knife set from putty knife through 12-inch finishing knife, a mud pan, and often an automatic taper for consistent tape embedding on longer runs. Level 5 also calls for a thinned skim coat applied across the whole surface, a compound tube or roller for even application, careful inter-coat sanding with a pole sander, and a final fine-grit pass before primer to catch any remaining texture difference.
Call (213) 555-0110 for a walkthrough, usually within the same week.