Pre-Installation Framing Inspection
Before any board goes up we walk the framing. This pre-installation framing inspection checks stud spacing with a tape to confirm it's consistent at 16 or 24 inches on center, looks for…
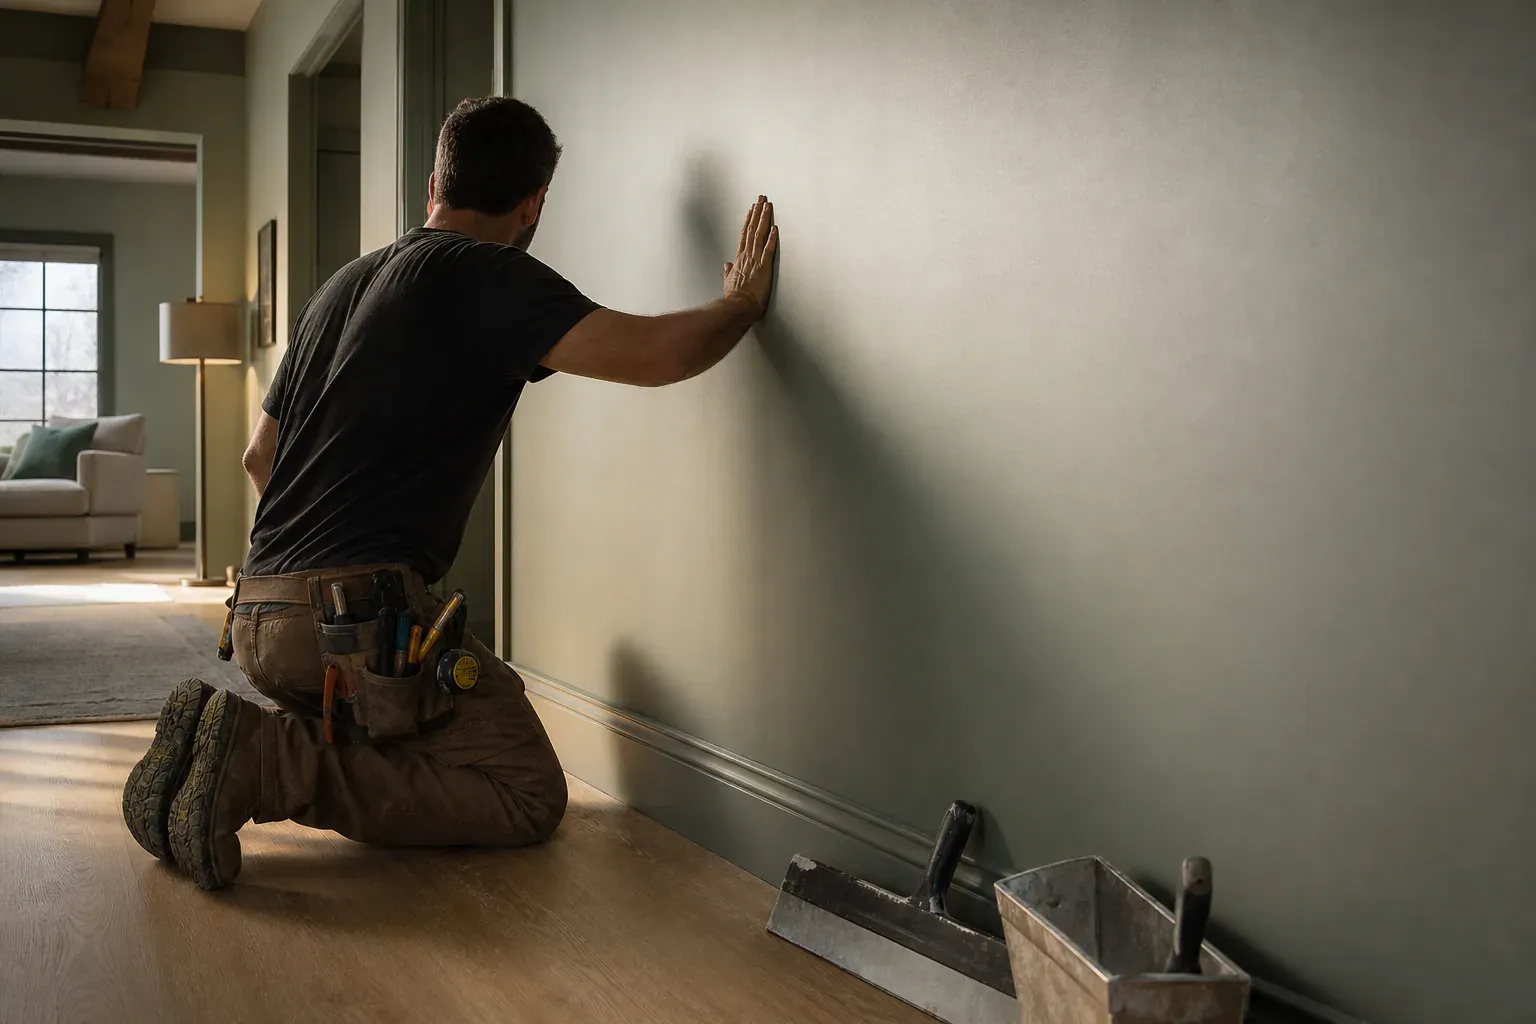
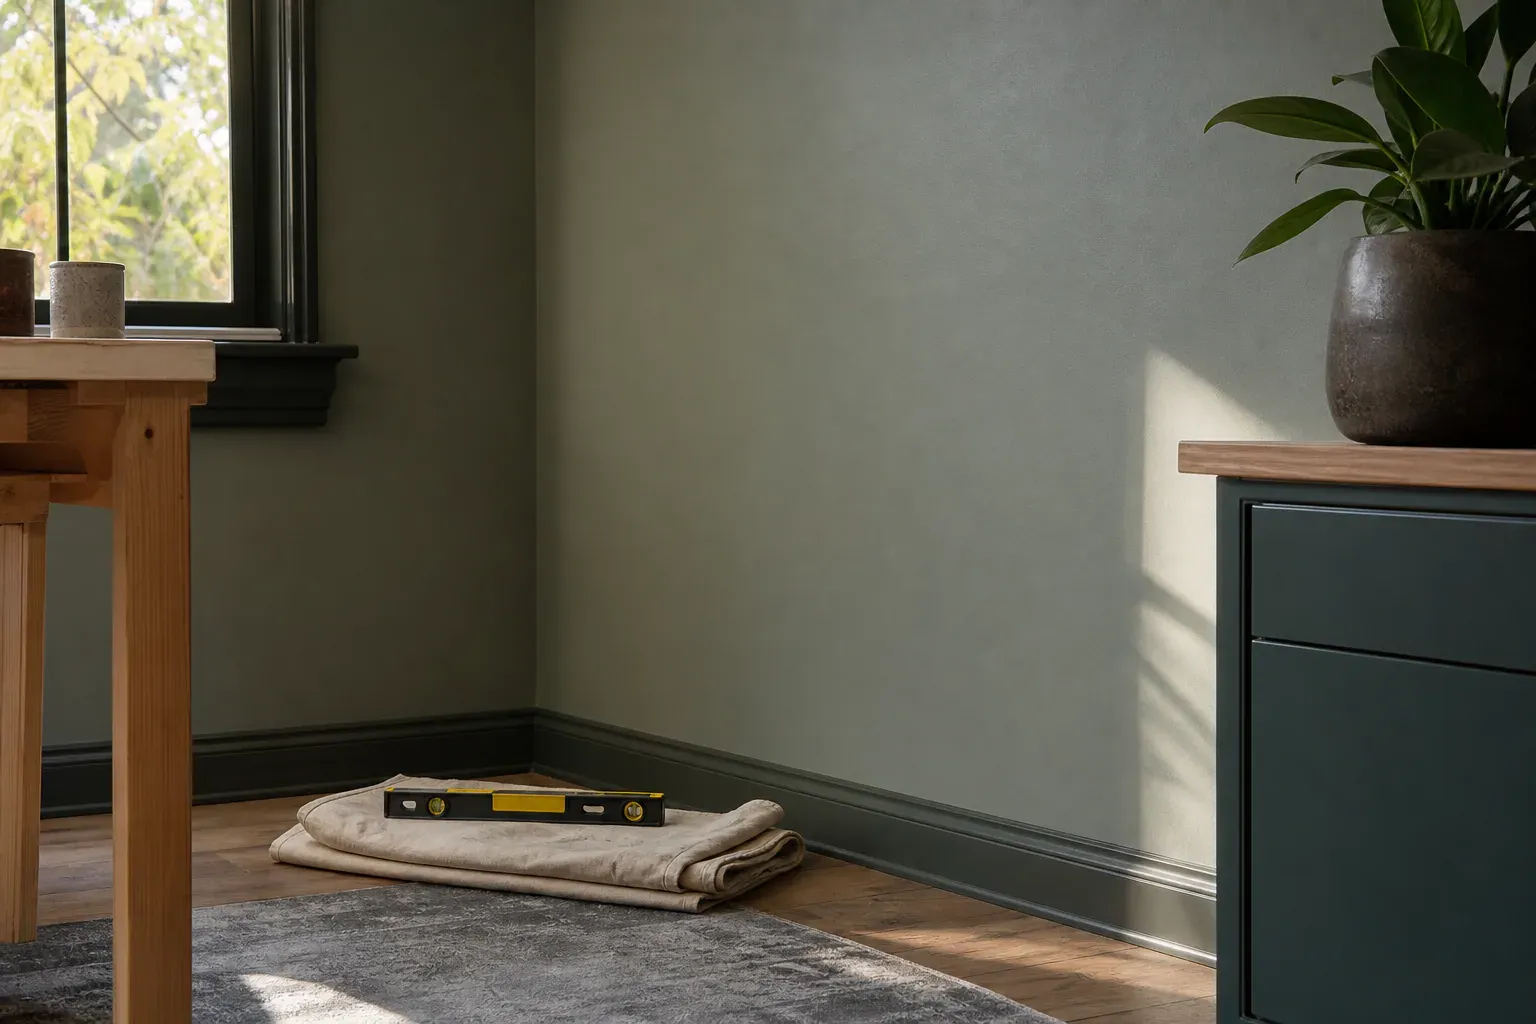
Glendale Quality Drywall handles drywall installation, drywall repair, and taping and finishing work for homeowners, property managers, and builders throughout Glendale, CA. We hang board on new framing, patch storm and plumbing damage, and finish additions so the seams disappear into the existing wall. Most calls start with a simple question — patch it or tear it out — and we give a straight answer before any tools come out of the truck.
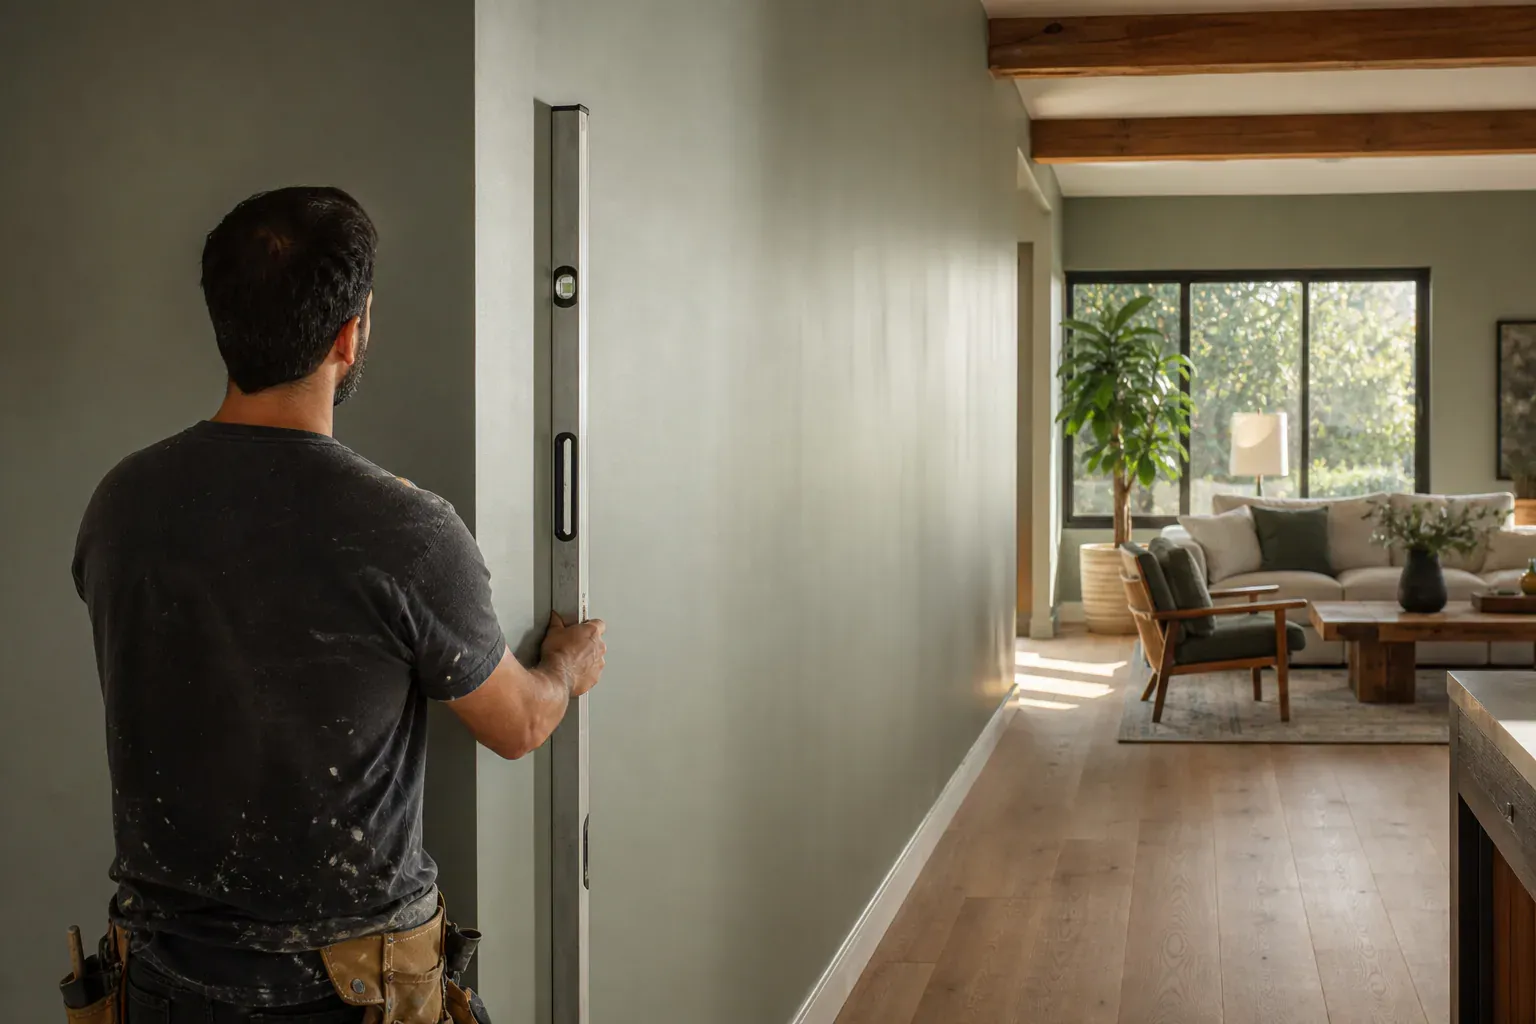
Glendale's housing stock runs from older hillside blocks with plaster-and-lath walls to newer builds in the flats with standard half-inch board throughout. Drywall work on the two isn't the same job. Older houses often have out-of-square framing, furring strips, and non-standard stud spacing that a crew has to account for before a single sheet goes up. Newer construction and additions are more forgiving but still need careful drywall panel layout planning so butt joints don't land in bad spots.
We handle new construction hanging, room additions, garage conversions, and repair work — nail pops, water stains, cracked corners, holes from a doorknob or a mover's dolly. A crew that only does one type of job tends to guess on the other; we do both regularly enough that neither is a guess.
Seam placement and finish quality are where a hired crew earns its keep. A homeowner hanging first sheets almost always ends up with visible seams at eye level and inconsistent screw dimples that read through paint. We plan layout to keep seams low, high, or behind fixtures where the eye doesn't land.
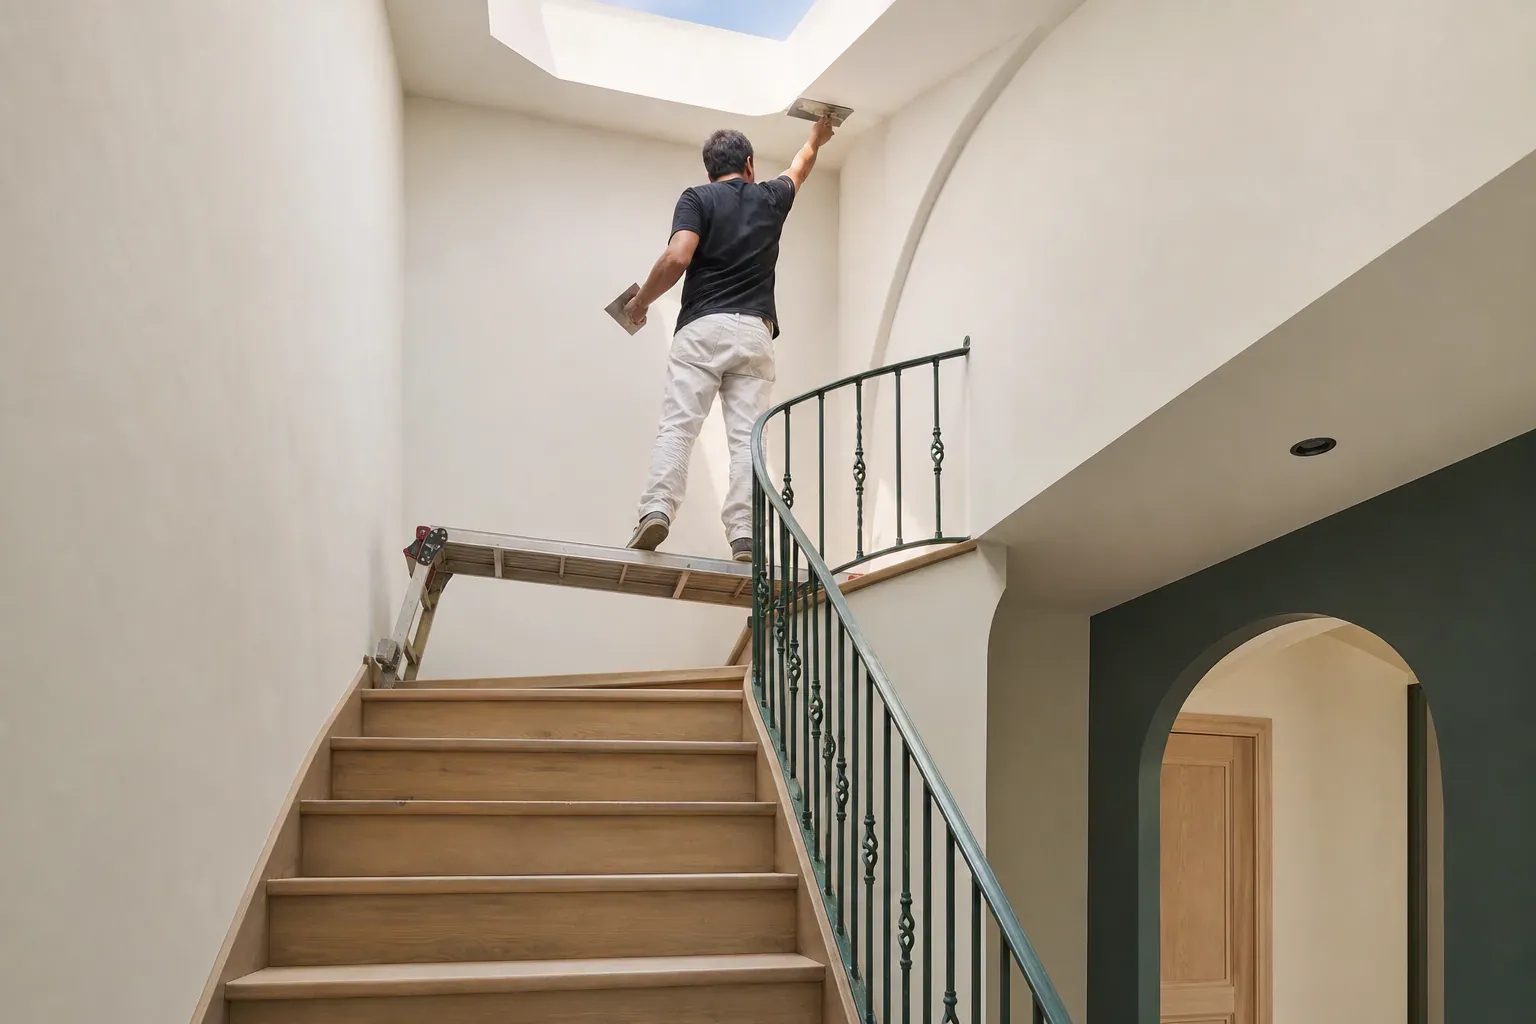
Before any board goes up we walk the framing. This pre-installation framing inspection checks stud spacing with a tape to confirm it's consistent at 16 or 24 inches on center, looks for twisted or bowed studs that will telegraph through the finished wall, and flags electrical or plumbing sitting too close to the surface. We snap a chalk line for the first sheet and plan panel layout so seams fall away from doorways and light switches.
Cutting and sizing drywall for outlets, switch boxes, windows, and doorways is where sloppy jobs show. We measure off two fixed points, mark with a drywall T square, and cut with a utility knife for straight lines or a spiral saw for plunge cuts. Round holes for can lights or pipe penetrations get a hole saw sized to the fixture. Doorway and window cutouts get scored, snapped, and trimmed with a rasp so the board sits tight without gaps.
We fasten with coarse-thread drywall screws and a screw gun set to seat the head just below the paper without tearing it. Bugle head screws are standard on wood framing; screw placement runs every 12 inches on ceilings and every 16 inches on walls along each stud line. Nails still show up on older jobs, but nail pops are almost always a nail problem, not a board problem, which is why we skip them on ceilings and high-traffic wall areas.
Once sheets are hung, taping and mudding is what makes the wall disappear. We embed paper or mesh tape into the first coat of joint compound at every seam, let it dry, then build two more coats progressively wider than the last. This drywall seam treatment is what keeps joints from cracking or shadowing under paint later. Corner drywall edging — metal or vinyl bead at outside corners — goes on before mud touches those edges, since it's the part that takes the most impact over time. Sanding and smoothing between coats separates a flat wall from one that shows every seam under raking light from a window.
Finish levels run 0 through 5, and the right one depends on the room and the budget.
Glendale homes carry a mix of texture types — knockdown, orange peel, smooth skip trowel, and some older popcorn ceilings. On a repair or an addition tying into existing wall, we match the existing texture by hand or hopper gun before painting so the patch doesn't read as a patch. Getting the texture wrong is the most common reason a repair looks worse than the damage it fixed.
Nail pops, small stress cracks, and holes under a few inches across are almost always a repair, not a replacement. We cut back the loose material, refasten with proper screw placement, tape and mud, and it holds. Ceiling repair follows the same logic on sagging seams or water-stained patches from a slow leak, provided the board underneath hasn't gone soft. Larger diagonal stress cracks usually mean foundation settlement, common in some of Glendale's older hillside properties, and repairing them without addressing the movement means the crack comes back. Water damage restoration is different: if the board has swollen, gone soft, or shows mold, it gets cut out and replaced, because painting over water damage just hides a problem that keeps working.
Full removal starts with cutting the damaged section back to the nearest stud or joist so the new piece has something solid to fasten to. Old board, insulation, and any wet material get bagged and hauled off site rather than left in a dumpster for weeks. We check behind the removed section for the source of the damage before new board goes up, since replacing drywall over an unresolved leak just restarts the clock.
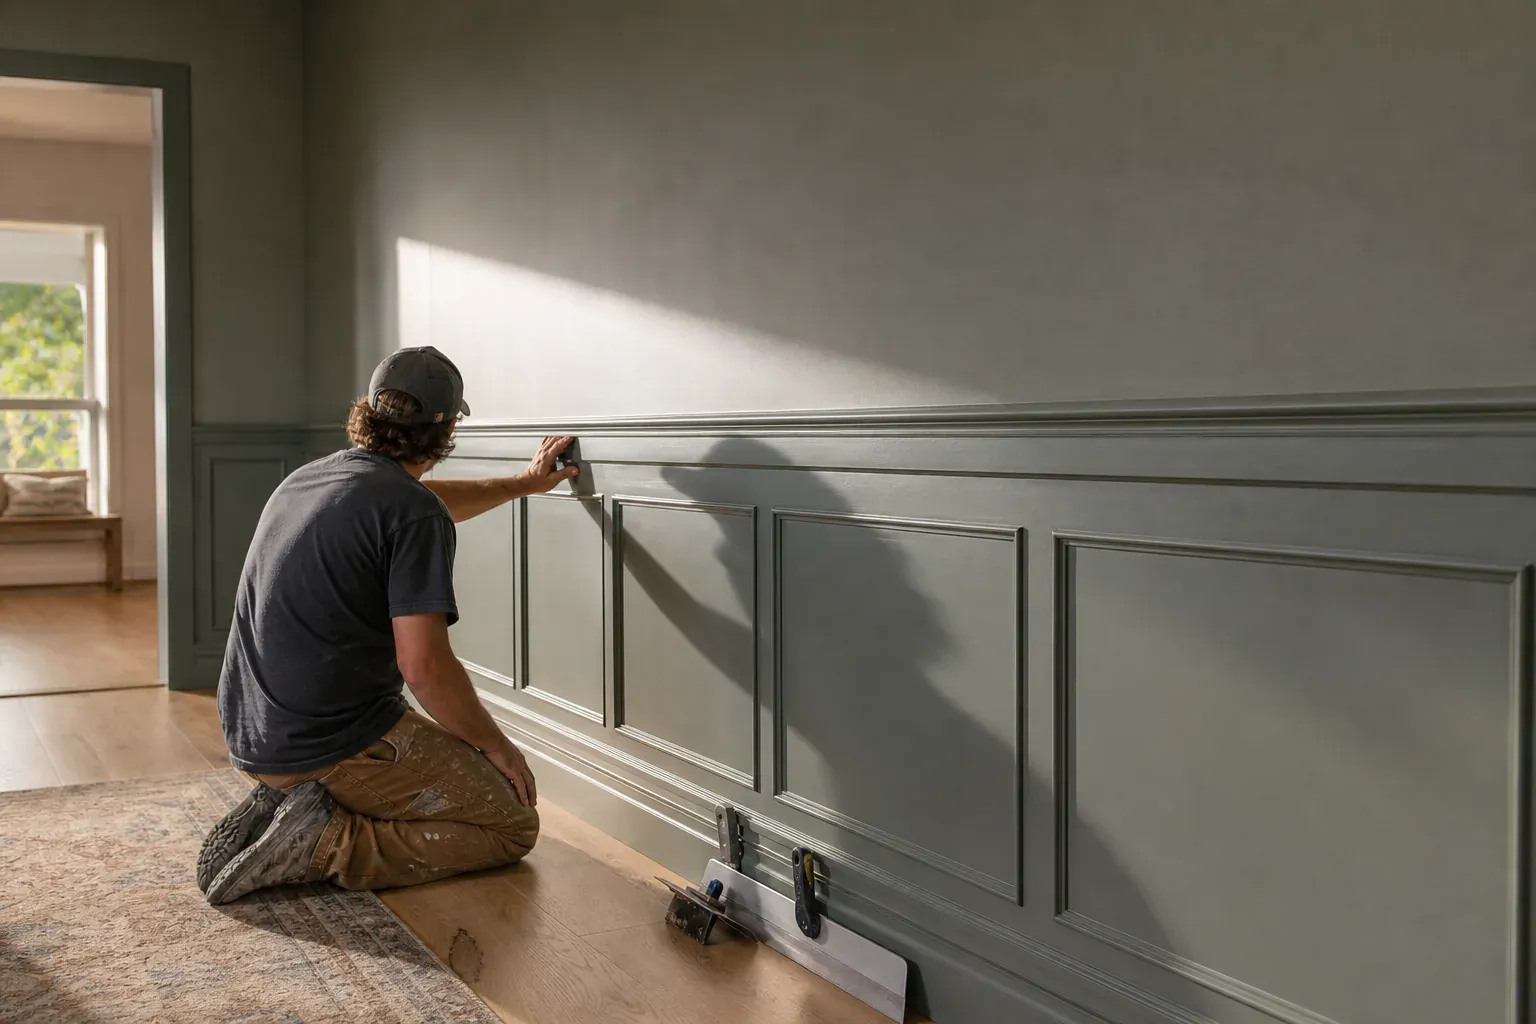
Cost depends on square footage, finish level, ceiling height, and access. A single-story room addition with flat walls and Level 4 finish costs less per square foot than a repair that requires texture matching and touch-up painting to blend into an existing space. Material choice moves the number too — standard half-inch board is the baseline, while moisture-resistant or fire-resistant board costs more per sheet.
Access affects labor more than most homeowners expect. A garage or open room addition goes fast. A repair behind a built-in cabinet, in a stairwell, or on a high ceiling where drywall lift usage becomes necessary takes longer per square foot, even though material cost is the same. For repairs, a small patch is usually cheaper than full replacement, but if damage covers more than roughly a third of a wall or ceiling, full-sheet replacement is often the better value because it avoids visible seam lines from patch edges.
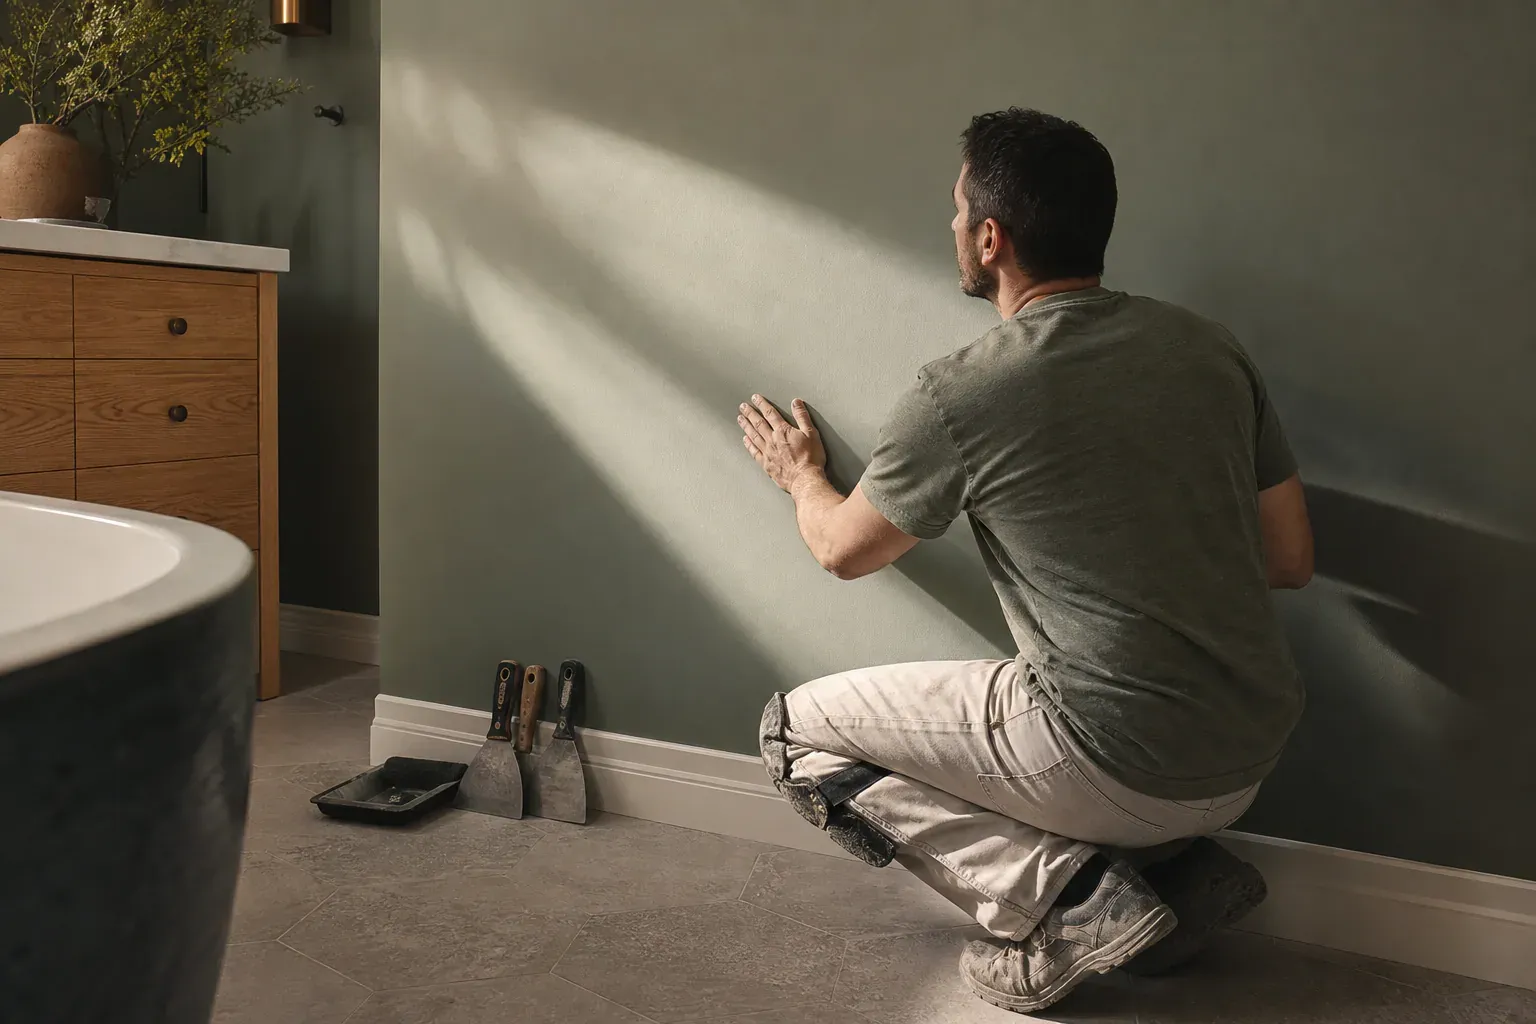
We use moisture-resistant drywall in bathrooms, laundry rooms, and kitchens near sinks, and fire-resistant drywall (Type X) in garages, shared walls, and around furnaces where code requires it. Mold- and moisture-resistant gypsum board is our default spec for bathrooms and basements that see regular humidity. Lightweight drywall sheet options cut per-sheet weight, which speeds up ceiling installation and reduces fatigue on multi-room jobs.
Metal stud framing shows up in some additions, garage conversions, and commercial-adjacent spaces. Fastening changes — screws need to bite into thinner metal rather than wood, so we use self-tapping fine-thread screws, and we're more careful about over-driving since metal doesn't compress like wood. Layout is more forgiving because metal studs run truer than wood, but there's less tolerance for error when marking stud lines since there's no give to the material.
Popcorn ceiling removal on Glendale's older homes needs a check for asbestos content before scraping starts, since many ceilings from certain build eras used it in the texture. Once cleared, we wet-scrape the texture, skim the ceiling to Level 4 or 5, and integrate it with any new drywall installation in the same room so the ceiling and walls read as one continuous finish.
Quality installation comes down to using the right tool for each step rather than making one tool do everything.
Before any board goes up we walk the framing. This pre-installation framing inspection checks stud spacing with a tape to confirm it's consistent at 16 or 24 inches on center, looks for…
Cutting and sizing drywall for outlets, switch boxes, windows, and doorways is where sloppy jobs show.
We fasten with coarse-thread drywall screws and a screw gun set to seat the head just below the paper without tearing it.
Finish levels run 0 through 5, and the right one depends on the room and the budget.
Glendale homes carry a mix of texture types — knockdown, orange peel, smooth skip trowel, and some older popcorn ceilings.
Nail pops, small stress cracks, and holes under a few inches across are almost always a repair, not a replacement.
Why homeowners call us
Every drywall job is scoped and priced in writing, so the number you approve is the number you pay. If something behind the wall changes the work, we stop and price it first.
You speak to the people doing the work, not a call centre, and cover certificates go to your building manager or general contractor on request.
Containment, floor protection and same-day debris removal on every interior job — the space stays usable while the work is going on.
Crews work Glendale and the surrounding cities every week, so a walkthrough is usually available within the same week you call.
FAQ
Cost depends on square footage, finish level, ceiling height, and access to the work area. A straightforward room addition with flat Level 4 walls runs less per square foot than a repair needing texture matching and paint blending. Moisture- or fire-resistant board adds material cost. We walk the space and give a number based on what's actually there, not a phone estimate.
Yes. We leave a floor-to-drywall gap of about a half inch along the bottom edge. It keeps the board from wicking up moisture if the floor gets wet, gives the framing room to settle without cracking the board, and gets covered by baseboard anyway, so it's never visible in the finished room.
On walls, screws go every 16 inches along each stud line. On ceilings, spacing tightens to every 12 inches since gravity puts more stress on the fasteners. Screws also sit a set distance back from panel edges to avoid crumbling the gypsum core. Spacing that's too wide leads to sagging and visible waves once texture and paint go on.
Levels run 0 through 5. Level 0 is unfinished. Level 1 and 2 suit spaces behind tile or above ceilings. Level 3 is a base for heavy texture. Level 4 is standard for flat-painted walls in most rooms. Level 5 adds a full skim coat and is used where side lighting or glossy paint would otherwise show every seam.
For a small patch, a handy homeowner can manage it. For full rooms, ceilings, or anything visible under normal lighting, experienced crews consistently get flatter seams, cleaner texture matching, and fewer nail pops down the line. The material cost is the same either way — the labor is where the finish quality comes from.
We embed tape into a first coat of joint compound at every seam, let it dry fully, then apply two more coats, each wider than the last, feathering the edges so there's no visible ridge. Corners get metal or vinyl edging first. Between coats we sand and smooth, checking under a work light for shadows before moving to texture or paint.
Call (213) 555-0110 for a walkthrough, usually within the same week.