Assessment and Surface Preparation
We start by pressing around each pop to check whether the fastener still grips wood or has backed out entirely, and we check the surrounding drywall paper for tearing or bubbling.
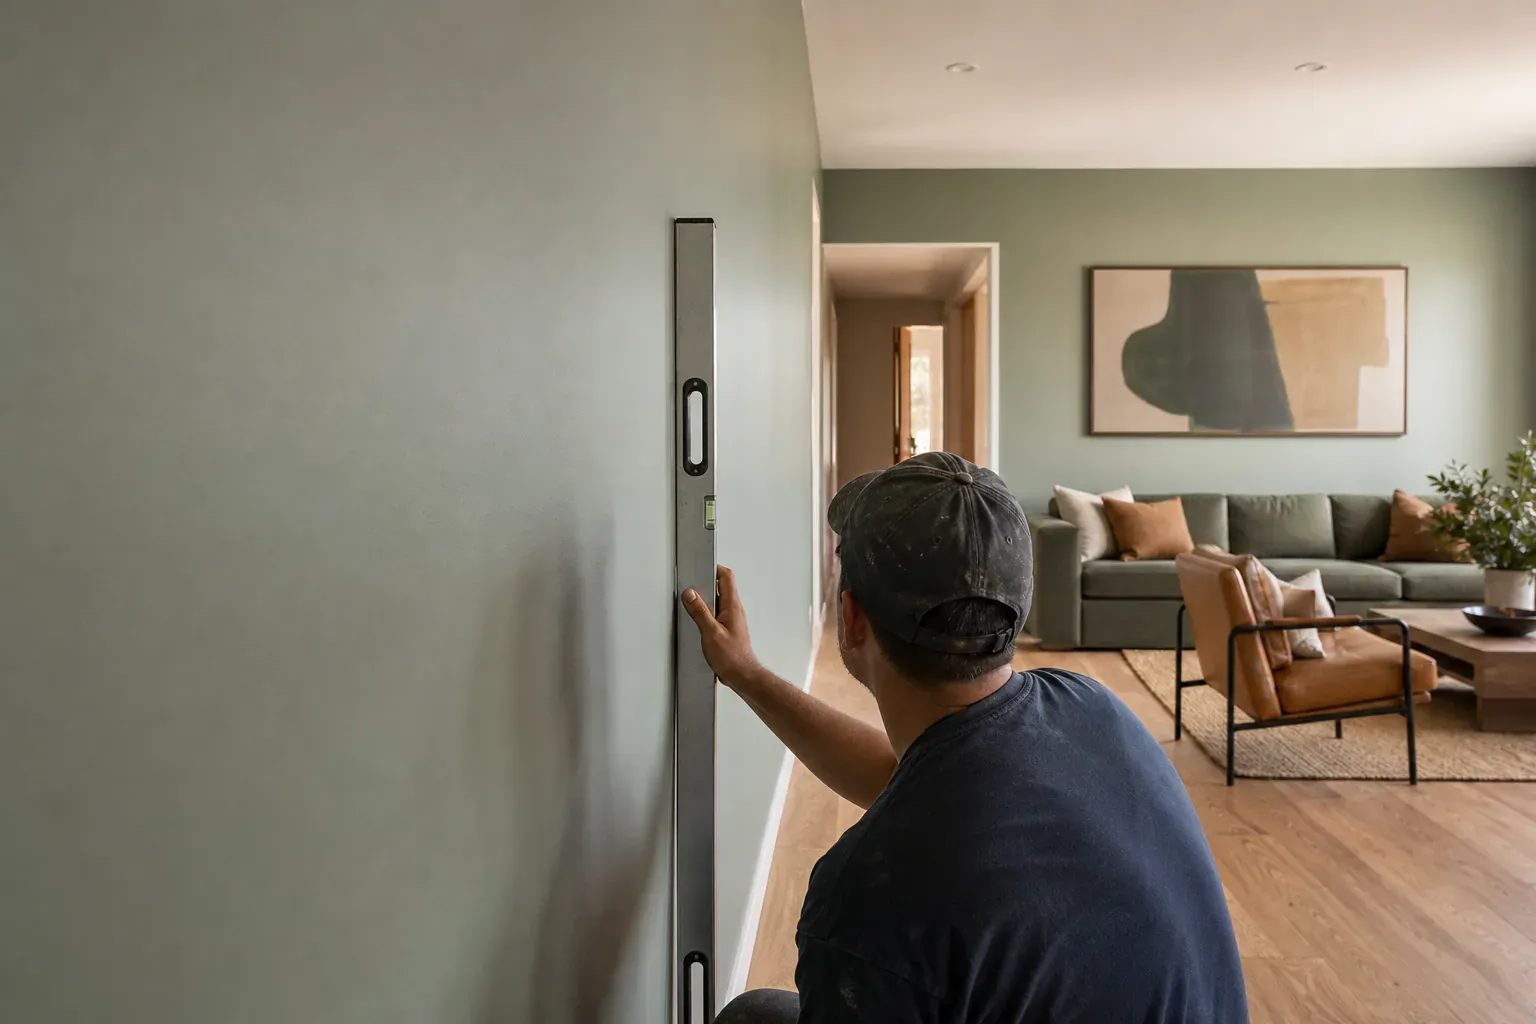
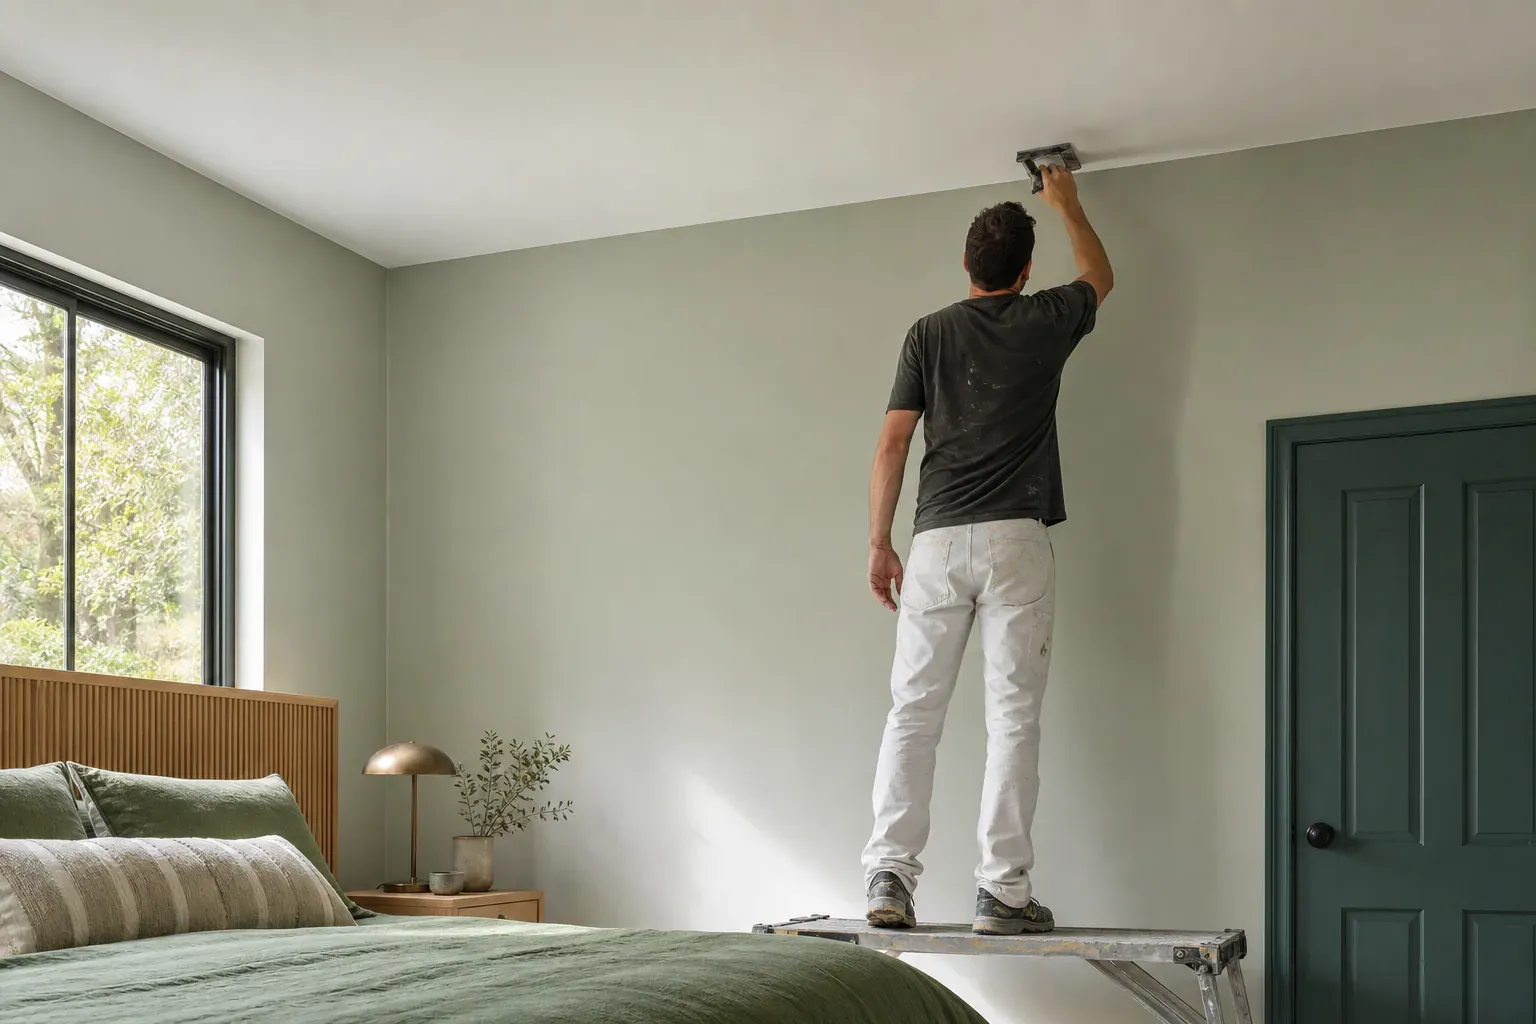
Glendale Quality Drywall repairs drywall nail pops, patches damaged wallboard, and matches texture and paint on walls and ceilings throughout Glendale, CA, working from Glendale Quality Drywall as our home base for scheduling and estimates. We see the same handful of nail pop causes on nearly every service call, and we fix them the same way every time: find why the fastener moved, not just cover it up.
We start by pressing around each pop to check whether the fastener still grips wood or has backed out entirely, and we check the surrounding drywall paper for tearing or bubbling. Loose or crumbling compound gets scraped away completely — patching over failing material just hides the problem for a few months. If the fastener has lost its grip, we remove it or drive a new drywall screw a couple inches away into solid wood, which is the core of proper drywall fastener installation on a repair.
Once the replacement fastener is set correctly below the surface — a proper dimple, not a crater — we apply joint compound in thin coats with a putty knife, letting each coat dry before the next. This multi-coat approach is the same one used for new seams, built up gradually rather than globbed on in one pass, and it produces a smooth, sanded finish that disappears under paint instead of showing a bump or shadow line.
Glendale homes carry a wide range of wall textures — knockdown, orange peel, smooth skip trowel — and matching it is often harder than the patch itself. We build the texture to match what's already on the wall before priming. Primer application on patched areas is not optional; compound and drywall paper absorb paint differently than the surrounding surface, and skipping primer is the most common reason a patch shows through as a dull or shiny spot after repainting drywall patches with latex paint.
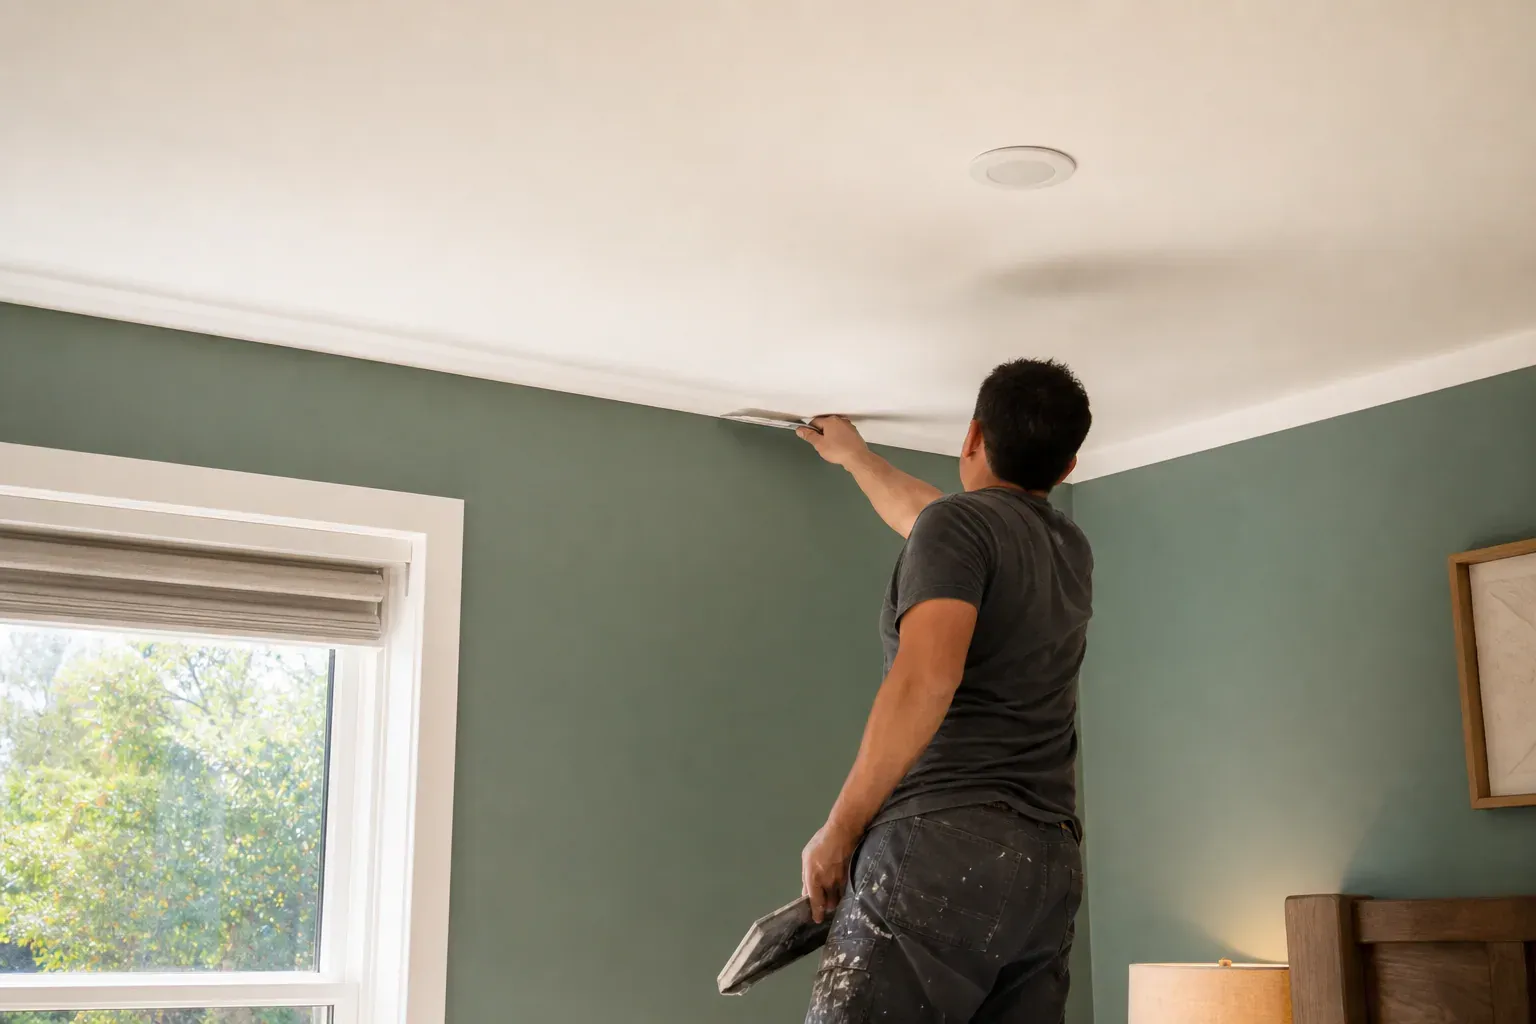
Ceiling nail pop repair is a different job than wall nail pop repair, mainly because of gravity. A popped nail on a ceiling has less board weight helping keep it seated, and access for sanding and texture matching overhead is slower and messier than on a wall. Ceilings also show truss uplift more visibly, since the joists move relative to the top plate of interior walls, and that's a common reason ceiling pops near hallway walls come back within a year even after a clean patch. We flag recurring ceiling pops as a possible framing movement issue rather than re-patching the same spot indefinitely.
Cost scales with how many pops there are, whether they're on walls or ceilings, and how much texture matching is involved. A handful of isolated pops on a flat wall is a straightforward, lower-cost visit. Ceiling work, heavy texture matching, and repainting a full wall to blend the patch all add time and cost. Severe cases — repeated pops along the same stud line, or pops tied to foundation settlement — need framing correction first, which adds to the scope beyond a simple patch.
Tapping a popped nail back down doesn't restore its grip in the wood; it just moves the head below the surface temporarily. The stud has already shrunk, the fastener still has poor purchase, and within weeks it works its way back out, often cracking the compound over it in the process. We replace the fastener with a properly set drywall screw into solid wood rather than reusing the failed nail, which is the main reason a professional patch holds where a hammer job doesn't.
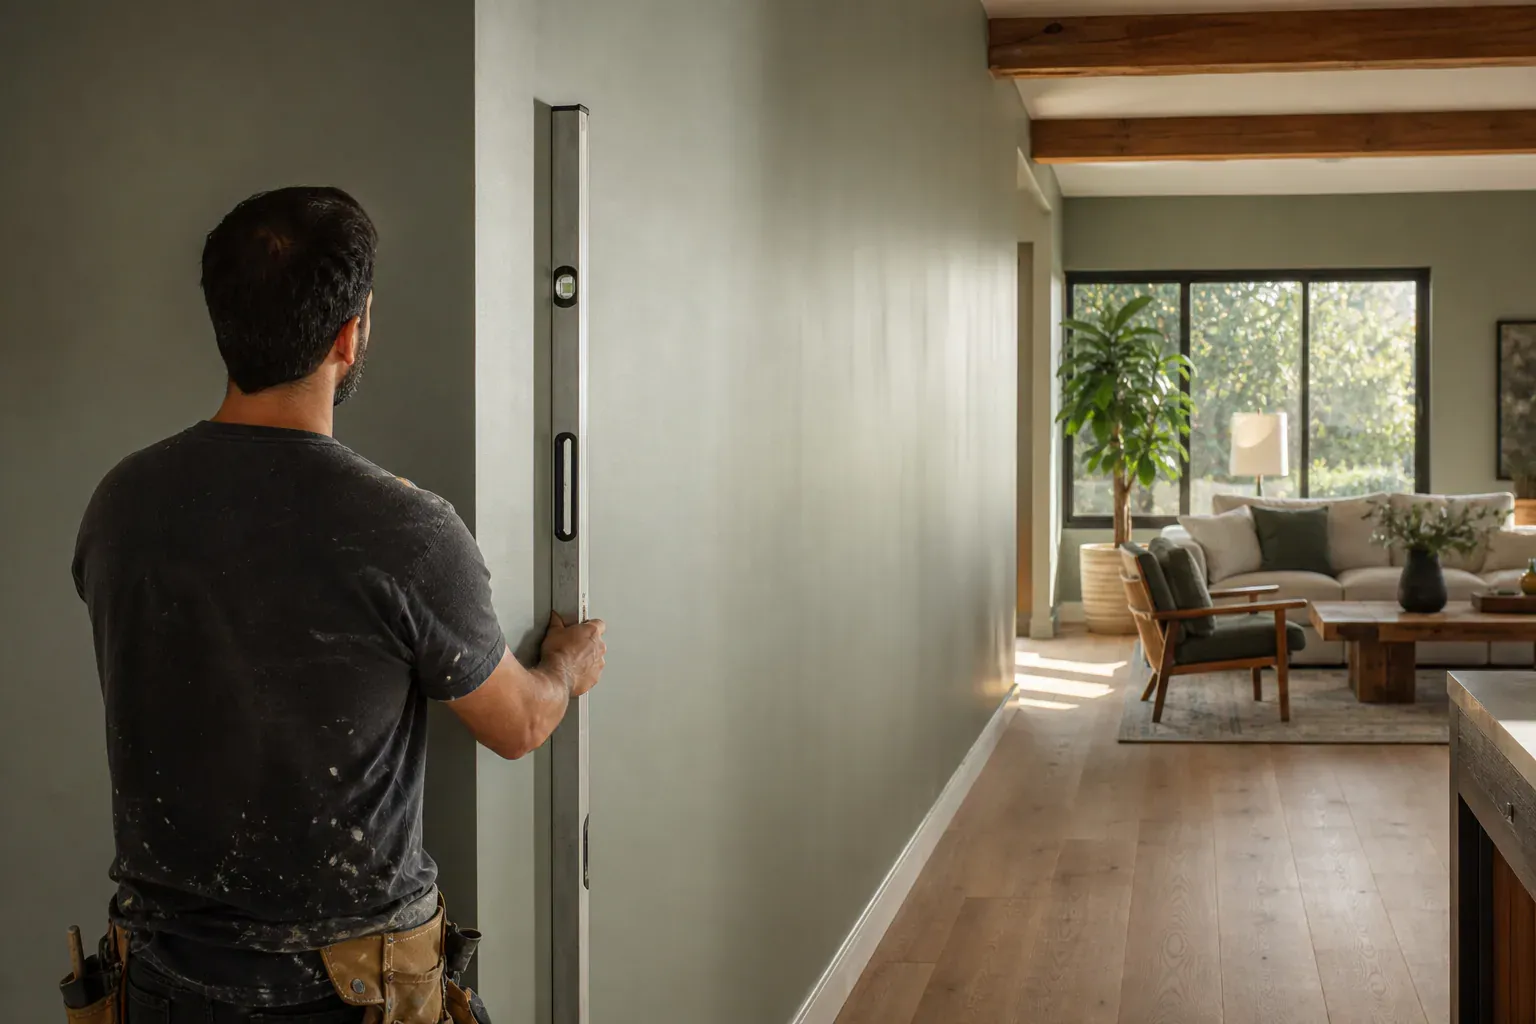
Drywall screw vs nail matters when you're diagnosing a pop, because the two fasteners fail for different reasons. Nail pops are almost always about wood stud movement — the wood shrinks, the nail's grip fails, the head pushes forward. Screw pops are more often an installation issue from day one: improper fastener depth control at the time of hanging, rather than ongoing wood movement.
A nail relies on friction against the wood fiber to stay in place, so as soon as the surrounding wood shrinks, that friction drops and the nail moves. A screw threads into the wood and holds mechanically, so it's far less sensitive to shrinkage. When screws do pop, it's usually because the dimple was driven too deep or too shallow during installation, or because fastener spacing violated code and the board wasn't adequately held between fasteners. That's an installation quality problem, and the fix should include correcting fastener depth on the rest of that panel, not just patching the one visible pop.
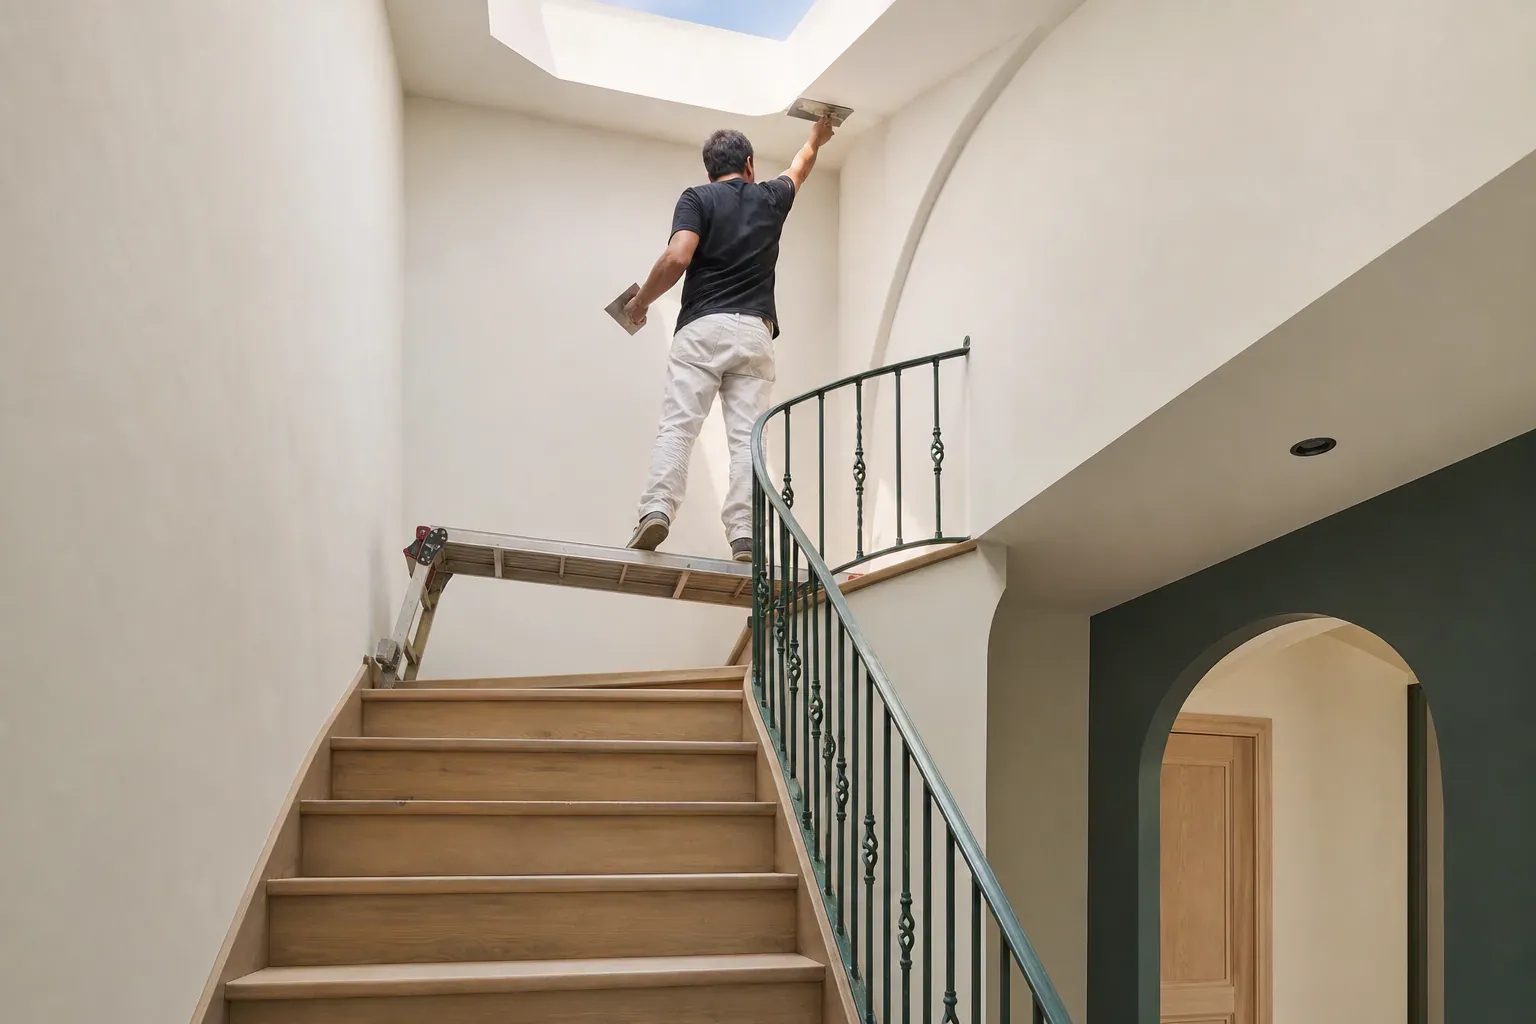
Most nail pops are cosmetic — a normal side effect of framing lumber shrinkage and seasonal cycles, not a sign anything is wrong with the house. We treat pops differently when we see structural movement signs alongside them: diagonal cracks running from door and window corners, doors that stick or won't latch, gaps opening up at baseboards or crown molding, or cracks in the foundation itself visible from outside. Cosmetic vs structural damage is the first call we make on every inspection, and if we see those additional signs, we'll say so before we patch anything, because compound over a moving crack won't hold.
Nail pop causes usually trace back to the wood behind the wallboard, not the drywall itself. Framing lumber arrives on site with moisture still in it, and as the house dries out over its first few years, the studs shrink slightly. That shrinkage pulls wood away from the fastener, and the nail head stays put while the stud moves — the classic pop. Foundation settlement adds a second layer: as a slab or foundation shifts even a fraction of an inch, it transfers stress up through the framing and pushes fasteners through the drywall paper. Add in moisture content fluctuation from one season to the next, and you get a steady trickle of new pops appearing on ceilings and walls long after the original drywall installation.
Dimensional lumber is milled and installed with a moisture content well above what it settles at once it's enclosed in a heated, air-conditioned house. As the wood dries, it loses volume across its width and depth. A nail driven into damp lumber has decent grip at first, but once the wood contracts around it, that grip loosens and the nail head walks outward through the compound. This is normal wood behavior, not a defect, but it's the single biggest driver of nail pops in the first few years after construction.
Minor foundation settling is common in Glendale's older hillside blocks, where homes built decades ago sit on soil that has shifted gradually ever since. That movement doesn't have to be dramatic to cause damage — a small settlement event stresses the framing, and trusses can lift slightly off interior walls during temperature swings, a condition called truss uplift. Both put load on fasteners that were never designed to carry structural stress, and the drywall paper tears at the nail or screw head as a result.
Wood studs behind the wallboard expand and contract with every seasonal swing. Summer heat dries framing lumber out and pulls it away from fasteners, while winter rain lets it reabsorb moisture and swell back, and that seasonal wood expansion and contraction repeats every year. Each cycle works a fastener slightly looser. This is why pops tend to cluster along the same stud lines and reappear near the same ceiling joists year after year, especially in homes without consistent interior humidity control.
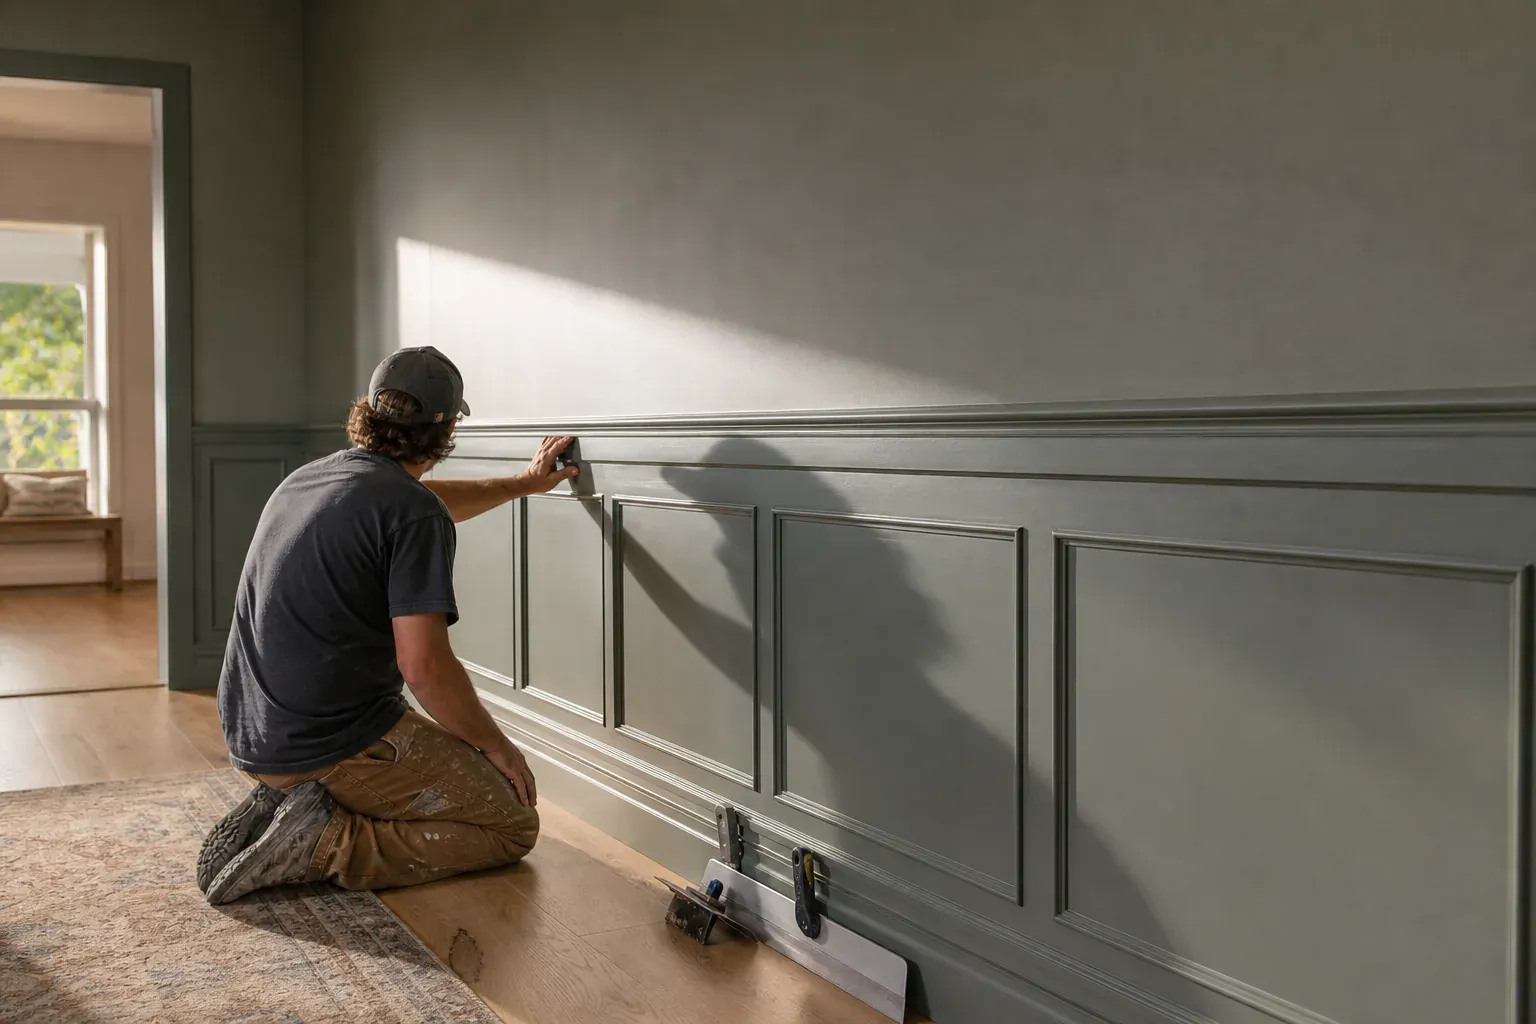
A seasonal walk-through, ideally once after the dry summer heat and once after the winter rains, catches new pops while they're still small dimples rather than cracked, paint-flaking spots. Early detection means a faster, cheaper patch and less texture matching. It's also worth checking attic framing near the eaves for signs of truss uplift and looking at exterior foundation lines for new cracks, since those often show up before the drywall does.
Good drywall installation quality prevents most future pops. That means fasteners spaced correctly along framing — typically every 16 inches along studs, tighter near edges — using a dimpler bit to set screws to a consistent, code-compliant depth without tearing the paper. Drywall screws generally outperform nails in new construction because they resist backing out as lumber dries, which is why most professional hangs today use screws on the field of the board and nails only where code or blueprint calls for them.
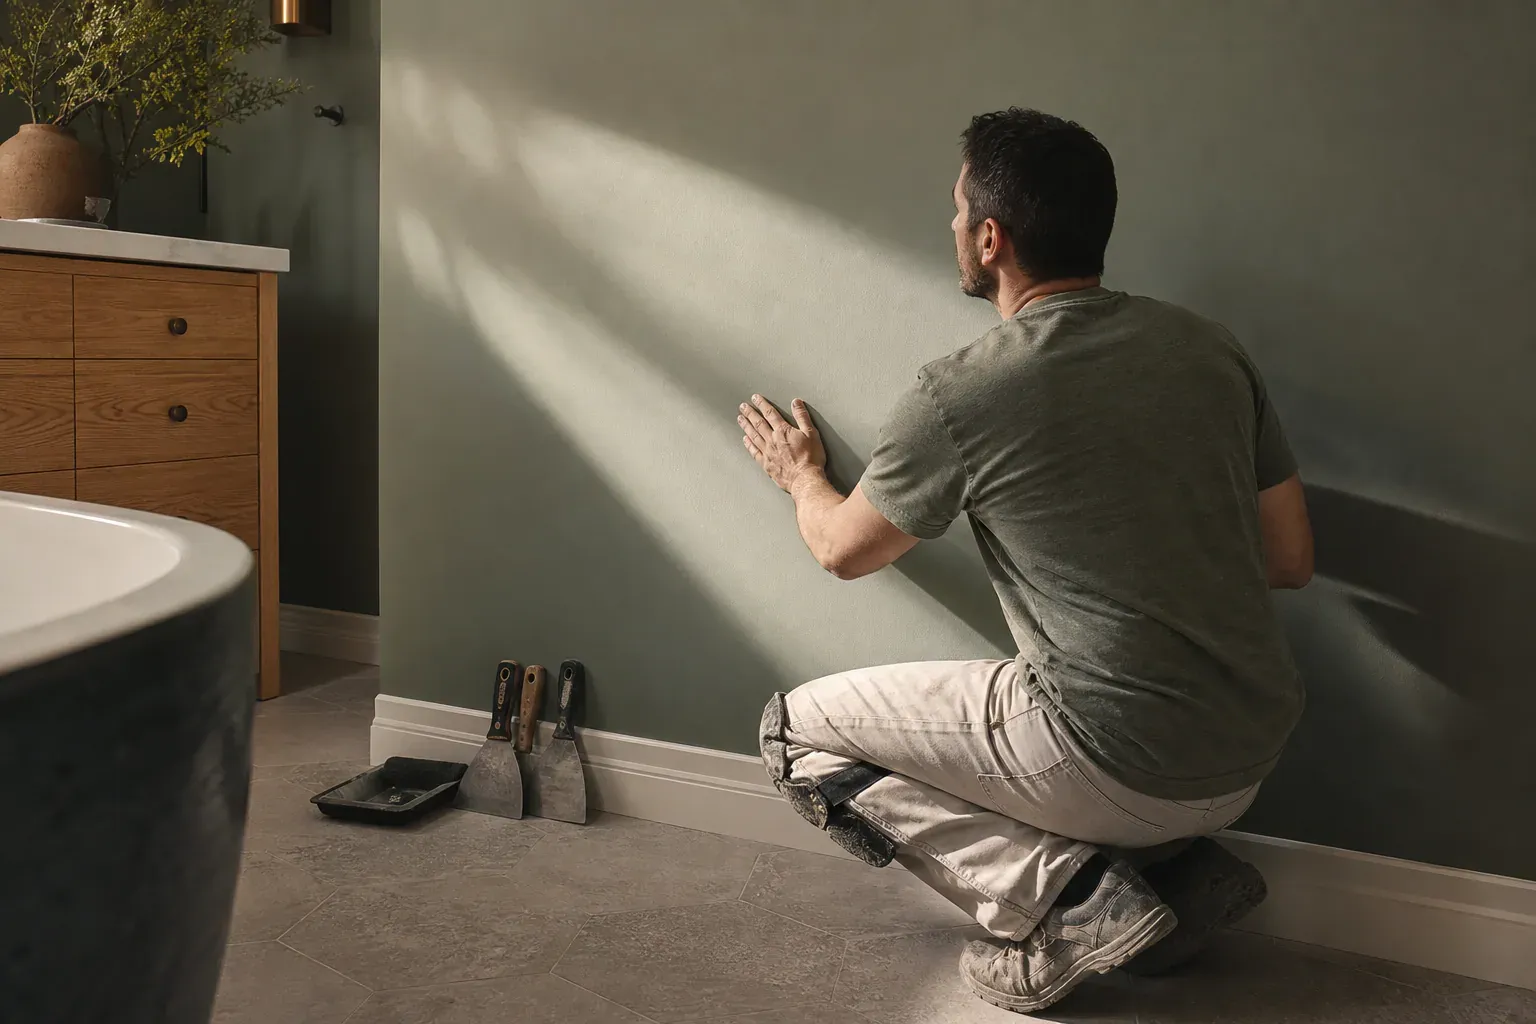
Not all joint compound is the same. Setting-type compounds cure chemically and are useful for the first coat over a fresh fastener because they resist shrinkage and cracking; lightweight all-purpose compound sands easier for finish coats. The gypsum layer inside sheetrock is sensitive to moisture, so patches should cure in stable humidity before sanding and priming — rushing this step is a common reason patches crack again within a season. A stain-blocking primer keeps the porous patch from flashing under latex paint, and matching sheen as well as color matters as much as color itself for a seamless finish.
Nail pops are fundamentally a wood-frame problem. Metal building advantages show up here directly: steel stud framing and prefabricated metal buildings rely on screws driven into metal track and studs, or bolt-and-nut connections at engineered intervals, and metal doesn't shrink or swell with moisture the way lumber does. That's why steel-framed additions and garages rarely develop the recurring pop pattern we see in older wood-framed houses across Glendale, even decades later.
We start by pressing around each pop to check whether the fastener still grips wood or has backed out entirely, and we check the surrounding drywall paper for tearing or bubbling.
Once the replacement fastener is set correctly below the surface — a proper dimple, not a crater — we apply joint compound in thin coats with a putty knife, letting each coat dry before the…
Glendale homes carry a wide range of wall textures — knockdown, orange peel, smooth skip trowel — and matching it is often harder than the patch itself.
Tapping a popped nail back down doesn't restore its grip in the wood; it just moves the head below the surface temporarily.
A nail relies on friction against the wood fiber to stay in place, so as soon as the surrounding wood shrinks, that friction drops and the nail moves.
Dimensional lumber is milled and installed with a moisture content well above what it settles at once it's enclosed in a heated, air-conditioned house.
Why homeowners call us
Every drywall job is scoped and priced in writing, so the number you approve is the number you pay. If something behind the wall changes the work, we stop and price it first.
You speak to the people doing the work, not a call centre, and cover certificates go to your building manager or general contractor on request.
Containment, floor protection and same-day debris removal on every interior job — the space stays usable while the work is going on.
Crews work Glendale and the surrounding cities every week, so a walkthrough is usually available within the same week you call.
FAQ
Framing lumber loses moisture after construction and shrinks slightly, reducing the wood's grip on the nail shank. The nail head stays in place while the stud pulls away, pushing the head through the joint compound and drywall paper. Foundation settling, truss uplift, and seasonal humidity cycles all add stress that speeds this process up.
Usually not. Most pops are a normal result of wood studs shrinking and seasonal moisture cycles. We get concerned when pops appear alongside diagonal cracks at door or window corners, sticking doors, gaps at baseboards, or visible foundation cracks outside — that combination points to structural movement rather than simple cosmetic settling.
No. Hammering it back doesn't restore the wood's grip on the nail, since the stud has already shrunk. The nail works loose again within weeks and often cracks the compound patched over it. The proper fix is removing or setting the old fastener and driving a new drywall screw into solid wood nearby.
Nail pops come from ongoing wood stud movement loosening the fastener's grip over time. Screw pops are usually an installation issue from day one — the dimple was driven too deep or shallow, or fastener spacing was wider than code allows, leaving the board under-supported between screws.
Cost depends on how many pops there are, whether they're on a wall or ceiling, and how much texture matching and repainting the patch needs. A few isolated wall pops are the least involved. Ceiling repairs, heavy texture matching, and cases tied to foundation settlement that need framing correction cost more.
Twice a year works well — once after summer heat and once after winter rain, since both seasons stress framing lumber differently. Catching a small dimple early means a quick patch instead of a cracked, paint-flaking repair later, and it's a good time to glance at attic framing and exterior foundation lines too.
Call (213) 555-0110 for a walkthrough, usually within the same week.