Drywall Over Plaster Installation in Glendale
Drywall over plaster is faster and often cheaper than stripping walls back to studs. The old plaster acts as a base layer—we assess its soundness, make repairs where lath has separated or…
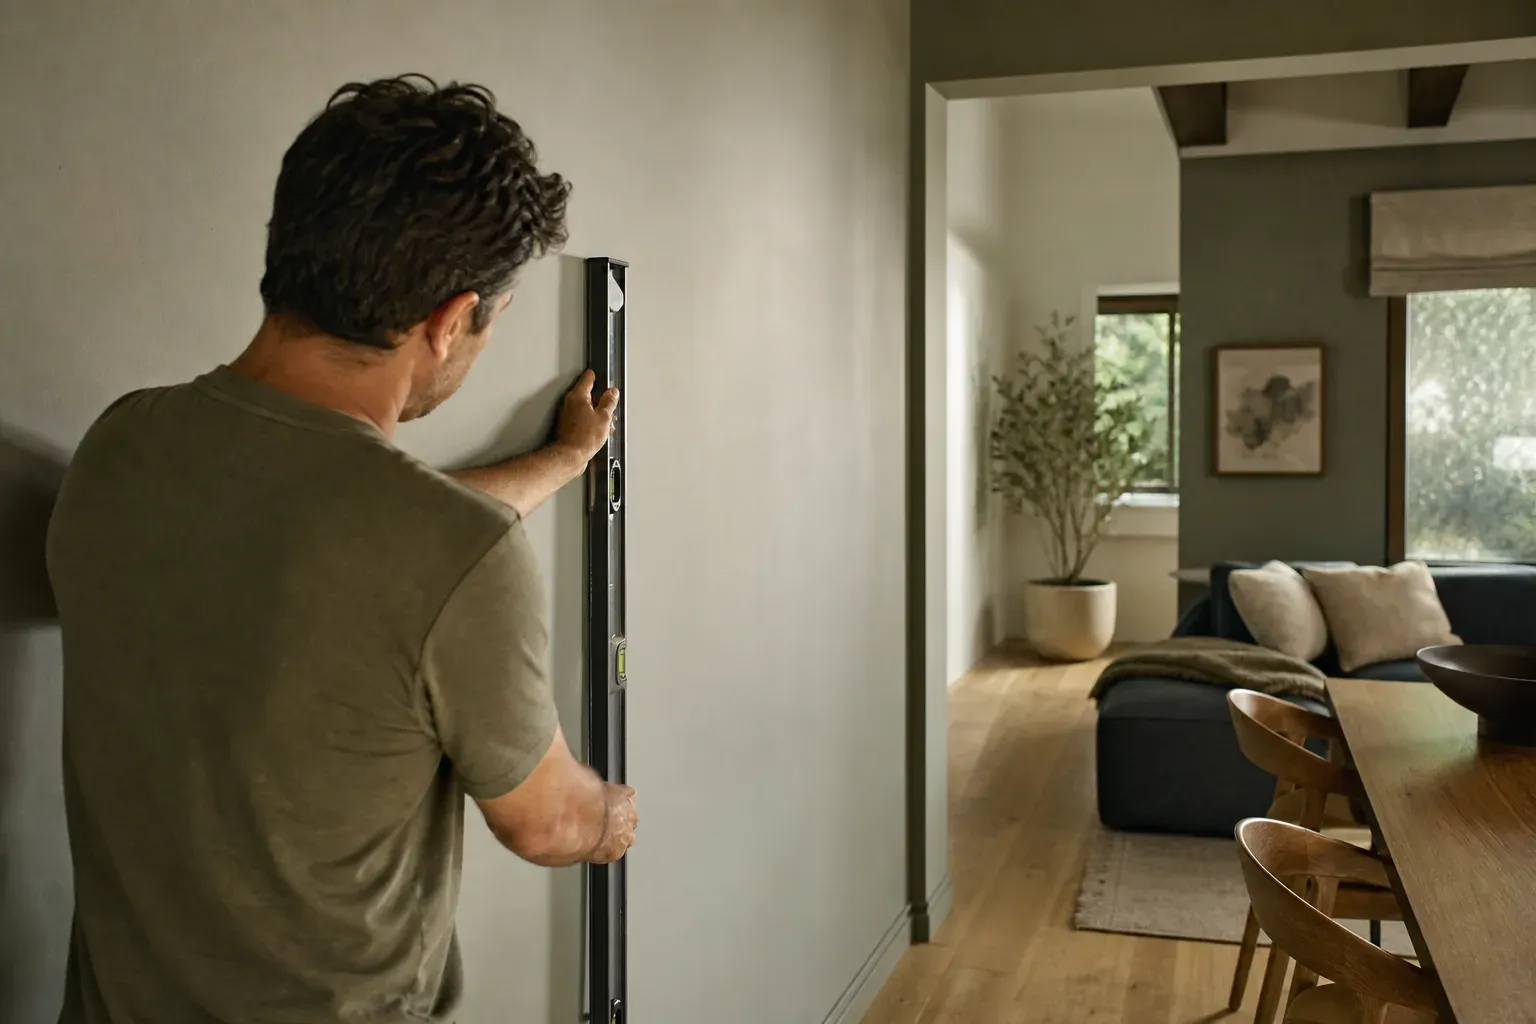
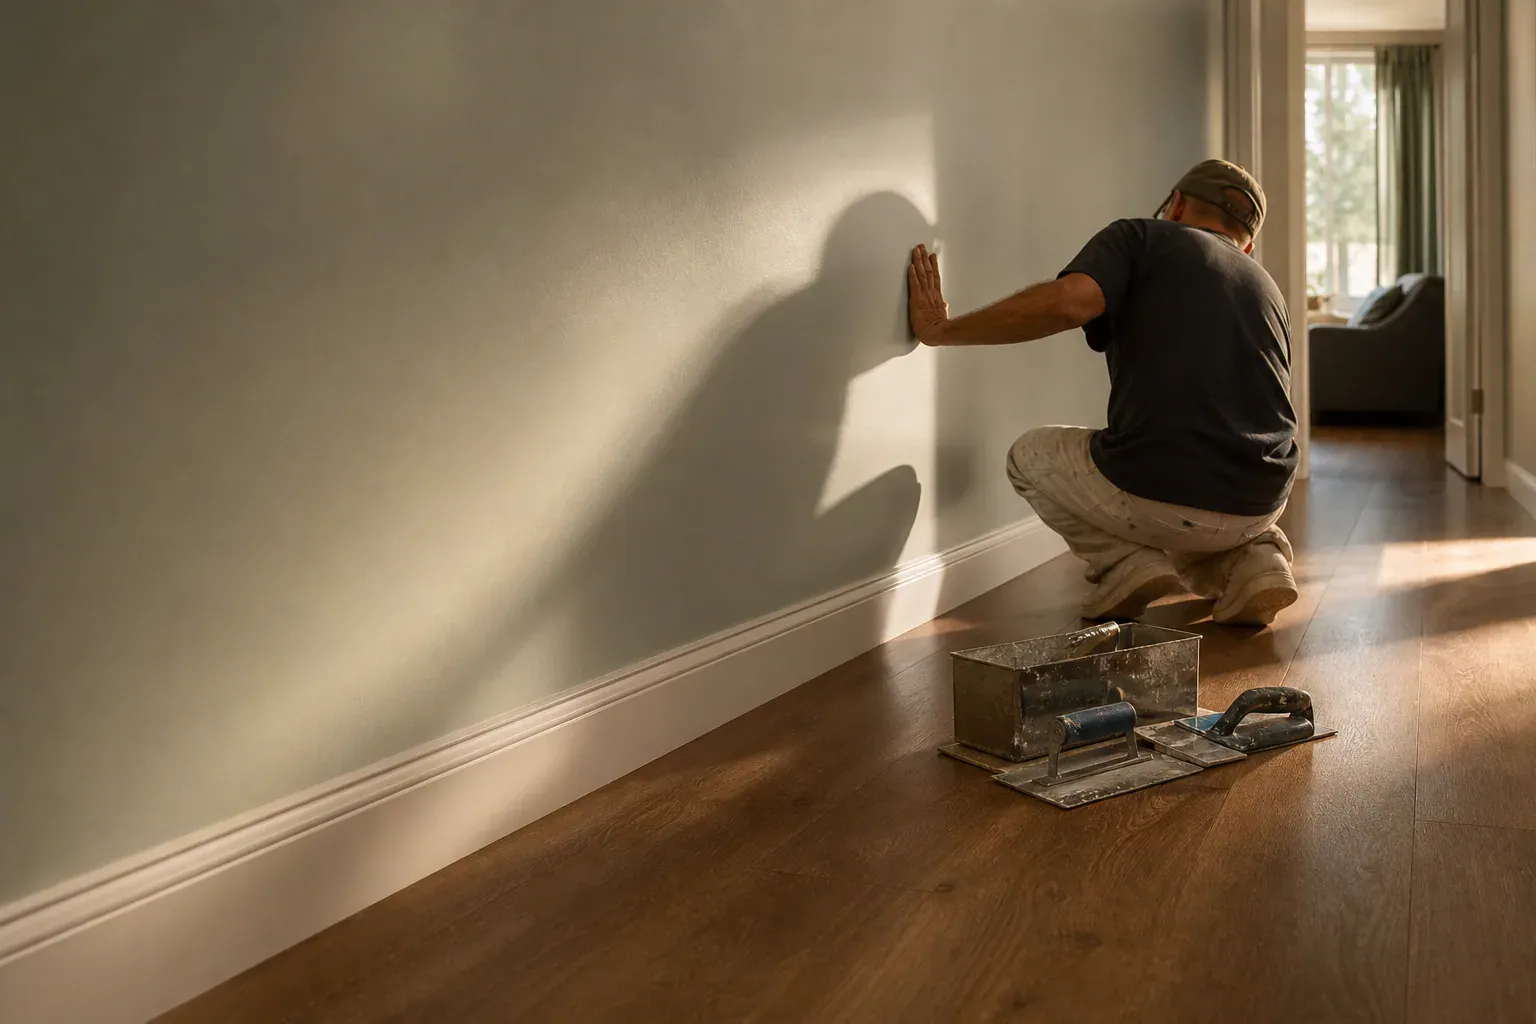
Glendale Quality Drywall installs, tapes, and finishes drywall over plaster for homeowners and builders across Glendale, CA. Overlaying plaster with new drywall is the standard repair path in older buildings where lath-and-plaster walls and ceilings are sound but showing age, staining, or cosmetic damage. We handle the full scope: assessing plaster condition, reinforcing what needs it, installing new gypsum board, finishing joints to a seamless Level 5 surface, and managing the practical complications that come with layering new framing and drywall into constrained rooms.
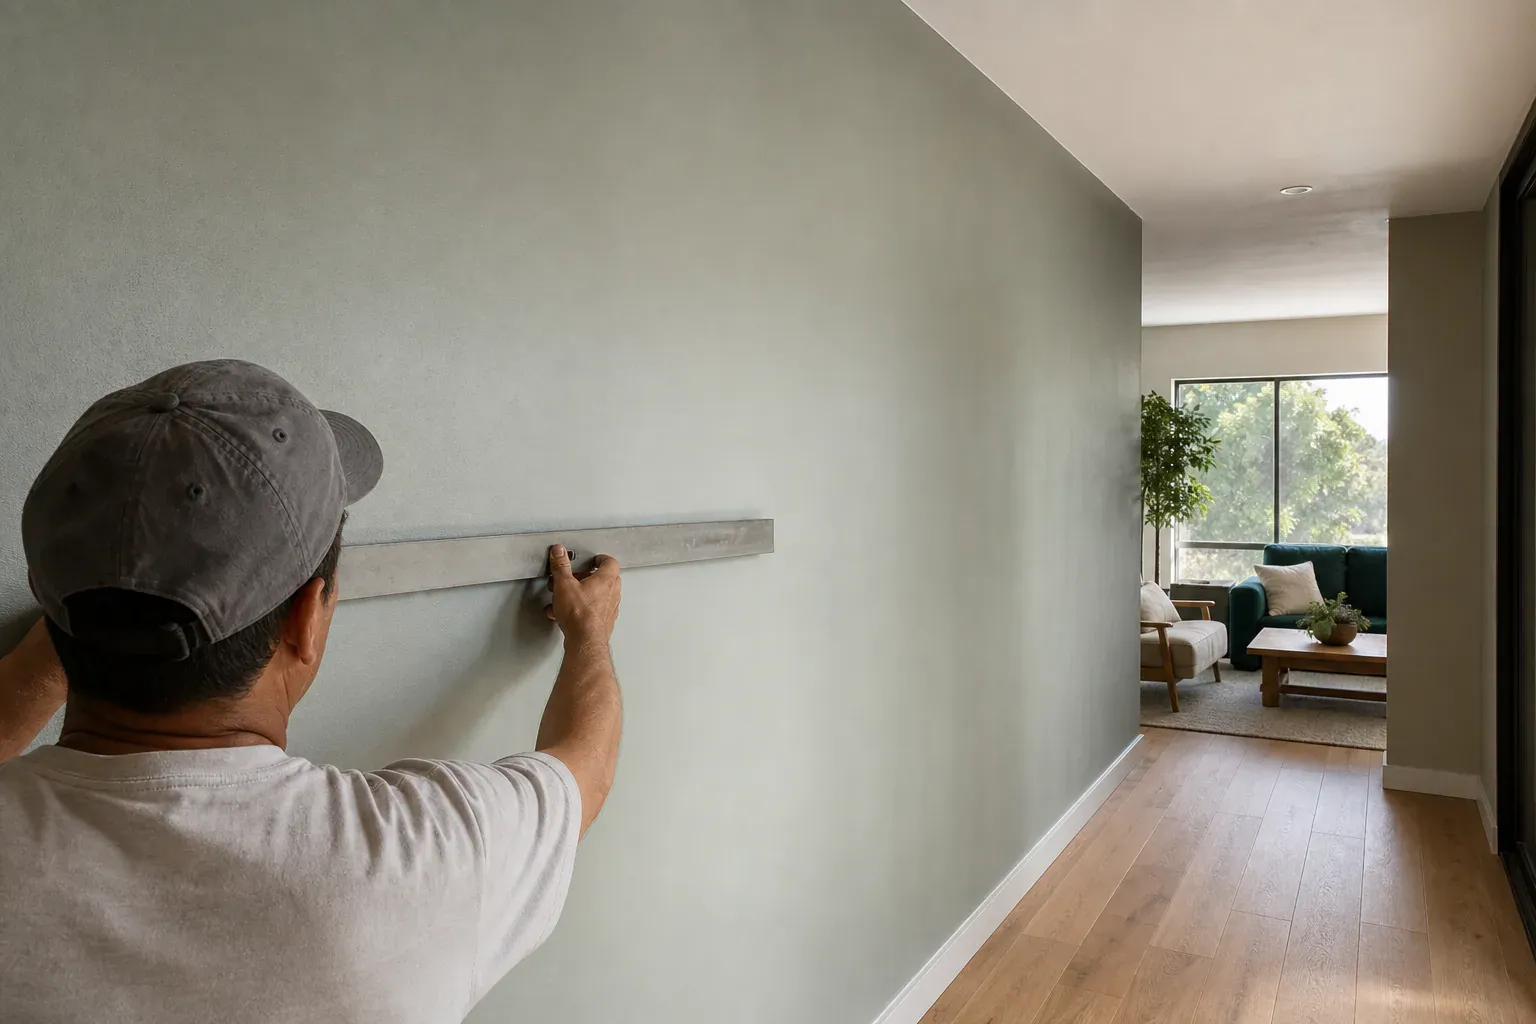
Drywall over plaster is faster and often cheaper than stripping walls back to studs. The old plaster acts as a base layer—we assess its soundness, make repairs where lath has separated or plaster has sagged, run new furring strips or attach drywall directly where the surface is flat, and tape everything into a finished wall. Overlay saves the time and cost of plaster removal and haul-away, keeps dust to a minimum, and preserves headroom better than a full demolition and rebuild. When plaster is water-damaged, heavily deteriorated, or the lath behind it is rotted, removal becomes the only realistic option.
Before we commit to an overlay, we test the plaster wall preparation thoroughly. This step determines whether you get a solid foundation or a problem waiting to happen.
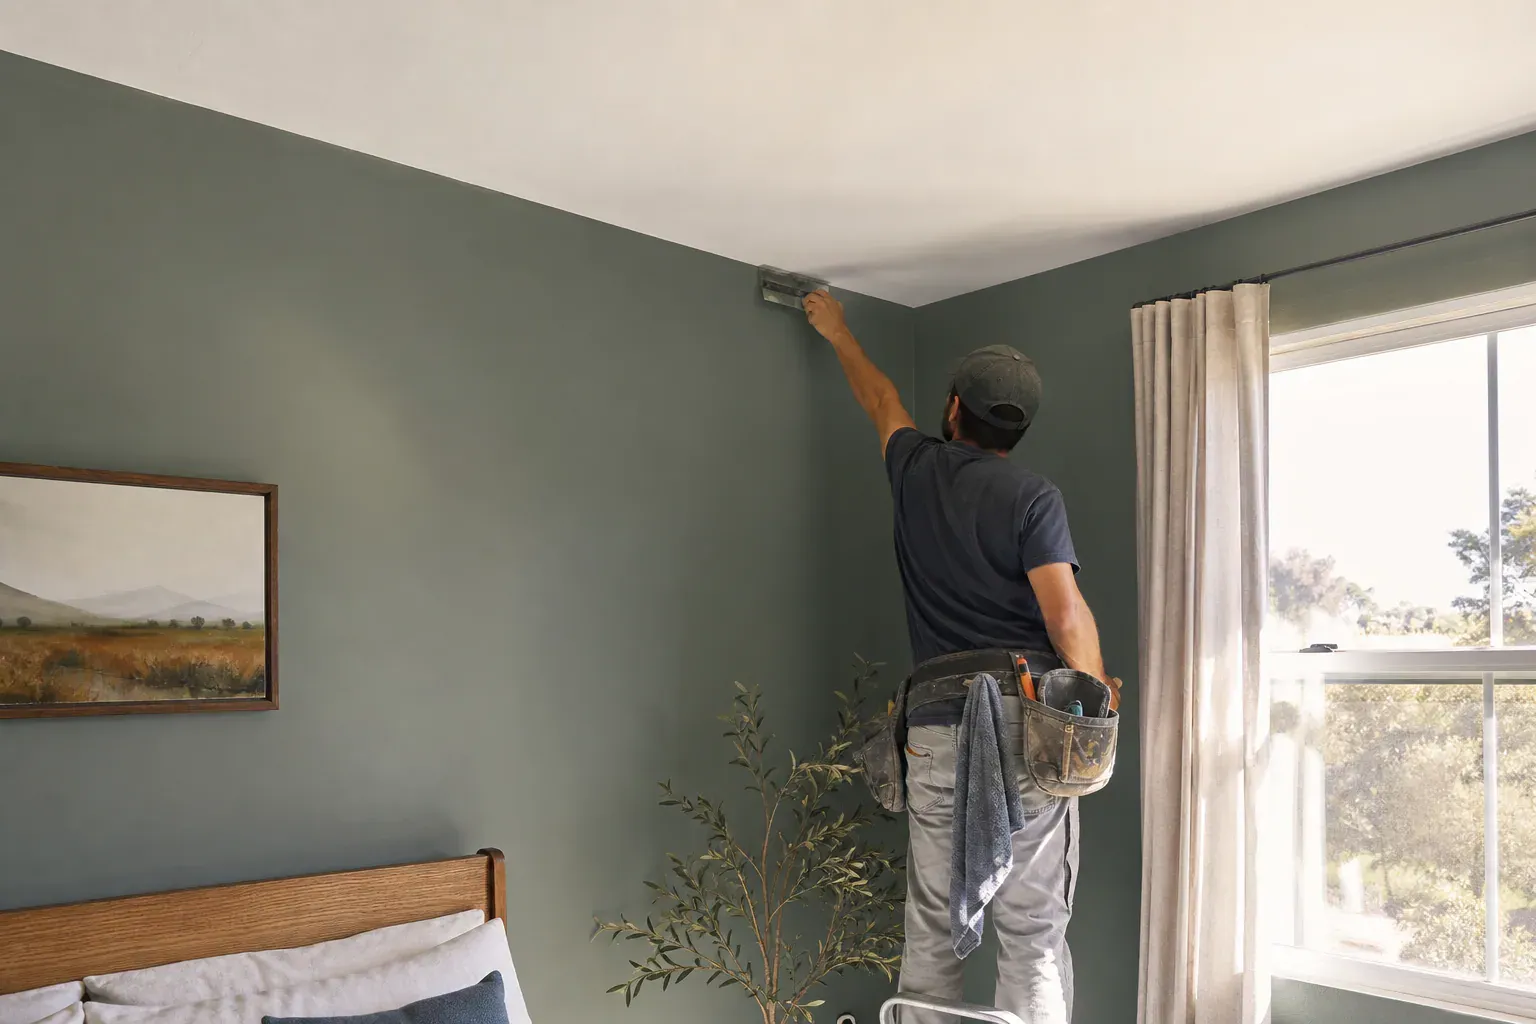
Sagging plaster ceilings are common in older buildings, and they have to be dealt with before drywall goes up.
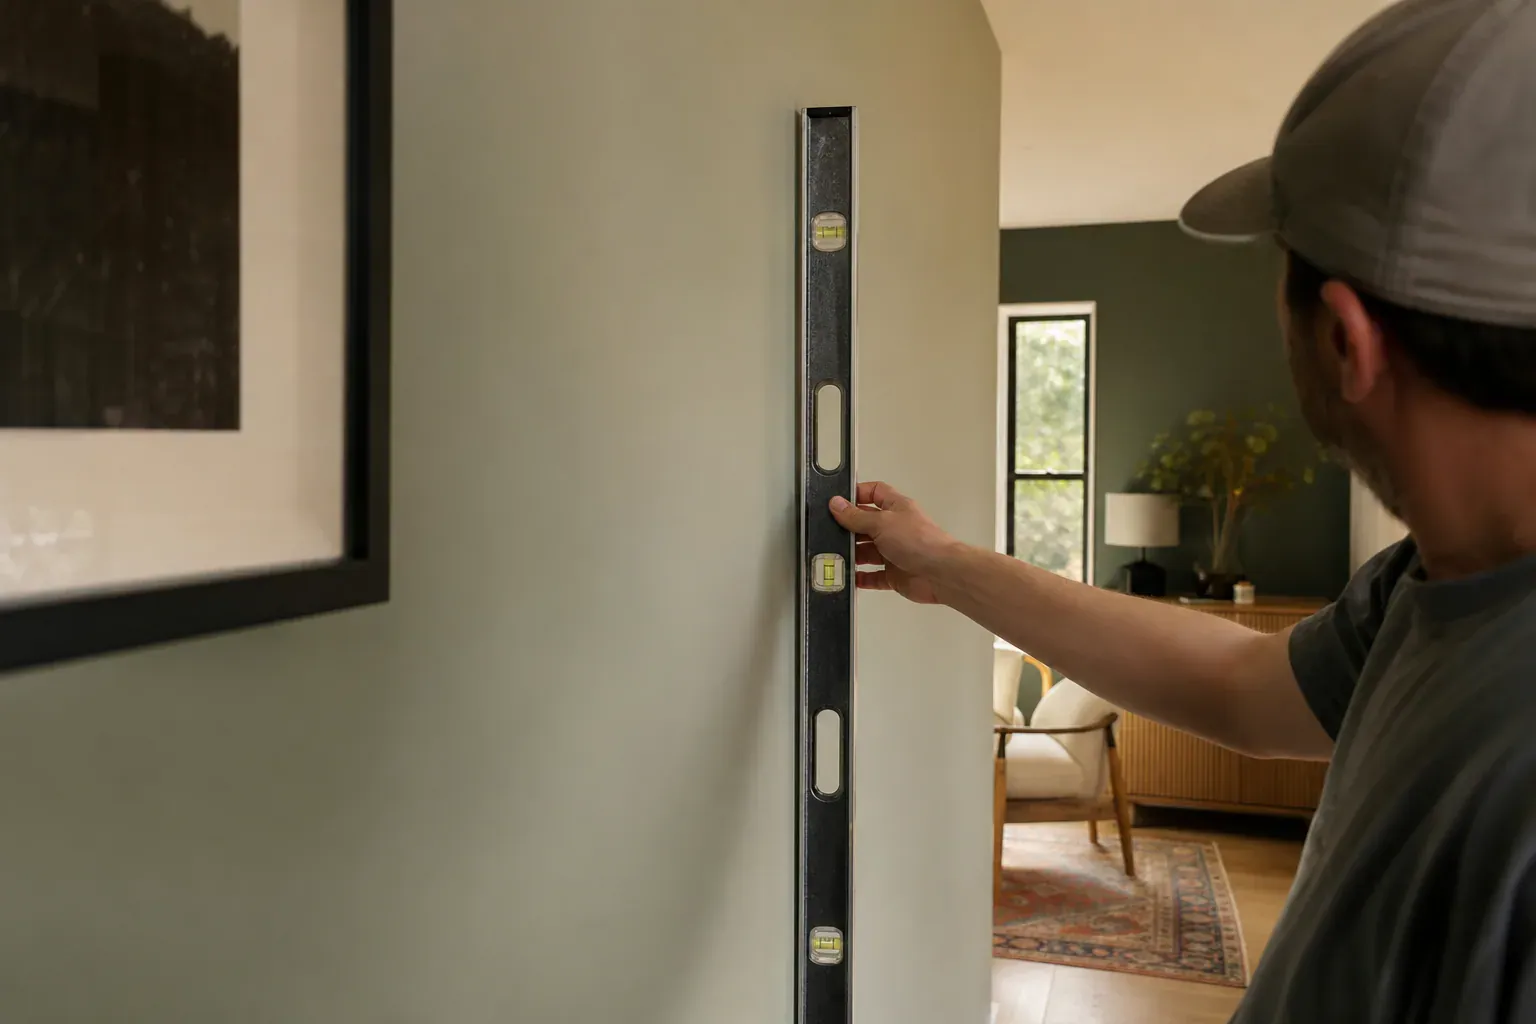
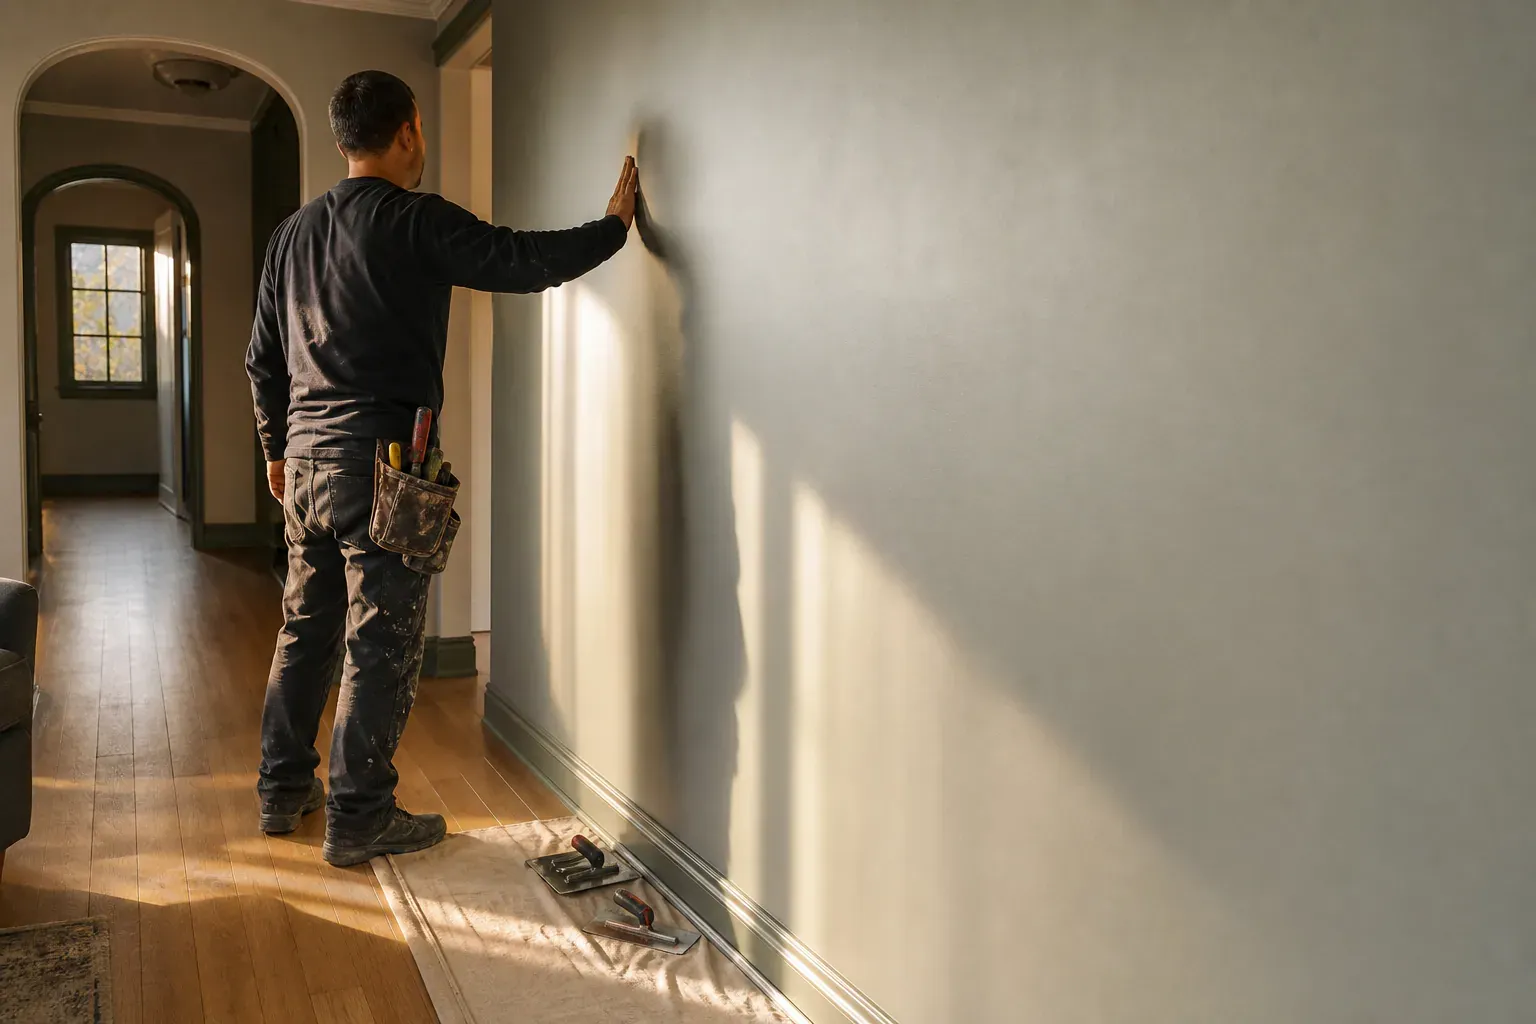
Old plaster walls are rarely flat. Decades of settlement, temperature swings, and foundation shift create waves and bows that will telegraph through new drywall if you attach it directly.
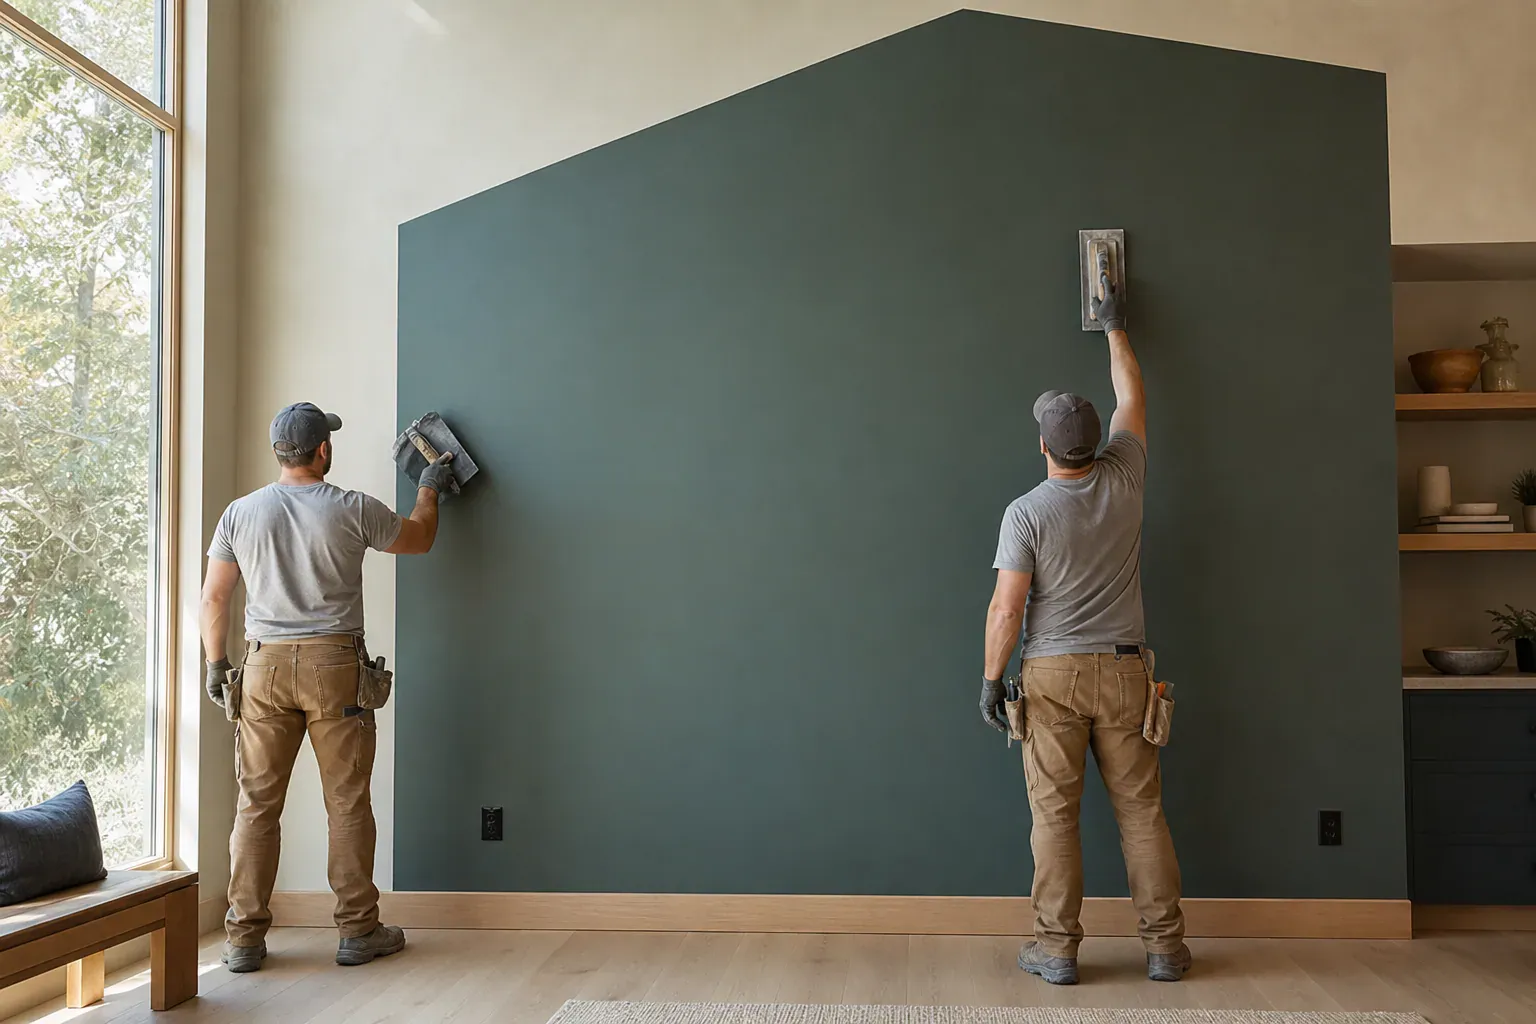

Drywall thickness matters more when you are layering over plaster than it does on new construction.
The fastening pattern is critical because you are screwing through two different materials—plaster and wood—into the target framing.
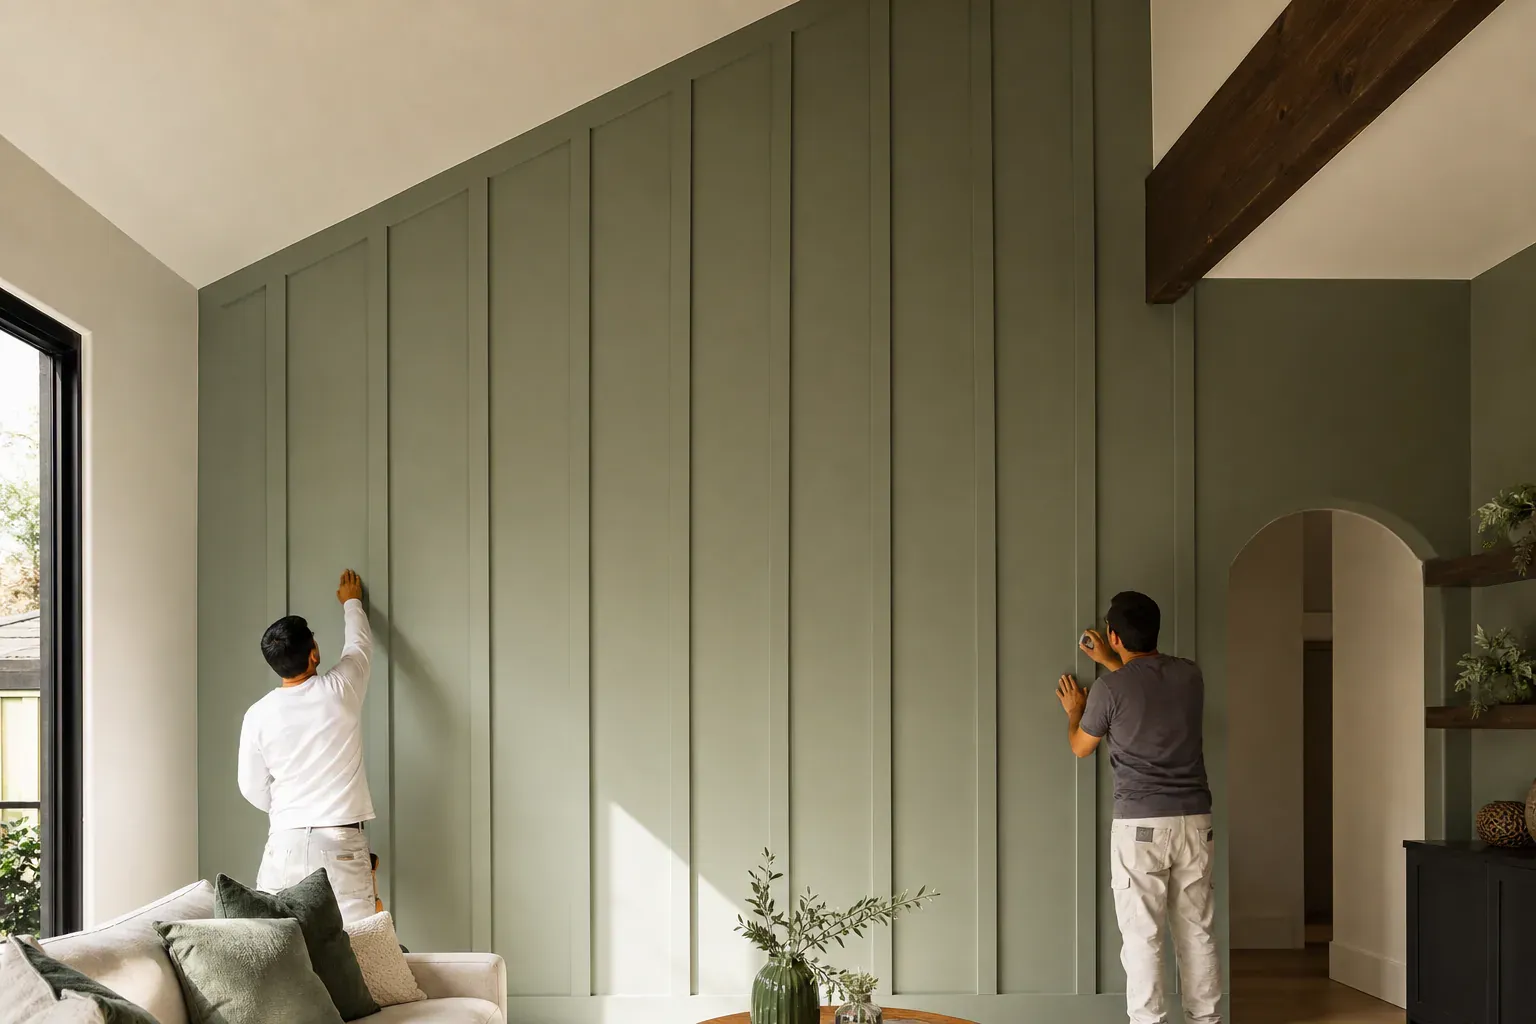
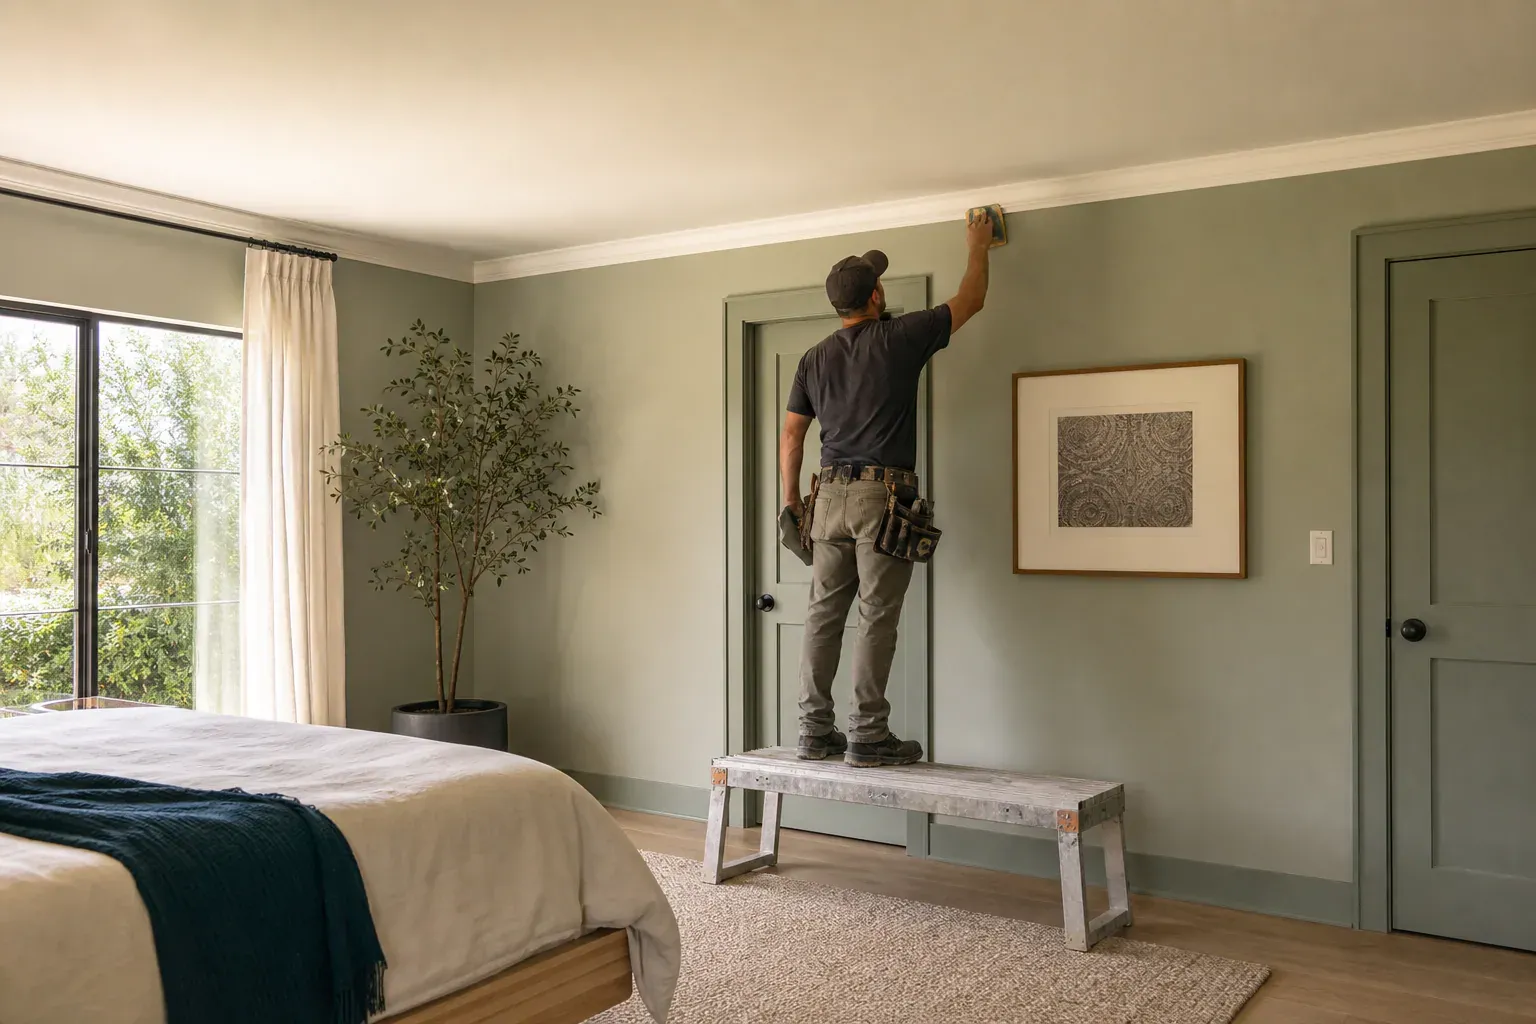
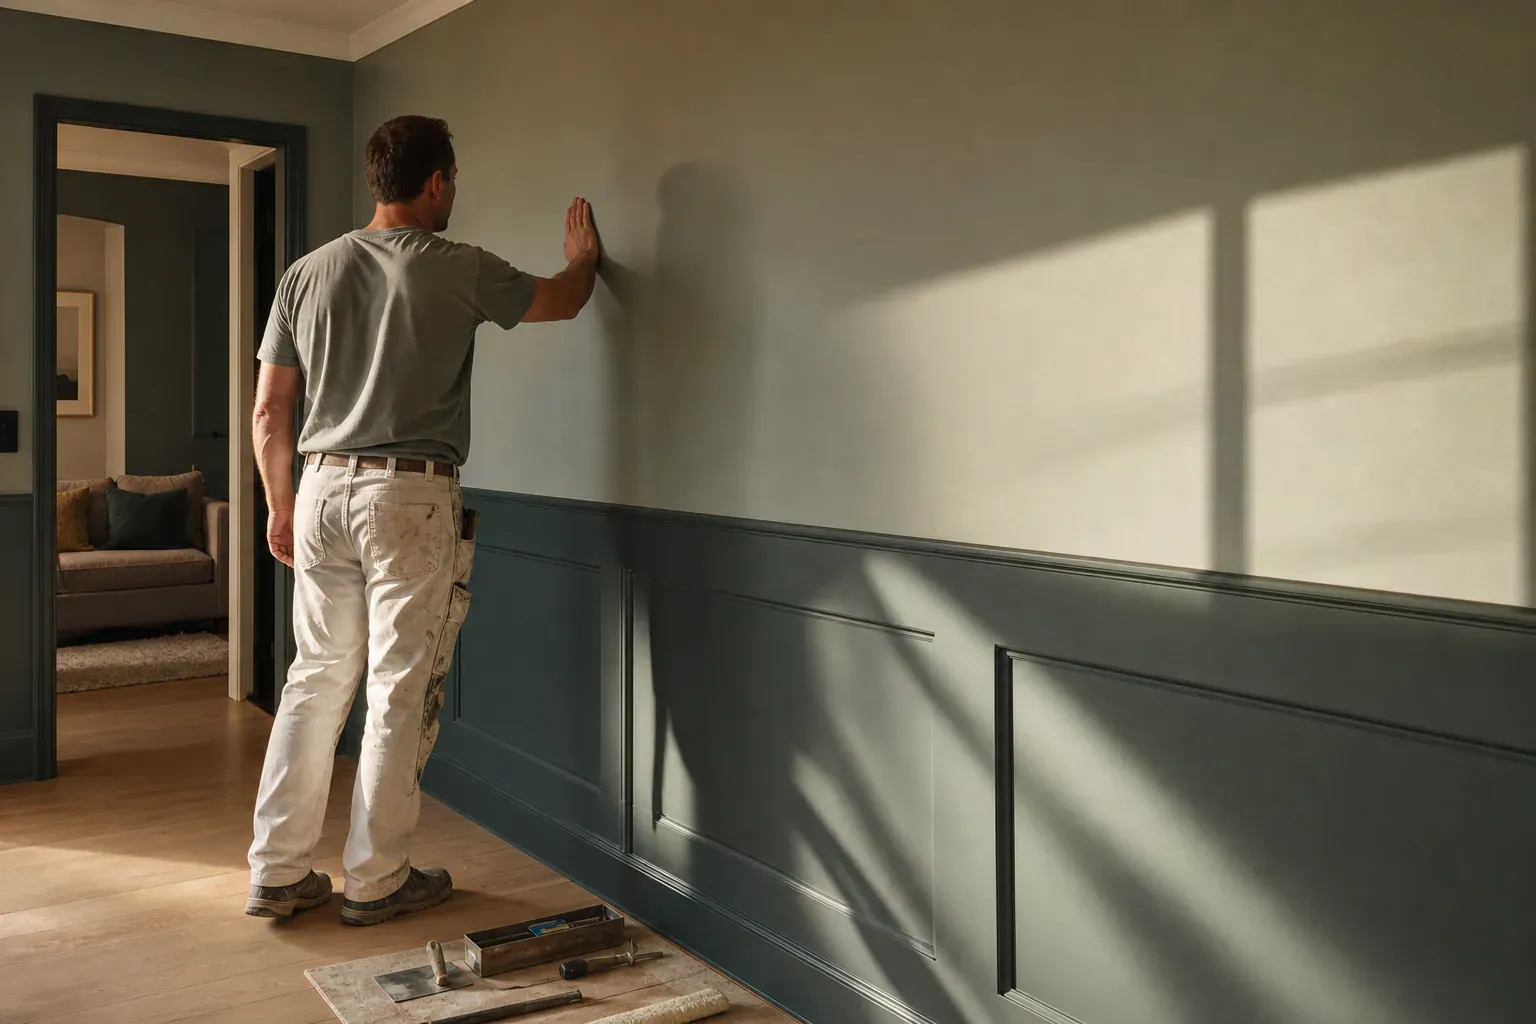
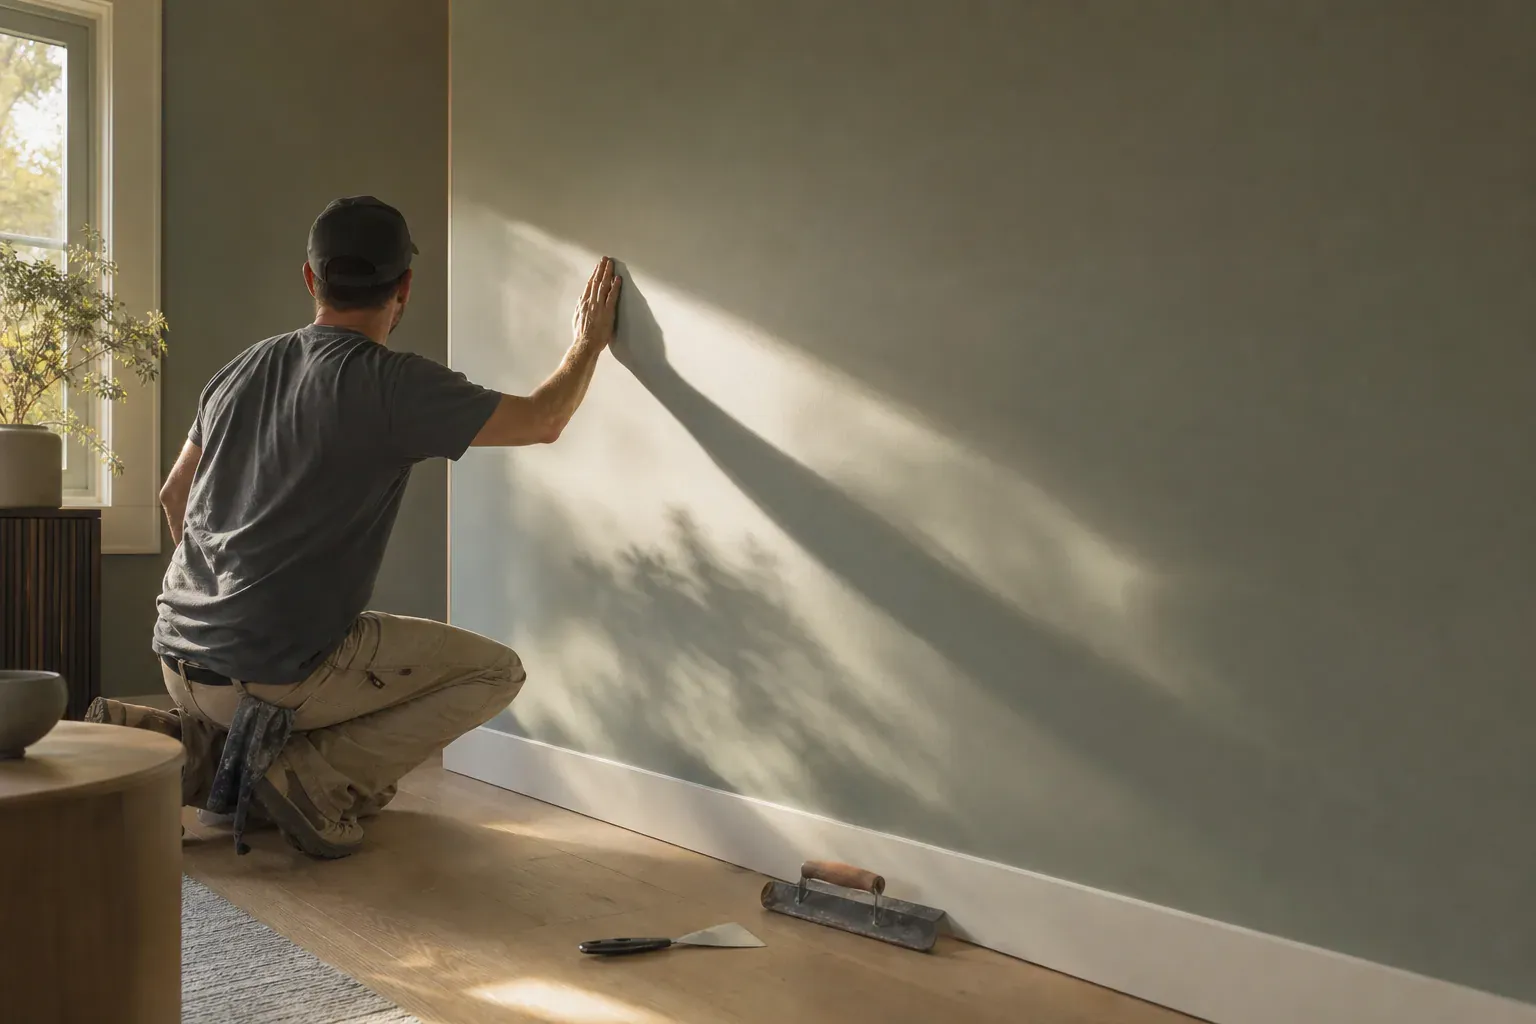
Adding thickness to walls creates practical complications that have to be solved before drywall is finished.
Door and window jamb adjustment is essential. The new wall thickness means the frame edges sit recessed. We rip jamb extensions to match the new thickness and apply them before reinstalling trim. Without extensions, doors hang back and trim gaps become visible.
Outlet repositioning becomes necessary when wall thickness increases past 1/2 inch. Electrical devices must sit flush to the wall surface for safe cover plate installation and to meet code. We add extension rings to outlet boxes or relocate them forward on the new surface.
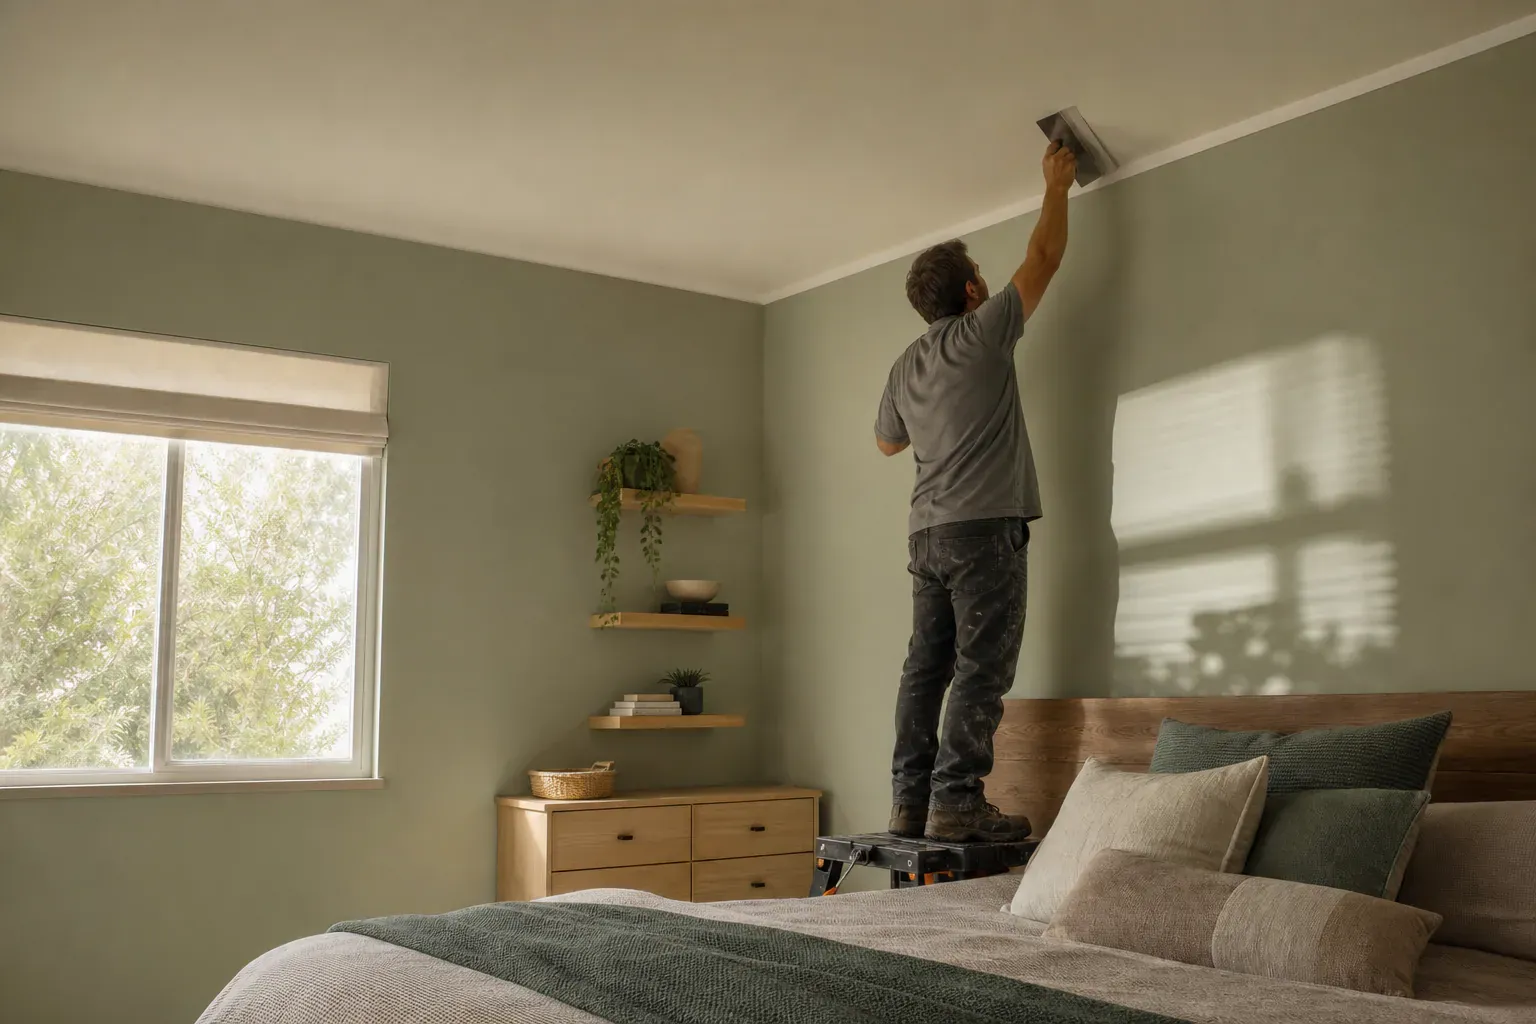
New drywall tape and joint compound are where the overlay becomes invisible.
Drywall lamination overlay is a technique where we glue a thin layer of drywall directly to the plaster surface instead of fastening through to the framing. This works when the plaster is solid enough to hold adhesive but you want to avoid fasteners, reduce dust, or minimize room shrinkage. We use construction adhesive rated for plaster and drywall, applied in a grid pattern on the back of half-inch sheets. The trade-off is that lamination gives you less fastening security if the plaster underneath is suspect, so we inspect bond strength before committing to this method on ceilings or load-bearing areas.
Plaster deterioration—crazing, soft spots, hollow areas, and powder shedding—determines whether covering makes sense or removal is the better call. If deterioration is surface-level (cosmetic cracks, minor dust), covering works. If plaster has active separation from the lath, large voids, or crumbles when you probe it, the new drywall has no stable base and will eventually follow the plaster down. In older Glendale homes with historic plaster, we may find sections where the bond between plaster and lath has failed entirely; those sections need lath exposure, cleaning, and often removal rather than burial. Covering a failing wall just delays the problem and wastes money on materials that will eventually crack.
Thin drywall application refers to using quarter-inch or three-eighths-inch drywall instead of the standard half-inch. This minimizes room dimension reduction—a critical issue when ceilings are already low or hallways are tight. Quarter-inch drywall over plaster reduces room height by roughly one-half inch per side if we're laminating, or three-quarters inch if we're using furring and half-inch drywall. In Glendale homes built in the 1950s and 60s, where eight-foot ceilings are common, that loss of height is noticeable. Thin drywall also bends easier over minor plaster undulation, reducing the need for extra furring shims.
Drywall patching and finishing after installation addresses the reality that even well-prepped plaster creates seams, fastener dimples, and transition edges. Every joint gets taped, mudded, and sanded to blend with the plaster or existing drywall. If plaster has been patched before, we feather those old repairs so new mud sits on solid ground. Ceiling height considerations become relevant at finish time—if your ceiling is low, we tape and finish more carefully to keep fastener shadows and mud ridges from being visible from standing level. The final texture or paint hides imperfections, but poor finishing work shows under certain light angles and is expensive to fix after the fact.
Wavy wall solutions are needed when plaster has settled, buckled, or warped over decades. Furring strips can chase minor waves, but if a wall is genuinely wavy—more than a half-inch of deviation over an eight-foot run—you have two choices: shim the furring aggressively to create a true plane (adding labor and material cost), or accept that the new drywall will follow the wave. Most owners in Glendale choose to flatten the wall if it's a visible living space; in basements or utility areas, the wave is often left alone to save cost. Trim alignment issues arise when walls move; if baseboard or door frame sits proud of the old plaster, the new drywall layer may not meet it evenly, requiring shims or careful caulking at the base.
Drywall over plaster is faster and often cheaper than stripping walls back to studs. The old plaster acts as a base layer—we assess its soundness, make repairs where lath has separated or…
Before we commit to an overlay, we test the plaster wall preparation thoroughly. This step determines whether you get a solid foundation or a problem waiting to happen.
Sagging plaster ceilings are common in older buildings, and they have to be dealt with before drywall goes up.
Old plaster walls are rarely flat. Decades of settlement, temperature swings, and foundation shift create waves and bows that will telegraph through new drywall if you attach it directly.
Drywall thickness matters more when you are layering over plaster than it does on new construction.
The fastening pattern is critical because you are screwing through two different materials—plaster and wood—into the target framing.
Why homeowners call us
Every drywall job is scoped and priced in writing, so the number you approve is the number you pay. If something behind the wall changes the work, we stop and price it first.
You speak to the people doing the work, not a call centre, and cover certificates go to your building manager or general contractor on request.
Containment, floor protection and same-day debris removal on every interior job — the space stays usable while the work is going on.
Crews work Glendale and the surrounding cities every week, so a walkthrough is usually available within the same week you call.
FAQ
Yes, if plaster is structurally sound and firmly bonded to lath. We tap-test first to find hollow areas indicating separation. Flat walls with no major cracks or sagging can receive drywall directly. If lath is separated, plaster is detached, or surface waves exceed 1/4 inch over 4 feet, furring strips are added to create a true plane.
For walls without furring over flat plaster, 1/4-inch drywall is standard. When furring strips are installed or additional strength is needed, 1/2-inch gypsum board is preferred. For ceilings and shared-wall assemblies in older multi-unit buildings, 5/8-inch fire-rated board resists sag and meets code requirements. Thickness choice also affects door jamb extension dimensions and finish schedule.
Removal is necessary only when plaster is water-damaged, rotted, or lath is detached across more than 30 percent of the wall. Overlay is faster and cheaper when plaster is sound. Removal becomes the only option if moisture has compromised the assembly or if you need to upgrade insulation or electrical.
Drywall screws are driven on 12-inch centers on ceilings, 16 inches on walls, penetrating at least 3/4 inch into solid framing. When screwing through plaster, pilot holes prevent cracking near edges. Drywall drive tips are set to dimple without tearing paper. If furring strips are installed, screws go through drywall, furring, and into the original studs or joists for maximum holding.
Furring strips create a flat reference plane when old plaster walls bow or wave. They are shimmed to true on 16-inch or 24-inch spacing and eliminate the need to compound over irregular surfaces. Strips also let drywall screws bite into solid wood instead of crumbling plaster, eliminating blow-out failure and improving holding power dramatically.
Overlay adds 1/2 inch to 5/8 inch to wall thickness, reducing room size by 1 to 2 inches per wall. A 10-foot room becomes 9 feet 8 inches. For most spaces this is acceptable and invisible. Ceiling height is a more noticeable factor; a 9-foot ceiling drops to 8 feet 9 inches with drywall and furring. In modest rooms where original ceilings are already tight, some owners choose removal to preserve original dimension.
Call (213) 555-0110 for a walkthrough, usually within the same week.