Avoiding Asbestos Exposure During Ceiling Work
Any Glendale home built before 1980, and plenty built into the early 80s, may have asbestos-containing materials in the original popcorn texture.
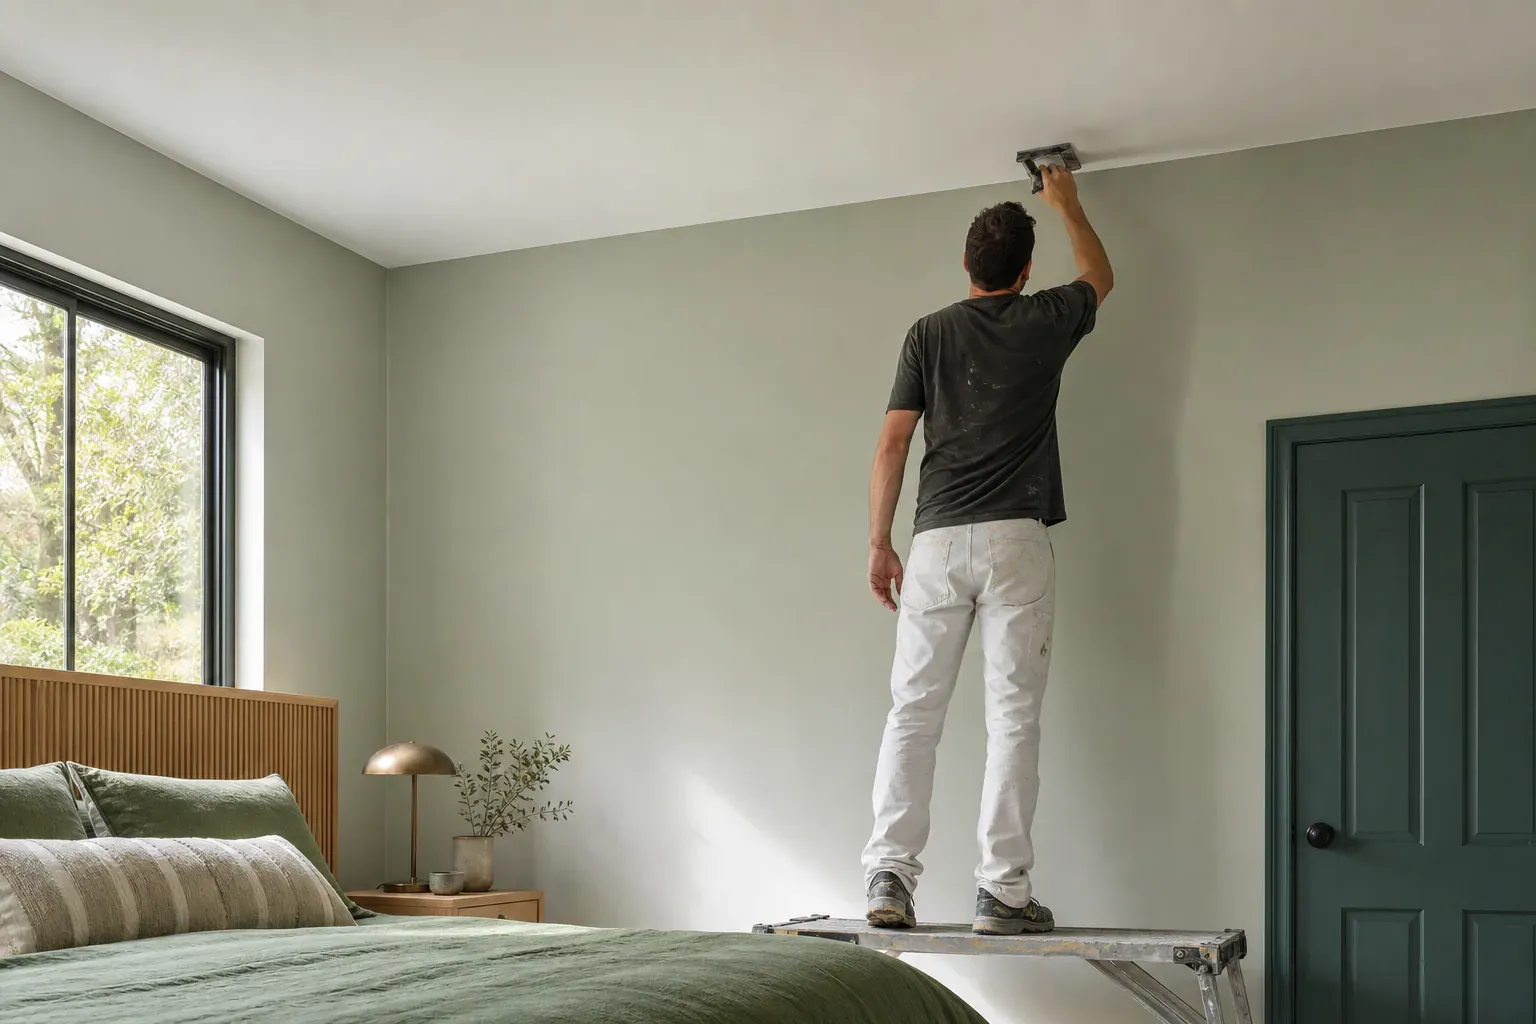
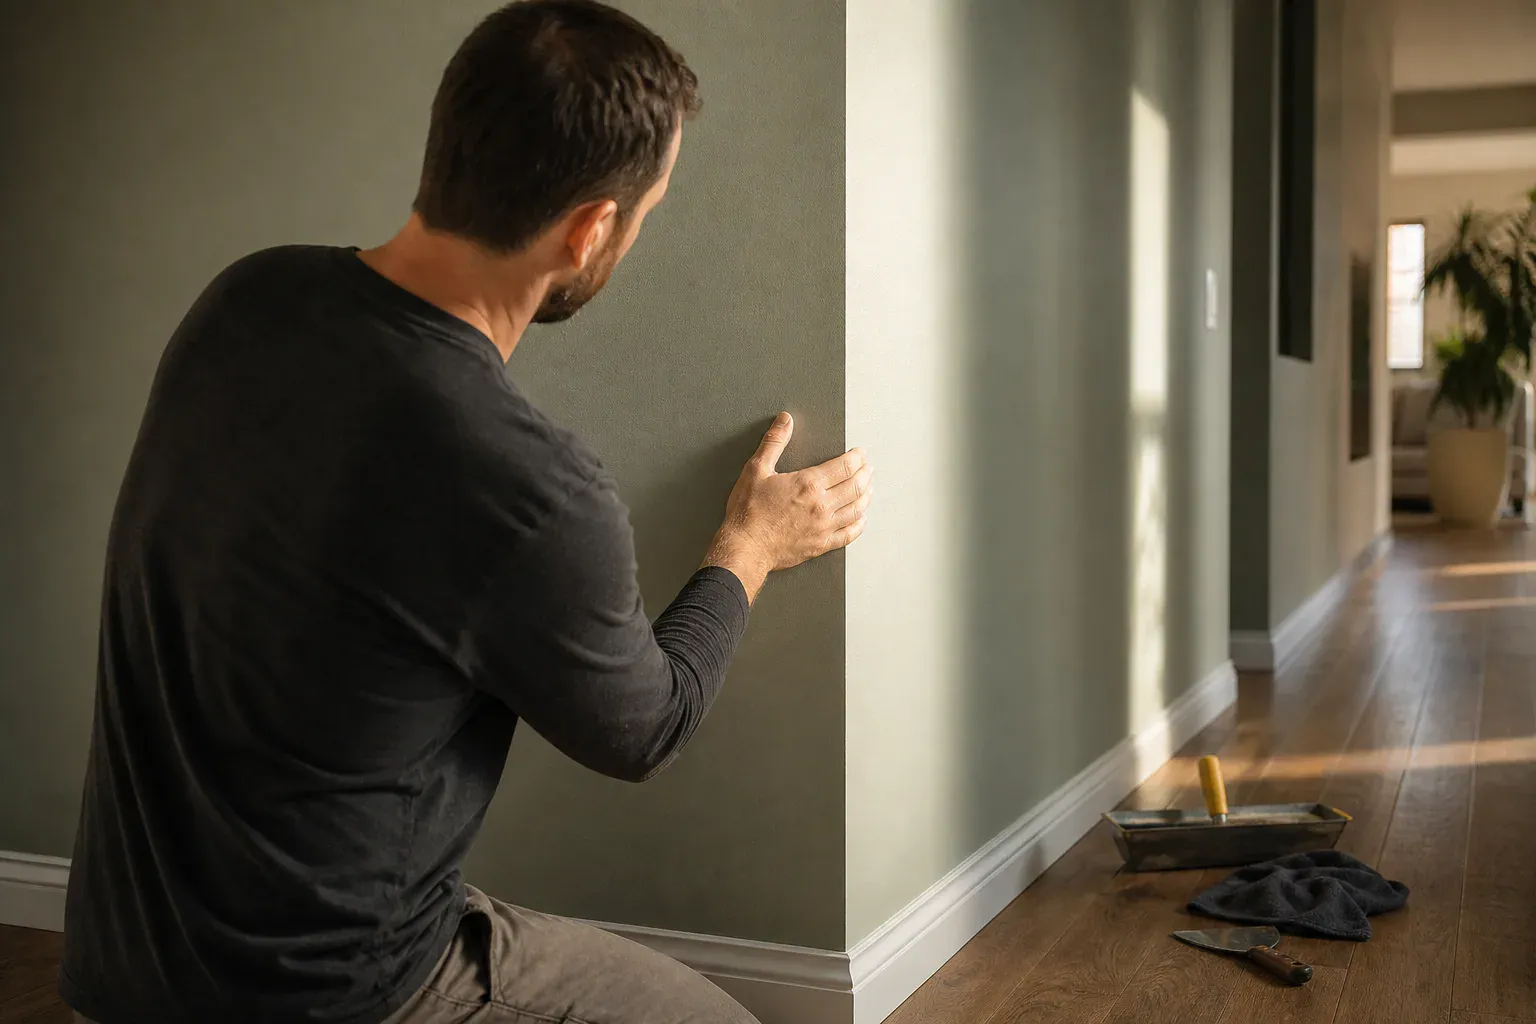
Glendale Quality Drywall installs drywall over popcorn ceiling surfaces throughout Glendale, CA, handling everything from asbestos testing and joist marking to taping, mudding, and paint-ready finishing. We also do straight popcorn ceiling removal, skim coating, and alternative coverings like beadboard and acoustic tile when a client's ceiling or budget calls for something other than a straight drywall cover. Find out more about how we work at Glendale Quality Drywall.
A lot of the housing stock here — the older hillside blocks with their 1960s and 70s ranch and split-level construction, plus the stucco boxes down in the flats — still has original popcorn texture on the ceilings. Scraping it off is messy, slow, and risky if the material is old enough to contain asbestos. Hanging a new layer of gypsum board directly over the existing texture skips that risk entirely and gives you a flat, paintable ceiling in roughly a third of the time of a full popcorn ceiling removal job.
Any Glendale home built before 1980, and plenty built into the early 80s, may have asbestos-containing materials in the original popcorn texture. Before we touch a ceiling, we recommend EPA approved testing — a small sample pulled with a wet-scrape method to keep fibers down, then sent to a lab. If the test comes back positive for friable asbestos, we don't disturb it. Instead we set up friable material containment, seal the room, and hang drywall straight over the top with fasteners long enough to bite into solid framing, not just the texture layer. Asbestos testing before ceiling work is the one step we won't skip, no matter how confident a homeowner is that "it's probably fine."
Full popcorn ceiling removal means wetting the texture with a pressure sprayer, scraping it off with a putty knife or wide taping knife, bagging the debris, and then skim coating or re-texturing the bare ceiling underneath — often a two- to three-day process per room once you count drying time. Drywall-over installation skips demolition altogether. We're hanging board, taping seams, and mudding within the same visit, which usually means one job wrapped up in two to four days depending on room size and how many coats the finish level requires. For popcorn ceiling removal vs covering, covering wins on schedule almost every time; removal only wins when the ceiling has water damage or sag that needs to be addressed at the framing level anyway.
The sequence is the same on every job, but the hours per phase shift depending on room size, ceiling height, and whether we're working around light fixtures, vents, or a popcorn texture that's already painted over.
We start with asbestos testing and containment procedures if the home's age calls for it, then clear the room — furniture out, drop cloths down, painter's tape around trim and outlets. We check for popcorn ceiling water damage assessment at this stage too, pressing on stained or soft-looking patches to find soft framing before we cover it up. A painted popcorn ceiling removal challenge that sometimes comes up is texture that's been coated two or three times over the years; it adds weight, which matters when we're deciding whether the existing surface can support a new layer of drywall without sagging.
We mark ceiling joist location with a stud finder and snap chalk lines so every sheet lands on solid wood, not just the texture. For most rooms we rent a sheetrock lift — trying to hold a 4x8 or 4x12 sheet of gypsum board overhead by hand is how ceilings get cracked and backs get thrown out. Drywall lift rental for ceiling work also keeps the sheet steady while we drive fasteners, which matters because uneven pressure on a popcorn surface can crack the texture underneath and telegraph through the new board. Screws go in on a grid pattern along each joist, driven just below the paper surface without tearing it.
Once the board's up, we tape every seam with drywall tape and joint compound, then let each coat dry fully before sanding and applying the next. Ceiling finishing and taping usually runs three coats: tape coat, fill coat, and finish coat, each needing eight to twenty-four hours of drying time depending on humidity. For a smooth painted ceiling we take the surface to a Level 5 finish — a thin skim coat over the entire face, not just the joints — which is what stops flashing and shadowing once light hits the paint at an angle.
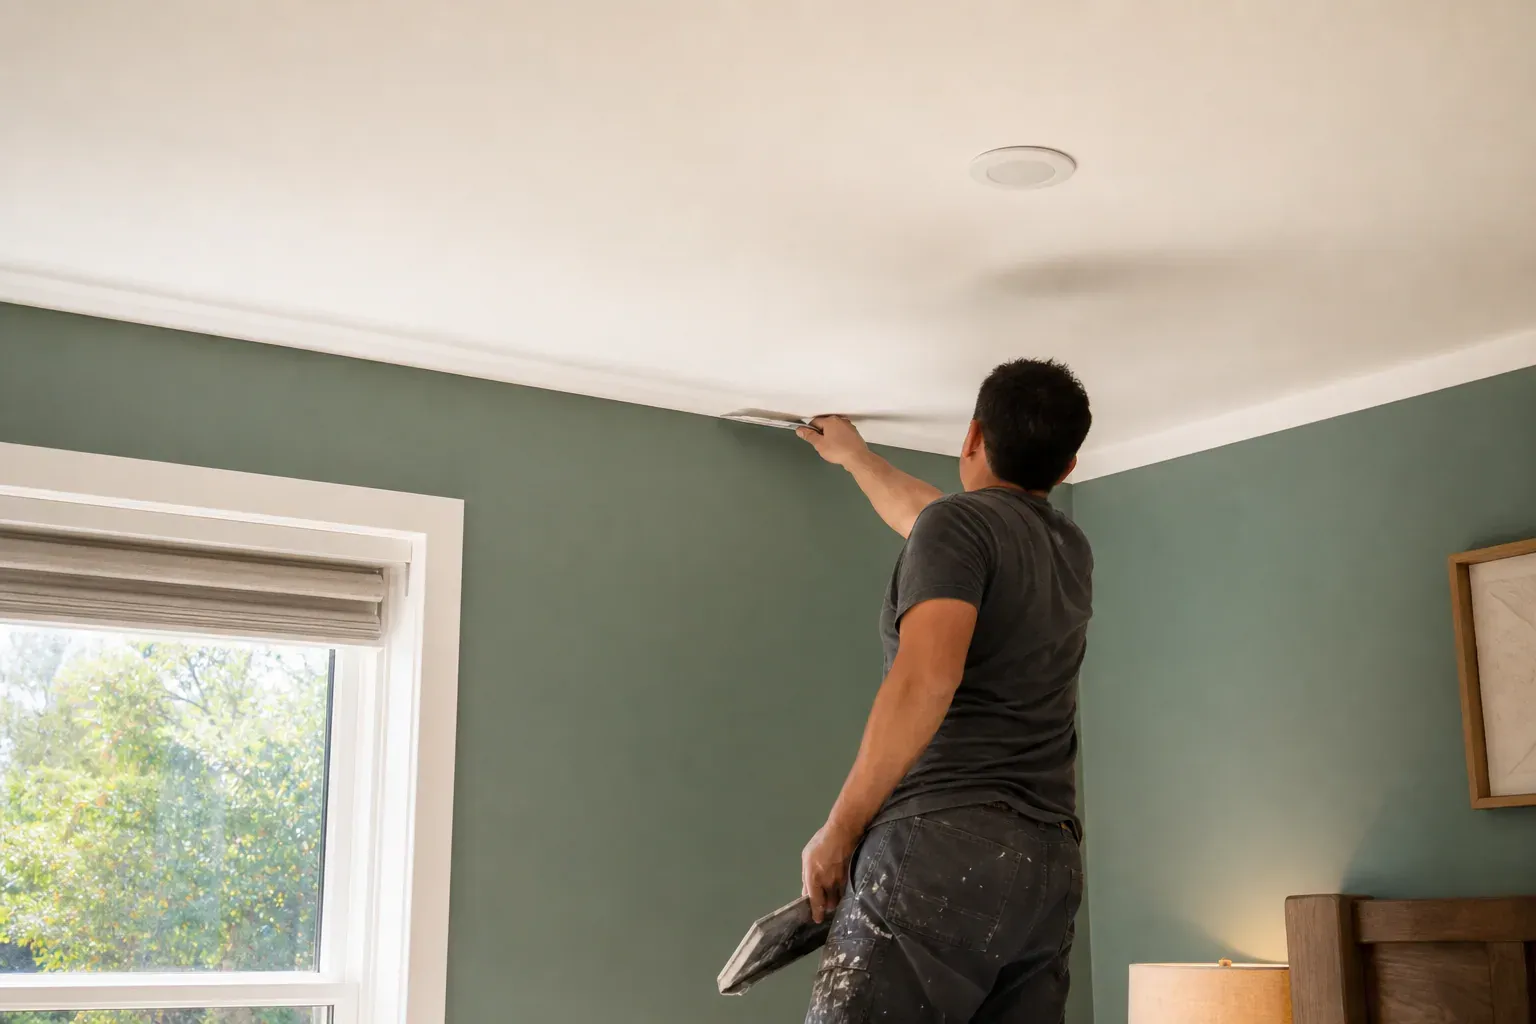
Drywall isn't the only fix, and for some rooms it isn't even the best one. When homeowners ask about popcorn ceiling covering alternatives, we walk through what each option actually involves before recommending anything.
Straight popcorn ceiling removal gives you the most flexibility afterward — any finish, any texture, no added ceiling height — but it means more dust control techniques on our end: sealed plastic, negative air pressure where needed, and careful bagging of debris. Ceiling skim coating over the bare drywall after removal gets you a smooth, paintable surface without adding a full new layer of board. For rooms where a full renovation look is the goal, pressed tin ceiling installation and beadboard ceiling covering are popular options that go up over furring strips, hiding the texture completely while adding real visual character — pressed tin tiles or PVC ceiling panels for a period look, beadboard panels for a cottage or craftsman feel. Track system ceiling installation, using something like an Easy-Up grid system, and drop ceiling tile installation are worth considering in basements or utility rooms where access to plumbing or wiring above matters more than a seamless finish. Acoustic tile ceiling options also fit well in home offices or media rooms where sound absorption is part of the goal, not just appearance.
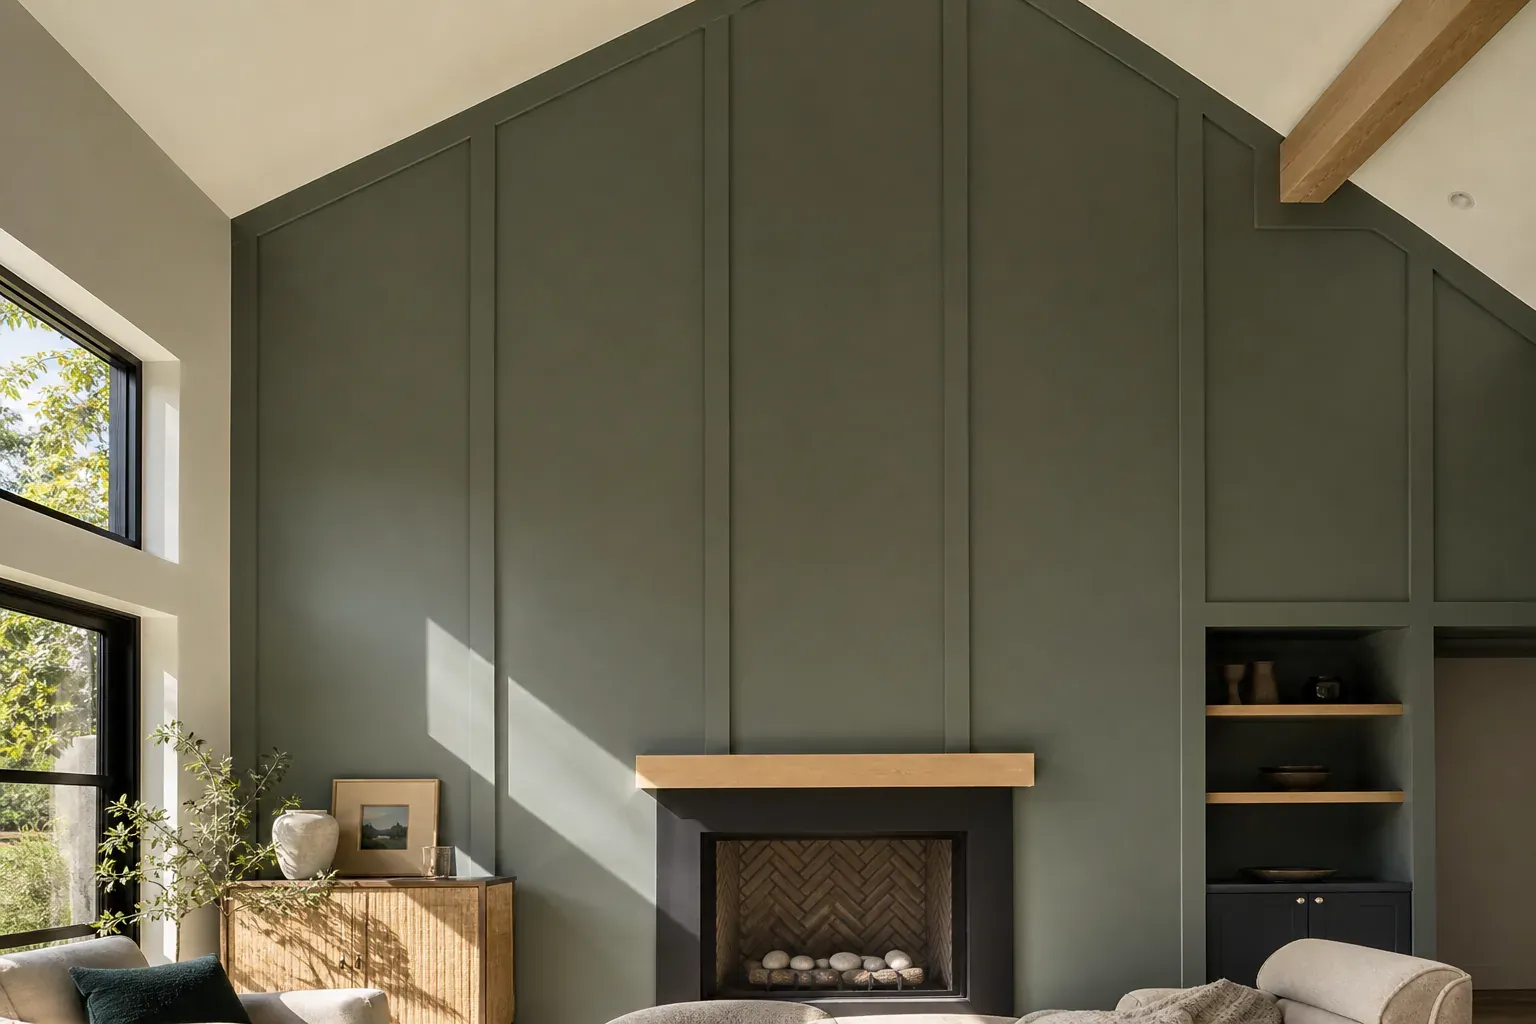
Most drywall-over jobs go smoothly, but a ceiling that's been hiding a popcorn texture for decades can hide other things too.
Once we pull back a section for testing or find a soft spot during prep, we sometimes find sagging joists, old water stains from a roof leak that was patched years ago, or small mold pockets where humidity collected against the texture. We don't hang new board over active mold or a joist that's lost structural integrity. Instead we cut out the compromised section, sister in new framing if needed, and treat any mold pocket before closing the ceiling back up. Catching this mid-project is far cheaper than finding it after the drywall's already painted.
Bathrooms and kitchens are where drywall-over installs fail most often if they're not handled right. Steam from a shower or a stockpot condenses on a ceiling, and if there's no moisture barrier and no fan pulling that air out, the adhesive bond between old texture and new drywall can break down over a few humid seasons, leading to soft spots or seams that separate. Before we cover a bathroom ceiling we confirm the exhaust fan is actually venting outside — not just into the attic — and we use moisture-resistant board and mold-resistant joint compound in those rooms as standard practice, not an upgrade.
Thickness and fastener choice aren't places to cut corners on a ceiling install, because gravity is working against every screw in that board around the clock.
For 1/2 inch drywall ceiling installation, you get real fire-rated performance and noticeably better sound dampening between floors compared to thinner stock. California residential code generally expects 1/2 inch board on ceilings with standard 16 or 24-inch joist spacing, and it's what we install on the overwhelming majority of drywall-over jobs. A 1/4 inch drywall thickness application has its place — mainly on curved surfaces or as a rigid backer over an already-sound, flat texture where weight and joist load are a concern — but it flexes more and telegraphs seams faster over time.
Drywall screw sizing for ceilings depends on how much material you're fastening through. Covering popcorn texture with 1/2 inch board typically calls for 2 inch screws so they penetrate the texture, the old ceiling material if present, and still get a full inch of bite into the joist. Thinner assemblies can get by with 1 5/8 inch screws. Spacing runs every 12 inches along the field and every 8 inches at the edges — wider spacing invites sagging between joists over a few years, and undersized screws are the number one cause of the popped fastener dimples homeowners find on their ceiling a year or two after a rushed job.
Ceiling work in Glendale falls under the California Building Code as adopted locally, and the rules differ depending on whether you're in a single-family home or a multi-unit or commercial building.
Multi-family buildings and any shared-wall construction generally require Type X fire-rated drywall on ceilings, which has added glass fiber in the gypsum core to slow flame spread — usually a five-eighths-inch product rather than standard half-inch board. Joist spacing also affects what's allowed: standard 16-inch on-center framing supports lighter board without extra blocking, while 24-inch spacing sometimes calls for thicker or reinforced board to meet deflection limits. We check the framing and the occupancy type before quoting material, since fire-rating requirements change both the cost of the board and the labor needed to fasten it correctly.
Not every ceiling needs the same amount of finish work, and pushing for more smoothness than a room needs just adds cost without adding value.
Drywall butt joint minimization starts with sheet layout — running the long edge of each board perpendicular to the joists and staggering the butt joints so they don't line up in a row across the room. Flat ceiling installation techniques depend on keeping compound thickness consistent over each joint, feathering it out wide with a taping knife so there's no visible ridge once primer goes on. We progress through sanding grits from coarse to fine between coats, and finish with a coat of high-build primer before paint, which is what actually stops flashing and joint lines from telegraphing through under raking light from a window or recessed fixture.
Any Glendale home built before 1980, and plenty built into the early 80s, may have asbestos-containing materials in the original popcorn texture.
Full popcorn ceiling removal means wetting the texture with a pressure sprayer, scraping it off with a putty knife or wide taping knife, bagging the debris, and then skim coating or…
We start with asbestos testing and containment procedures if the home's age calls for it, then clear the room — furniture out, drop cloths down, painter's tape around trim and outlets.
We mark ceiling joist location with a stud finder and snap chalk lines so every sheet lands on solid wood, not just the texture.
Once the board's up, we tape every seam with drywall tape and joint compound, then let each coat dry fully before sanding and applying the next.
Straight popcorn ceiling removal gives you the most flexibility afterward — any finish, any texture, no added ceiling height — but it means more dust control techniques on our end: sealed…
Why homeowners call us
Every drywall job is scoped and priced in writing, so the number you approve is the number you pay. If something behind the wall changes the work, we stop and price it first.
You speak to the people doing the work, not a call centre, and cover certificates go to your building manager or general contractor on request.
Containment, floor protection and same-day debris removal on every interior job — the space stays usable while the work is going on.
Crews work Glendale and the surrounding cities every week, so a walkthrough is usually available within the same week you call.
FAQ
Yes, in most cases. As long as the existing texture is sound, not delaminating, and the framing underneath is solid, we fasten new gypsum board straight through the popcorn layer into the joists using longer screws. If the ceiling is sagging, water-damaged, or the texture is loose and crumbling, we address that first before hanging anything over it.
Half-inch drywall is standard for most residential ceilings and meets typical code requirements for fire rating and sound performance. Quarter-inch board is reserved for specific cases — curved ceilings, or as a thin rigid layer over an already flat, stable surface — but it flexes more and shows joints faster than half-inch stock over time.
Two-inch screws are the typical choice when fastening half-inch drywall through popcorn texture into the joist, since the fastener needs to pass through the board and texture layer and still get a full inch of bite into solid wood. Thinner assemblies or single-layer applications without existing texture can use 1 5/8 inch screws instead.
The only reliable way is lab testing. A small sample gets collected using a wet-scrape method to limit airborne fibers, then sent for approved lab analysis. Visual inspection alone can't confirm it — asbestos-containing texture looks identical to safe texture. Any home built before the early 1980s should be tested before scraping, sanding, or drilling into the ceiling.
A flat result comes down to fastening pattern, joint placement, and finish work, not just hanging the board. We stagger butt joints away from room center, keep screws on a consistent grid into the joists, and build up joint compound in thin, wide coats rather than one thick pass. A full skim coat and Level 5 finish before paint removes any remaining texture shadowing.
Drywall-over installation generally costs less in labor since there's no scraping, bagging, or disposal of old texture, but it does add material cost for the new board and adds a small amount of ceiling height. Full removal costs more in labor and cleanup, especially with asbestos containment, but avoids adding thickness and gives more finish options afterward. Room size, access, and finish level drive the final number more than the method itself.
Call (213) 555-0110 for a walkthrough, usually within the same week.