Signs Your Drywall Needs Full Replacement
We tell homeowners to replace rather than repair when they see:
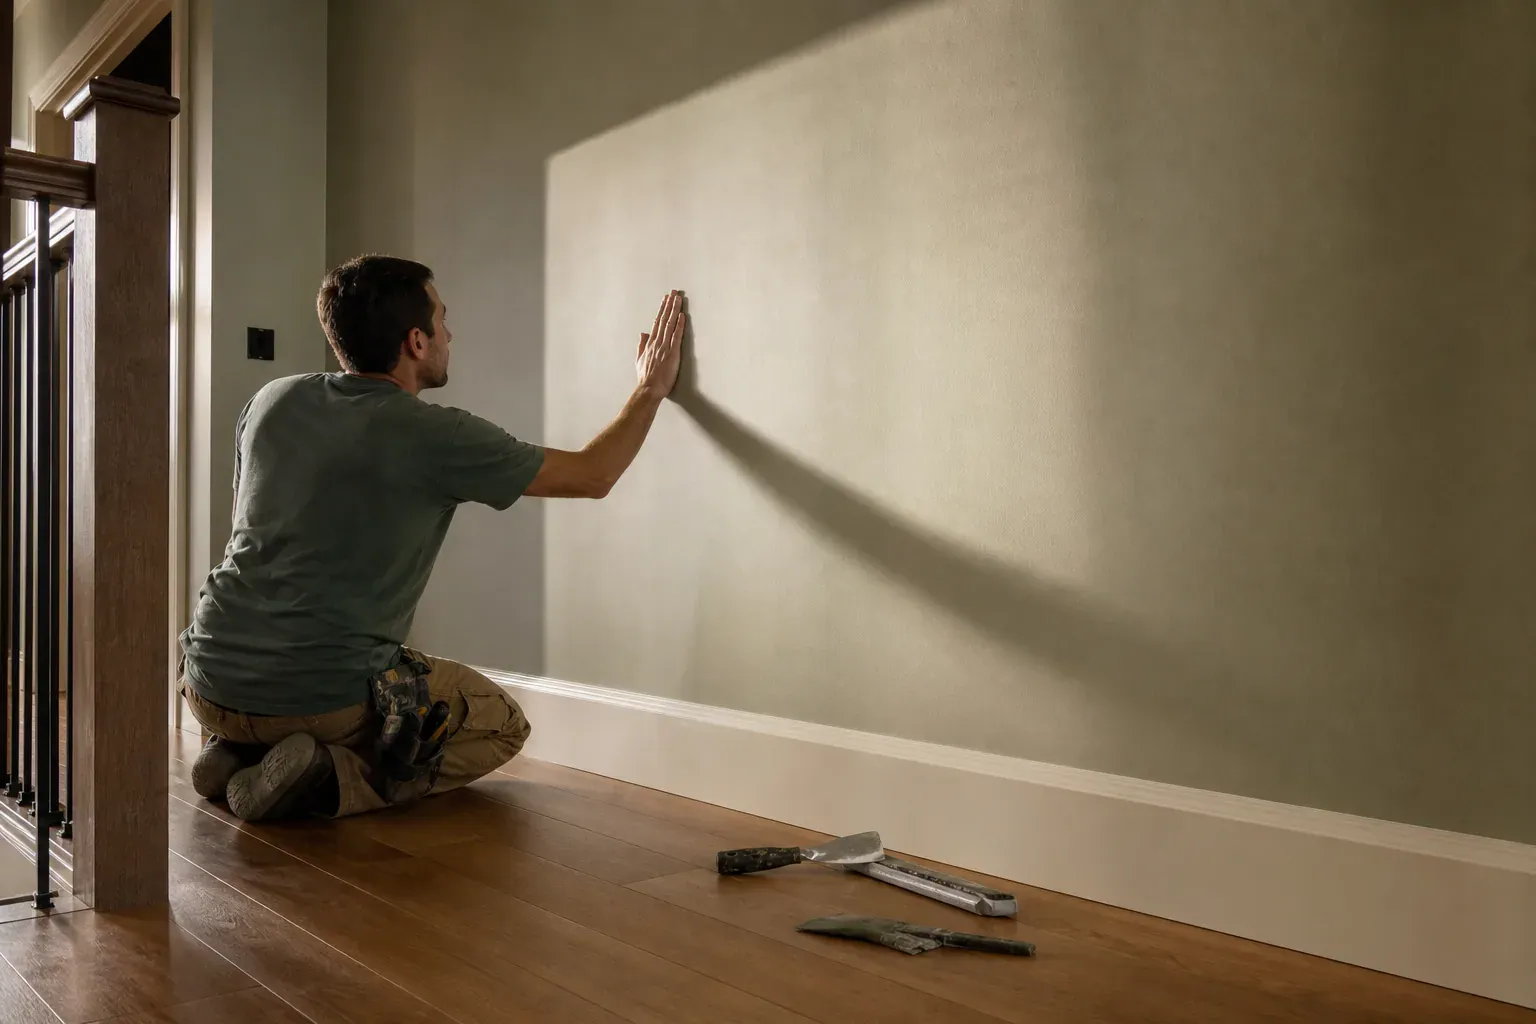
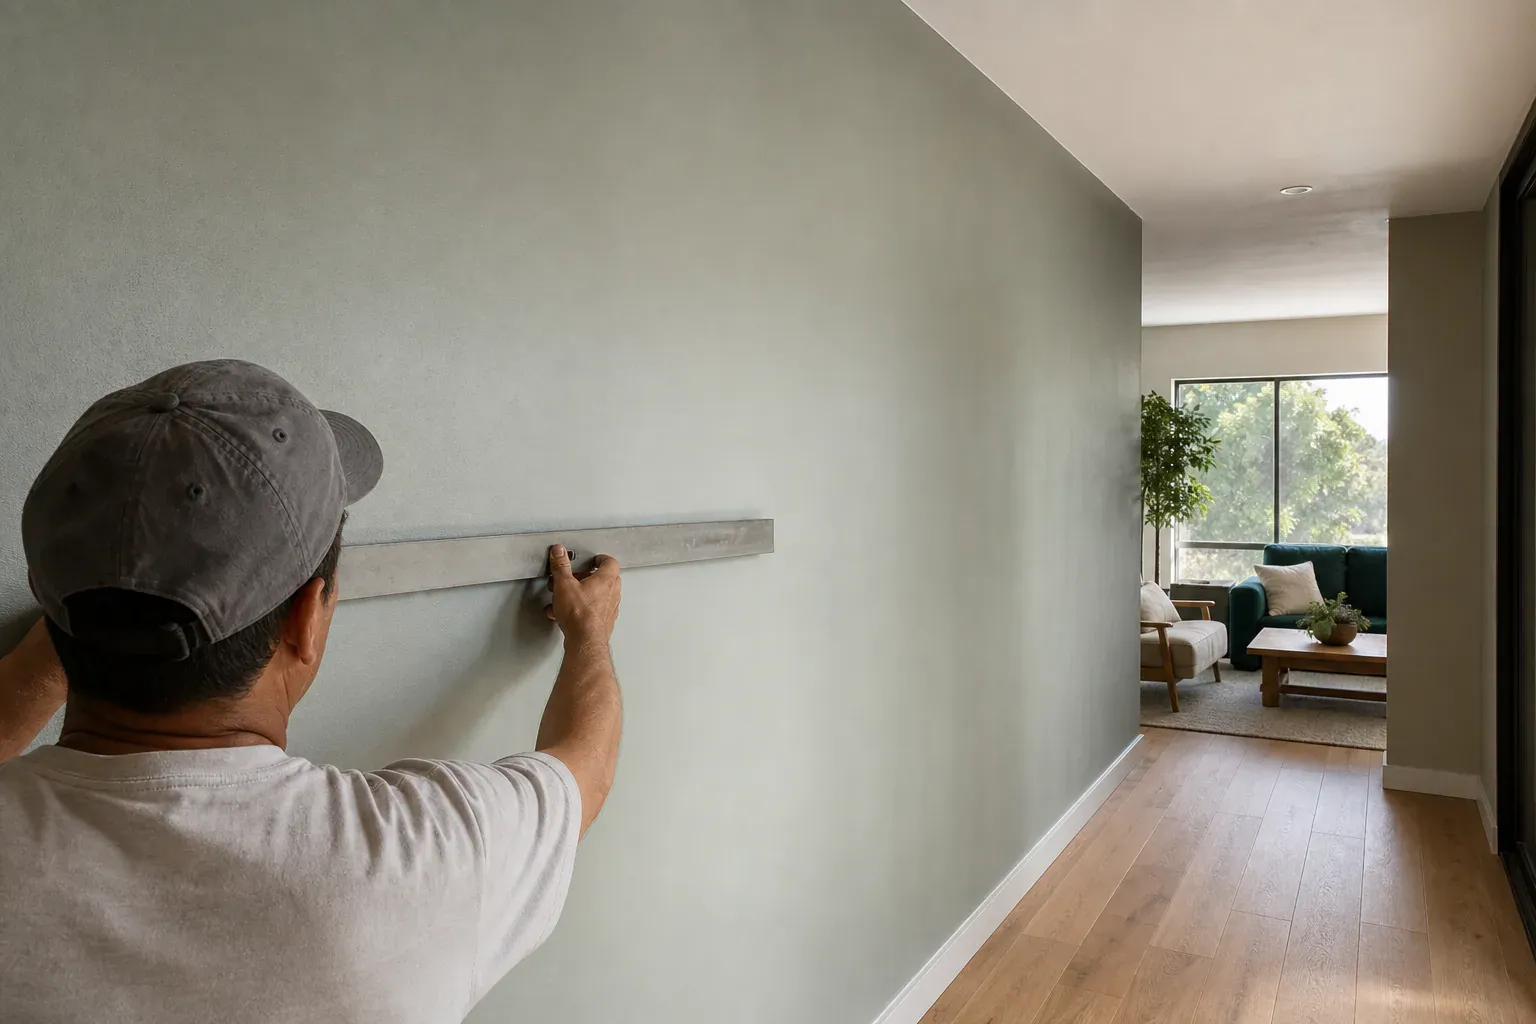
Glendale Quality Drywall provides drywall replacement, full-wall and ceiling installation, and finish work for homeowners, property managers, and builders across Glendale, CA, and we handle everything from a single section of gypsum board to a whole-house tear-out. Glendale Quality Drywall runs the same crew from demolition through the final coat of primer, so you're not managing three different subcontractors on one project. Whether the job is a water-damaged section behind a washing machine or a full popcorn ceiling removal, we scope it honestly before we cut into anything.
Most calls we get start as a repair question and end with us explaining why patching won't hold. Small hole drywall repair — the kind left by a doorknob or a picture hook — is a twenty-minute fix with a patch kit and some spackle. Large hole drywall patching, like a section kicked in or cut out for plumbing access, still falls under repair territory if the surrounding board is sound. The line moves to full replacement when the damage covers a large percentage of a wall, when water has traveled behind multiple sheets, or when the framing itself needs attention that a patch would just hide.
Hole patching and filling covers a wide range in practice. A nail hole or small ding gets a dab of lightweight spackle and one pass of a putty knife. Anything up to a few inches across gets a self-adhesive mesh patch and a coat of setting-type compound. Bigger holes — the size of an electrical box or larger — need a cut-in piece of matching-thickness drywall screwed to backing, not just a patch floated over open air, or the repair will flex and crack again within a few months.
Drywall crack repair is another gray area. A single hairline crack near a corner, caused by normal seasonal movement, is a repair. A crack that keeps coming back after three repair attempts, or one paired with a door that no longer latches, usually means the board is riding on framing that's moved and replacement — sometimes with re-shimmed studs — is the only fix that lasts.
We tell homeowners to replace rather than repair when they see:
Drywall replacement cost runs on a different scale than repair, and the breakeven point is where a lot of homeowners get surprised. A basic drywall patch — small hole, single coat of joint compound, sand, prime — typically runs as a small flat fee per patch when we're already on site for other work, scaling up with the number of patches and texture matching involved. Full wall or ceiling replacement is priced by the square foot instead, and that figure includes demo, disposal, new gypsum board, tape, three coats of compound, sanding, and a prime coat.
The rule of thumb we use on site: once repair area exceeds roughly a third of a wall, or once you're patching the same section for the second time, cost per square foot converges close enough that full replacement is the better value — you get a flat, uniform surface instead of a patchwork of texture-matched islands. Ceilings tip the scale even faster because access — ladders, scaffolding, protecting floors — is a fixed cost whether you're doing one patch or the whole ceiling.
Popcorn ceilings show up constantly in Glendale's older stock, especially homes built in the mid-century boom years in the flats and the lower hillside tracts. Once that texture is coming down, it makes sense to treat it as one project rather than two separate calls — remove the texture, then address whatever the ceiling drywall needs at the same time, since you've already got the room protected and the ceiling exposed.
Any home built before the early 1980s gets tested for asbestos before we touch the texture — it's a quick lab turnaround and it's not a step we skip, since scraping an asbestos-containing texture dry is a real health hazard. Once testing clears the ceiling, or once abatement has been handled by a certified abatement contractor, we wet the texture down and scrape it off in sections, working under full plastic containment to keep debris out of the rest of the house.
What's underneath the texture is often the bigger surprise. Some ceilings have solid drywall under the texture that just needs a fresh skim coat and prime coat. Others reveal old plaster repair situations, water staining from a roof leak that was covered up rather than fixed, or drywall so thin and brittle it needs full ceiling drywall replacement rather than a skim. We check for sag, moisture staining, and soft spots before deciding whether to skim over the existing board or pull it and hang new sheets.
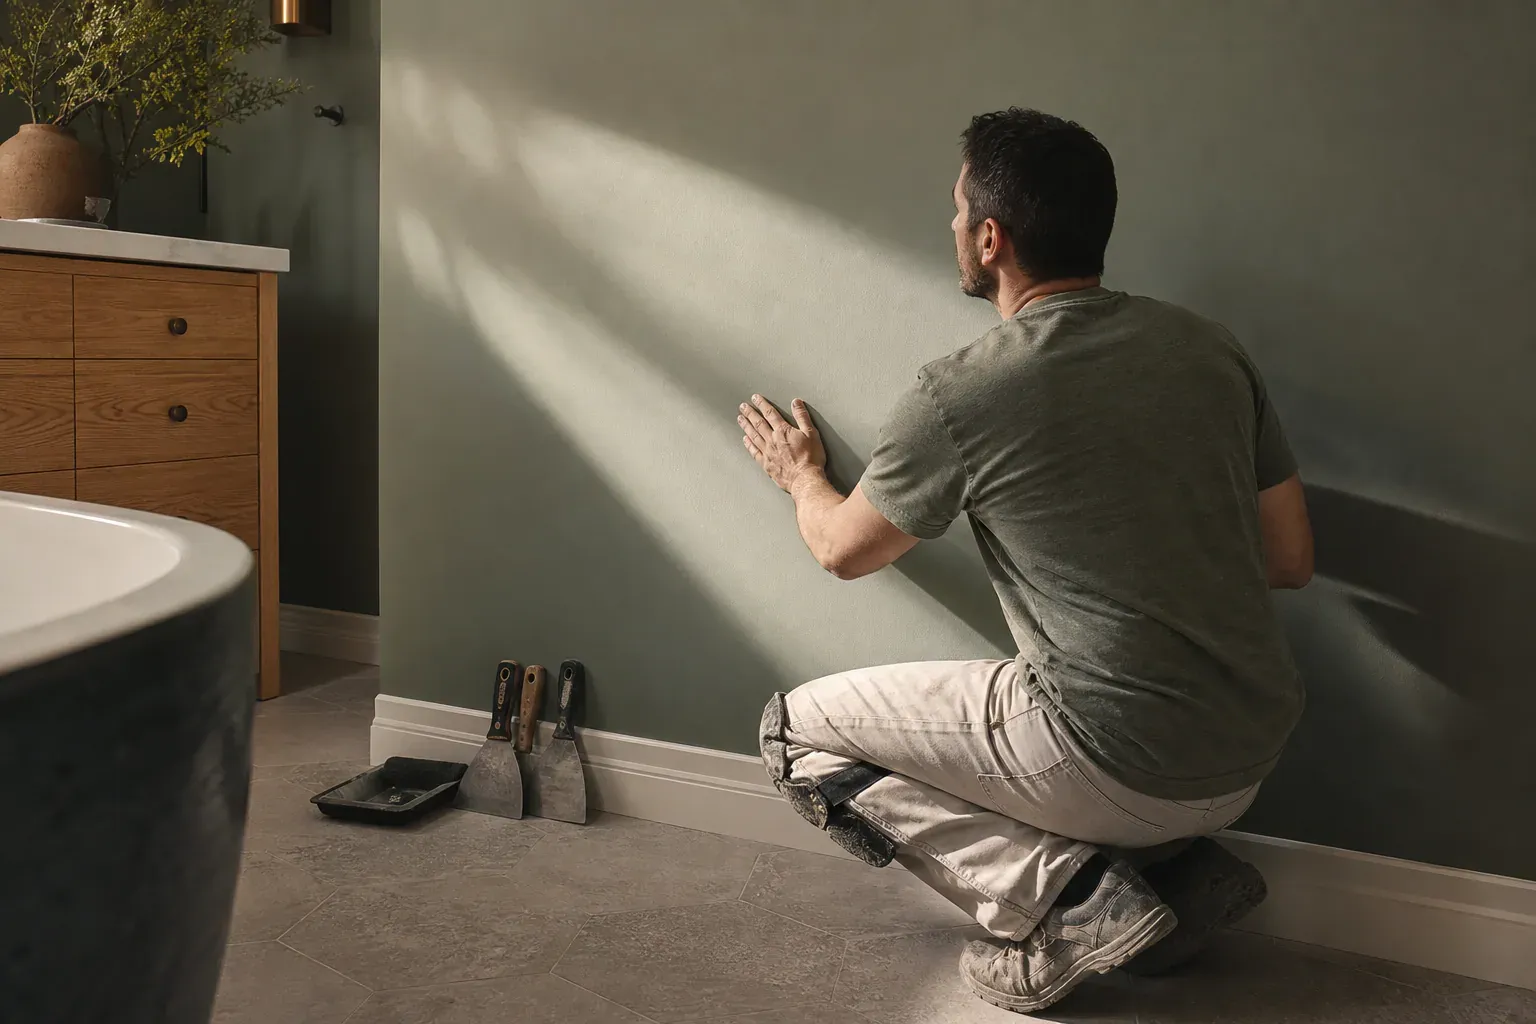
Not every crack is a drywall problem. Sometimes the drywall is just the messenger for something happening in the foundation or framing below it, and patching the crack without addressing the movement means it comes back within a season or two.
A cosmetic crack is usually thin, hairline, runs straight along a seam or corner, and doesn't reappear after a proper drywall crack repair with mesh tape and compound. A structural crack tells a different story: diagonal cracks running from the corner of a door or window frame up toward the ceiling, stair-step cracking that follows a masonry or block pattern, or a crack wide enough to fit a coin are all signs of foundation movement rather than normal seasonal drywall shrinkage. Homes on hillside lots or older slab foundations around Glendale are more prone to this kind of movement, particularly after a wet winter followed by a dry summer that shrinks and expands the soil underneath.
When we see structural cracking, we recommend a foundation contractor or structural engineer take a look before we do any drywall work in that area — replacing the drywall over an active structural issue just means paying for the same repair again in a year. Once the underlying movement is addressed or confirmed stable, we come back and handle the drywall replacement, usually with a section wide enough to catch clean framing on both sides of the affected area.
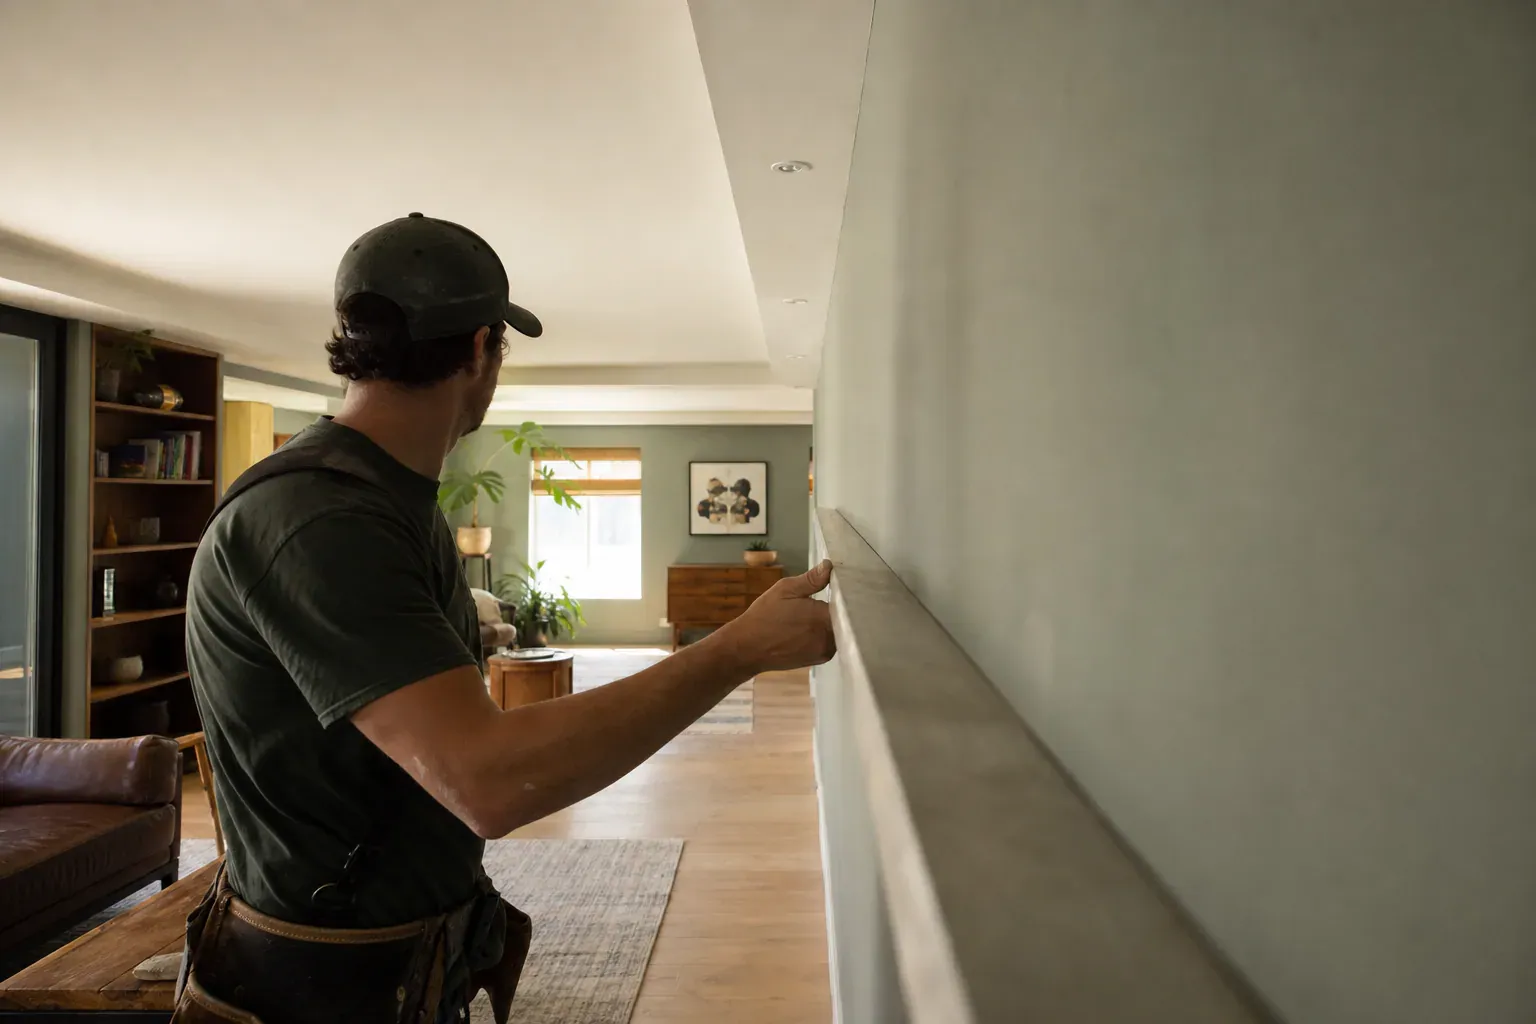
A single-wall replacement in a bedroom or hallway, assuming no framing surprises, usually runs one to two days: demo and haul-out on day one, hang and first coat that afternoon or the next morning, then return trips for tape coat, finish coat, and sanding. A full room — four walls plus ceiling — is closer to four to six working days once you account for compound dry time between coats. Quick-set compound can compress that schedule when we need to turn a room fast, but it sacrifices some of the smooth working time that all-purpose or lightweight joint compound gives on a finish coat.
Larger jobs — a full first floor after a pipe failure, or a multi-room remodel — stretch to two or three weeks, mostly driven by how many rooms need texture matching and how much drying time the compound needs between coats in Glendale's drier inland heat versus a cooler stretch near the hillside canyons where humidity sits a little higher.
Drywall replacement is a dusty trade no matter how careful the crew is. We seal off the work area with plastic sheeting and tape off HVAC returns so sanding dust doesn't migrate through the duct system into the rest of the house. Floors get covered with rosin paper or drop cloths, and furniture either leaves the room or gets wrapped and pushed to the center under plastic.
Expect noise during demo and hanging — a drywall saw and screw gun aren't quiet — and expect at least one day where a room is unusable while compound dries between coats. We keep a shop vac and HEPA filter running during sanding to cut down on airborne dust, but a fine layer settling on nearby surfaces for a day or two is normal on any job that involves cutting sheetrock indoors.
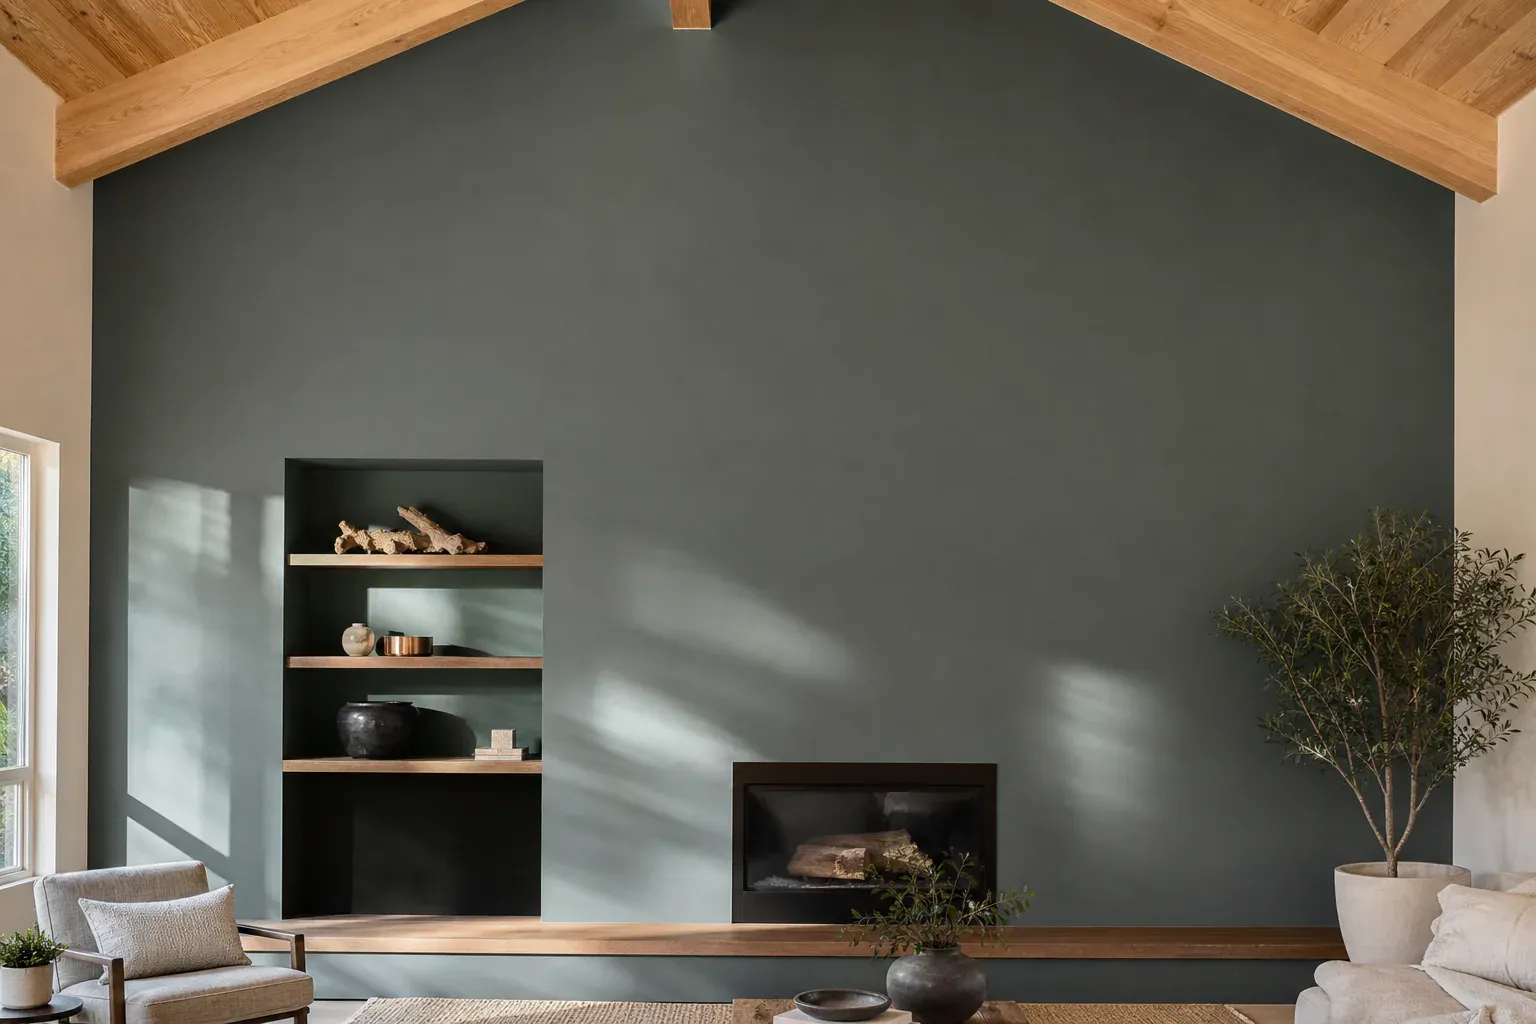
New drywall is only as good as what's behind it. Before a single sheet goes up, we check the framing, the insulation, and any wiring or plumbing that's now exposed.
We run a level down every exposed stud and check for rot, water staining, insect damage, and any stud that's cracked or split from a prior impact. Studs with more than minor surface damage get sistered with new lumber or replaced outright — hanging drywall over compromised framing just guarantees another failure down the line, usually showing up as a crack or a fastener that won't hold. We also check spacing; older Glendale homes, especially in the foothill neighborhoods, sometimes have studs on 24-inch centers that need furring strips added so new, often thicker, board doesn't flex between fasteners.
Any wall that's opened up near a bathroom, kitchen, or exterior-facing surface gets a look at its vapor barrier and insulation before we close it back up. Batt insulation that's compressed, wet, or has lost its loft gets pulled and replaced — wet insulation behind new drywall is exactly the setup that causes water damage drywall failures a year or two later. Where a vapor barrier is missing or torn, we install one before hanging, particularly on exterior walls where the wall cavity sees temperature swings between the daytime heat and the cooler night air common to the area. In rooms prone to moisture — laundry, bath, kitchen — we default to moisture-resistant drywall rather than standard board, even if the original material wasn't rated for it.
We score the old drywall with a utility knife along stud lines, then pull it in manageable sections rather than smashing it, which keeps dust down and protects wiring and plumbing runs behind it. Nails and screws get pulled from the studs, not just cut flush, so the new board sits flat. All debris — old gypsum board, insulation being replaced, trim — goes straight into contractor bags or a lined bin, and drywall debris disposal is handled through licensed haul-away rather than left for the homeowner to deal with at the curb.
New sheets go up horizontally where the wall height allows, staggered so seams don't line up floor to ceiling, which cuts down on visible joint lines later. We use a drywall screw gun set to the correct depth so screws dimple the paper without tearing it — over-driven screws are one of the most common causes of nail pops and screw holes showing up months later. Fastener spacing runs every 8 inches on ceilings and 12 inches on walls along framing, tighter near edges. Where a wall needs to carry a mounted TV, grab bar, or heavy cabinetry, we install backing board or blocking behind the drywall so it's not relying on drywall anchoring alone to hold weight — anchors are fine for light loads, but anything substantial needs solid backing tied into the studs.
This is where most of the skill in drywall taping and finishing shows. Joint compound application follows a set order no matter which tape goes down first: a bed coat pressed into the seam with a 6-inch knife to embed the tape, then progressively wider coats — 10-inch, then 12-inch — feathered out further each pass so the buildup tapers to nothing at the edges instead of leaving a ridge.
The mesh tape vs paper tape decision isn't just habit. Paper tape gives a slightly stronger, flatter joint and is what we default to on butt joints and corners; mesh tape is faster to apply and works well with quick-set compound on smaller repairs, but it's more prone to cracking under stress on long seams unless it's backed with a setting-type compound rather than a standard all-purpose mud. Corner bead goes on outside corners before mudding, set with either nails or compound depending on the bead type, to keep edges straight and impact-resistant.
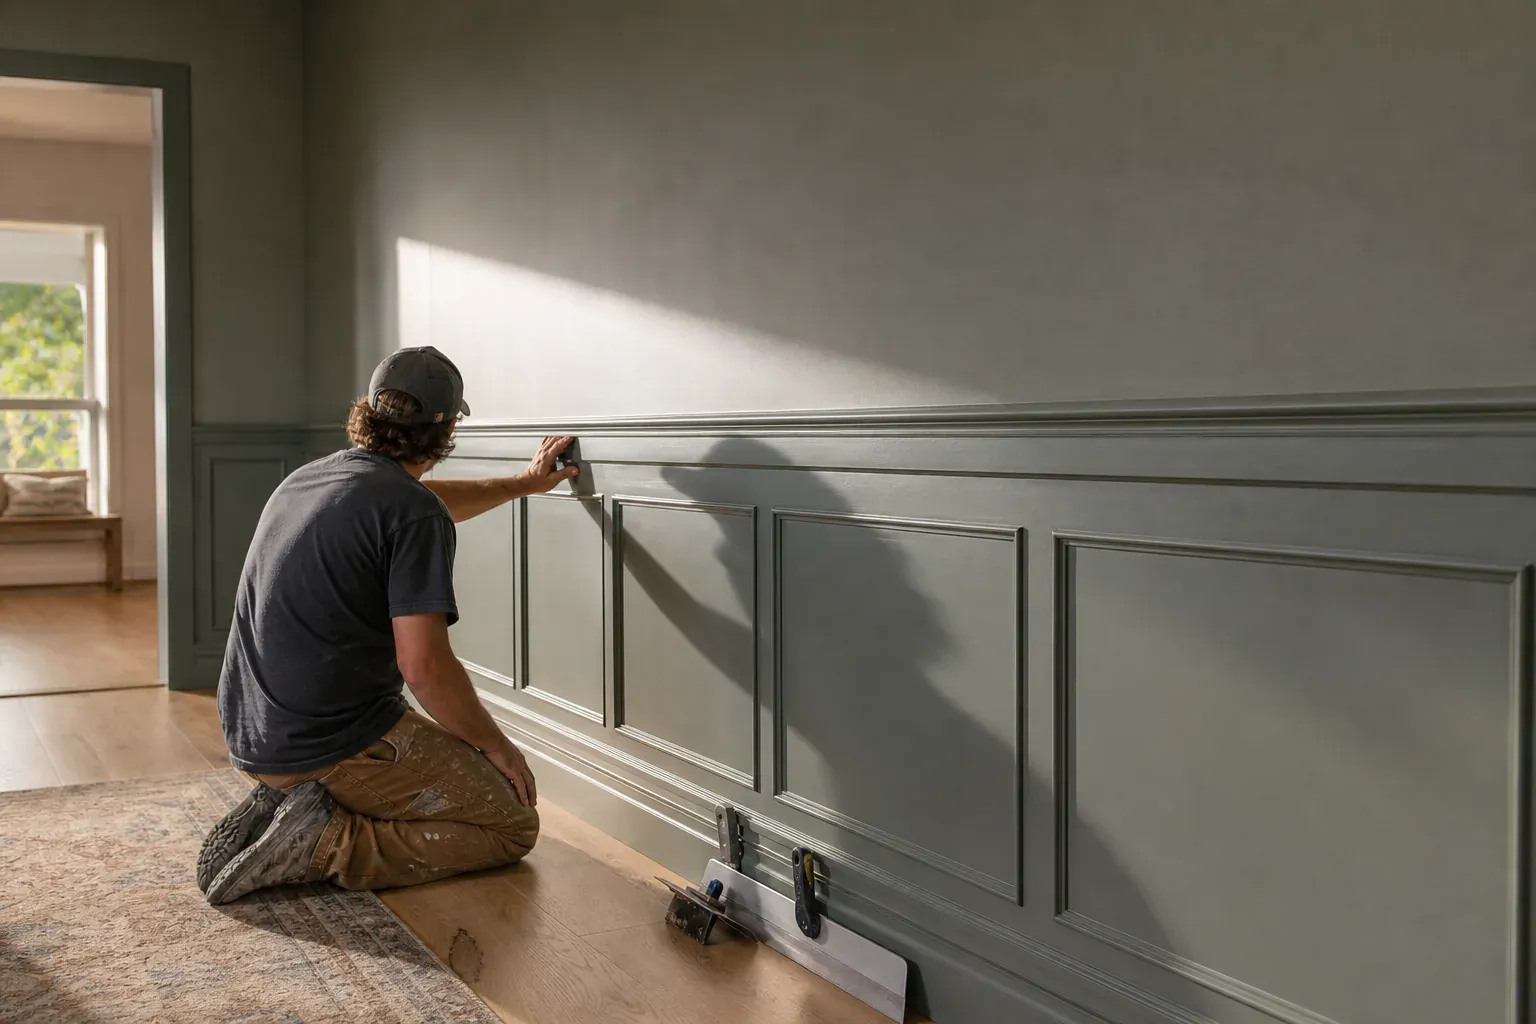
From there it's three coats: bed coat, tape coat, and finish coat, each wider than the last and feathered out with a taping knife so the seam disappears into the surrounding surface. For jobs going into project spaces, media rooms, or any wall that will see raking light from a window, we take it to a full skim coating pass across the whole surface rather than just the seams — that's what a level 5 finish means in practice, and it's the standard we use whenever gloss or semi-gloss paint is planned, since sheen shows every imperfection a flat paint would hide. Sanding happens between coats with a sanding sponge for light passes and a pole sander for full walls and ceilings, always followed by a wipe-down before the next coat so dust doesn't get trapped under fresh compound.
Commercial drywall installation on Glendale's office space and retail corridors comes with code requirements that residential work doesn't. Tenant improvements, shared-wall offices, and any space with a kitchen or mechanical room usually trigger a fire rating or sound rating requirement that has to be documented for inspection.
Type X drywall — thicker board with reinforced core additives — is standard for garage-to-living-space walls, stairwell enclosures, and shared walls between commercial units, typically providing a one-hour fire rating in a single-layer assembly. Type C goes a step further with additional fire-resistant additives and is specified where code calls for enhanced fire protection, often in multi-layer assemblies for higher-rated walls. For sound control between commercial tenants or multifamily units, we install acoustic panels or resilient channel systems paired with mass-loaded layers of drywall to hit the sound transmission class a lease or code requires. Any commercial job we take on gets built to the assembly spec called out in the plans, not just "similar" materials, since inspectors check for the actual rated product.
The finish quality on a commercial or high-end residential job comes down to consistent materials and technique, not shortcuts:
Texture matching drywall on a repair or partial replacement is as much art as material selection — matching an orange peel, knockdown, or hand-troweled texture takes practice with the same tools (hopper gun, trowel, or brush) the original installer likely used, and we test the match on a scrap piece before applying it to the actual wall. Once texture is matched, primer and paint go on in the same sheen and coat count as the surrounding surface, since a patch can be perfectly smooth and still stand out if the paint sheen doesn't match.
We tell homeowners to replace rather than repair when they see:
Drywall replacement cost runs on a different scale than repair, and the breakeven point is where a lot of homeowners get surprised.
Any home built before the early 1980s gets tested for asbestos before we touch the texture — it's a quick lab turnaround and it's not a step we skip, since scraping an asbestos-containing…
A cosmetic crack is usually thin, hairline, runs straight along a seam or corner, and doesn't reappear after a proper drywall crack repair with mesh tape and compound.
A single-wall replacement in a bedroom or hallway, assuming no framing surprises, usually runs one to two days: demo and haul-out on day one, hang and first coat that afternoon or the next…
Drywall replacement is a dusty trade no matter how careful the crew is. We seal off the work area with plastic sheeting and tape off HVAC returns so sanding dust doesn't migrate through the…
Why homeowners call us
Every drywall job is scoped and priced in writing, so the number you approve is the number you pay. If something behind the wall changes the work, we stop and price it first.
You speak to the people doing the work, not a call centre, and cover certificates go to your building manager or general contractor on request.
Containment, floor protection and same-day debris removal on every interior job — the space stays usable while the work is going on.
Crews work Glendale and the surrounding cities every week, so a walkthrough is usually available within the same week you call.
FAQ
For small, isolated damage — a single hole, a hairline crack, a nail pop — repair is cheaper and faster. Once damage covers more than roughly a third of a wall, has recurred after a prior patch, or involves water damage behind multiple sheets, the labor and material cost per square foot for patchwork repairs approaches full replacement cost, and replacement gives a more even, longer-lasting surface.
A full room — four walls and ceiling — typically takes four to six working days from demo through final sanding, assuming no framing or moisture surprises behind the old board. Compound needs drying time between the bed, tape, and finish coats, which is the main driver of the schedule rather than the hanging itself.
Expect the work area sealed off with plastic sheeting, floors protected, and furniture moved or covered. There's noise during demo and hanging, dust during sanding despite containment and HEPA filtration, and at least a day or two where the room is unusable while compound cures between coats.
Section replacement is common and usually the right call when the surrounding board is sound. We cut back to the nearest stud on either side of the damage, tie the new piece into solid framing, and tape and finish the seams so the patch blends into the existing wall rather than replacing material that doesn't need it.
A well-done repair, with proper taping and texture matching, is visually indistinguishable from the surrounding wall. The difference shows up in uniformity over time — full replacement gives one continuous surface with matched framing behind it, while a wall with many patch generations can show slight texture or flatness differences under certain lighting, especially with glossier paint sheens.
Cost per square foot depends on finish level, access, ceiling height, and whether texture matching or a full skim coat is involved. Ceilings, tight access, and higher finish levels like level 5 push the price up; straightforward wall sections with a standard orange-peel texture sit at the lower end of the range. We provide a specific figure after walking the space.
Call (213) 555-0110 for a walkthrough, usually within the same week.