Drywall Installation for New Construction
Hanging drywall correctly the first time is what keeps a job from turning into a repair call two years later.
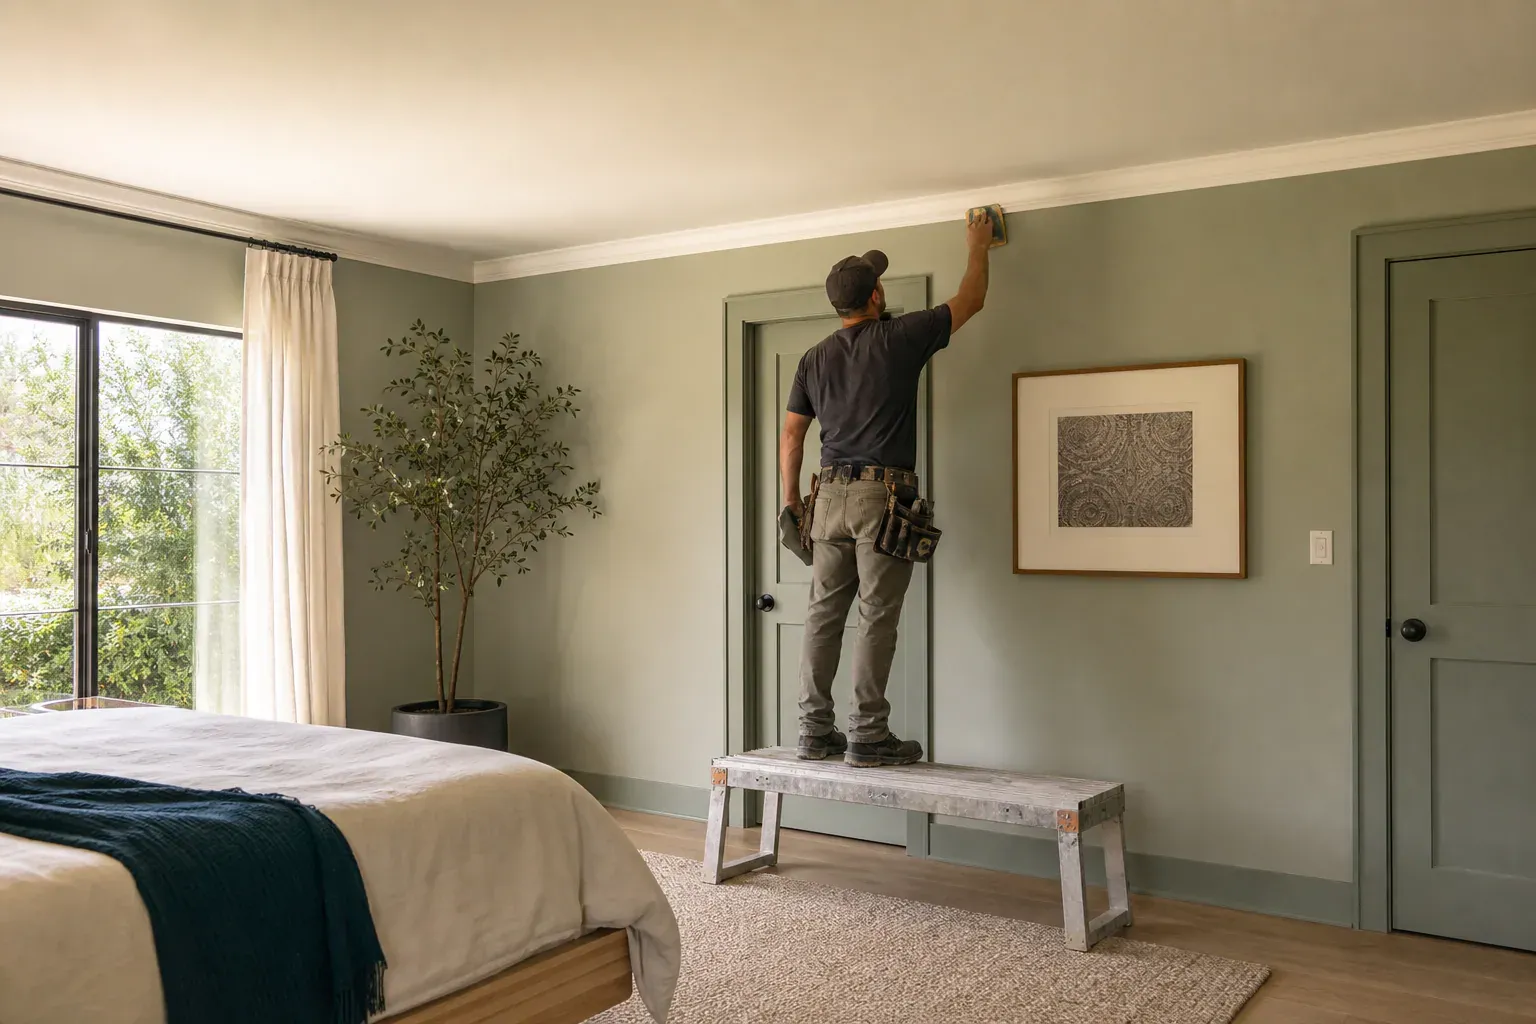
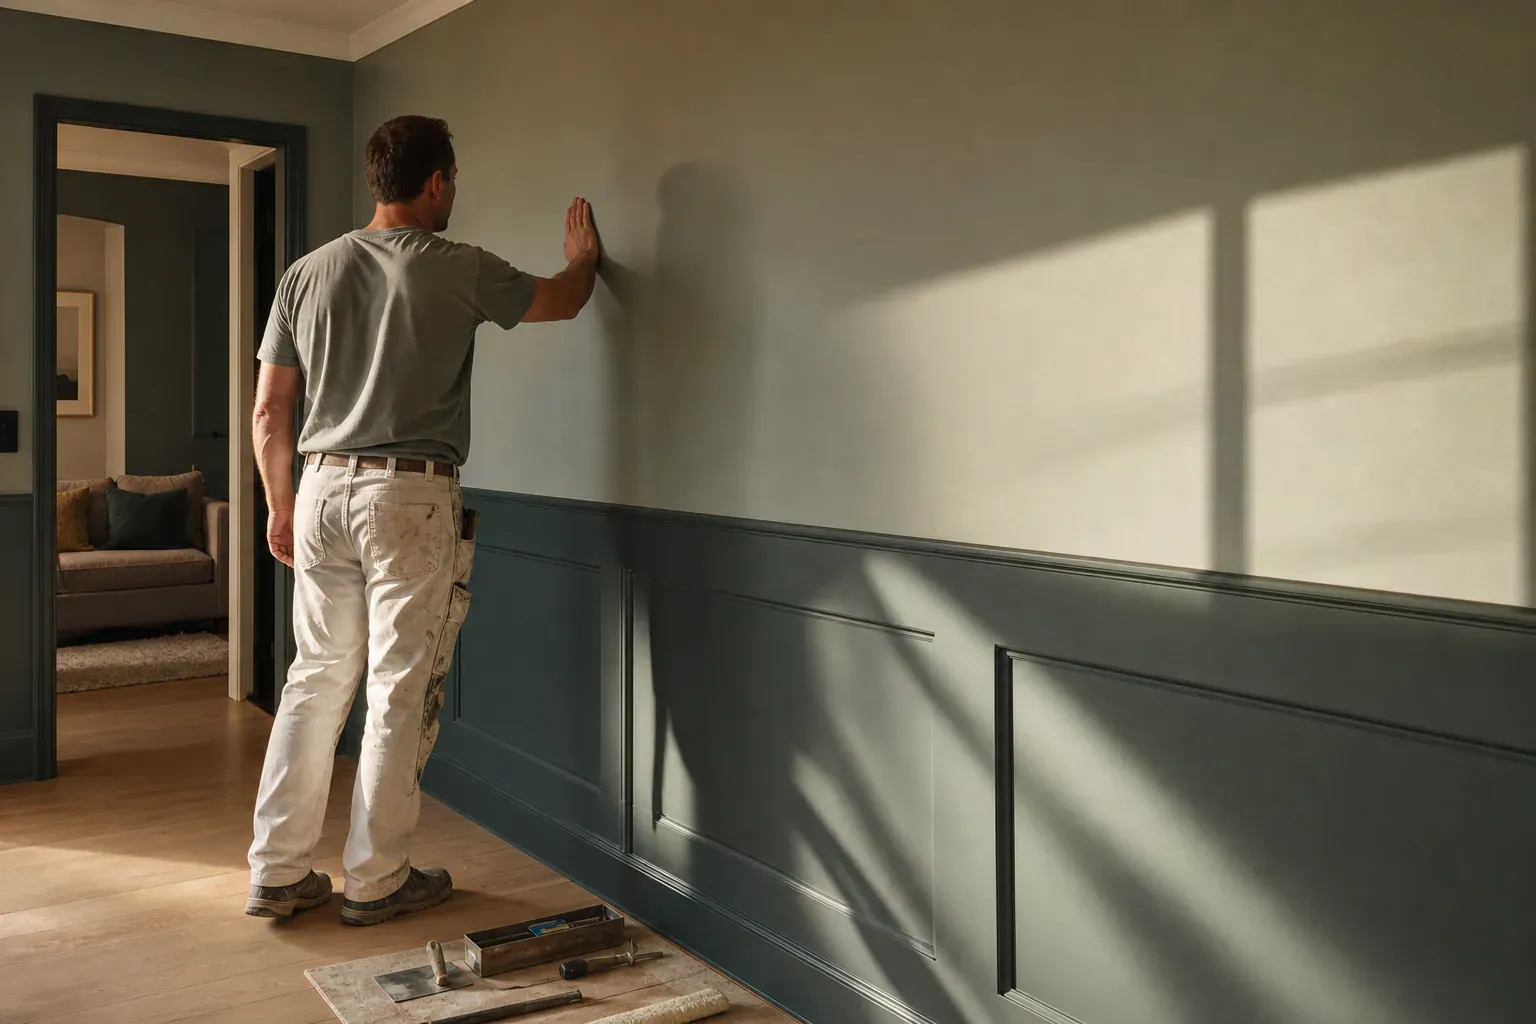
Glendale Quality Drywall installs, hangs, tapes, and finishes new construction drywall for builders, general contractors, and homeowners building new homes and additions across Glendale, CA. We work directly with framers, electricians, and HVAC crews to keep the schedule moving, and we finish to whatever standard the project calls for, from a basic paint-grade wall to a level 5 finish under raking light. We hang gypsum board on wood and metal framing, tape and mud to spec, and hand the space off ready for primer and paint.
Hanging drywall correctly the first time is what keeps a job from turning into a repair call two years later. We run screws to depth without blowing through the paper face, stagger seams away from door and window corners, and float the board off the floor to keep it away from slab moisture. Fastener spacing, board orientation, and where the seams fall matter more than most people assume — a seam that lands on a stud edge instead of the middle of the framing member is a crack waiting to happen.
Drywall goes up after rough electrical, rough plumbing, and HVAC systems have passed inspection, and after insulation is signed off. This is a fixed point in the drywall installation timeline that we don't skip ahead of, because opening a wall back up after board is hung to fix a missed outlet box costs everyone time. We coordinate directly with the general contractor or homeowner on inspection sign-offs so hanging starts the day the wall is actually ready, not before.
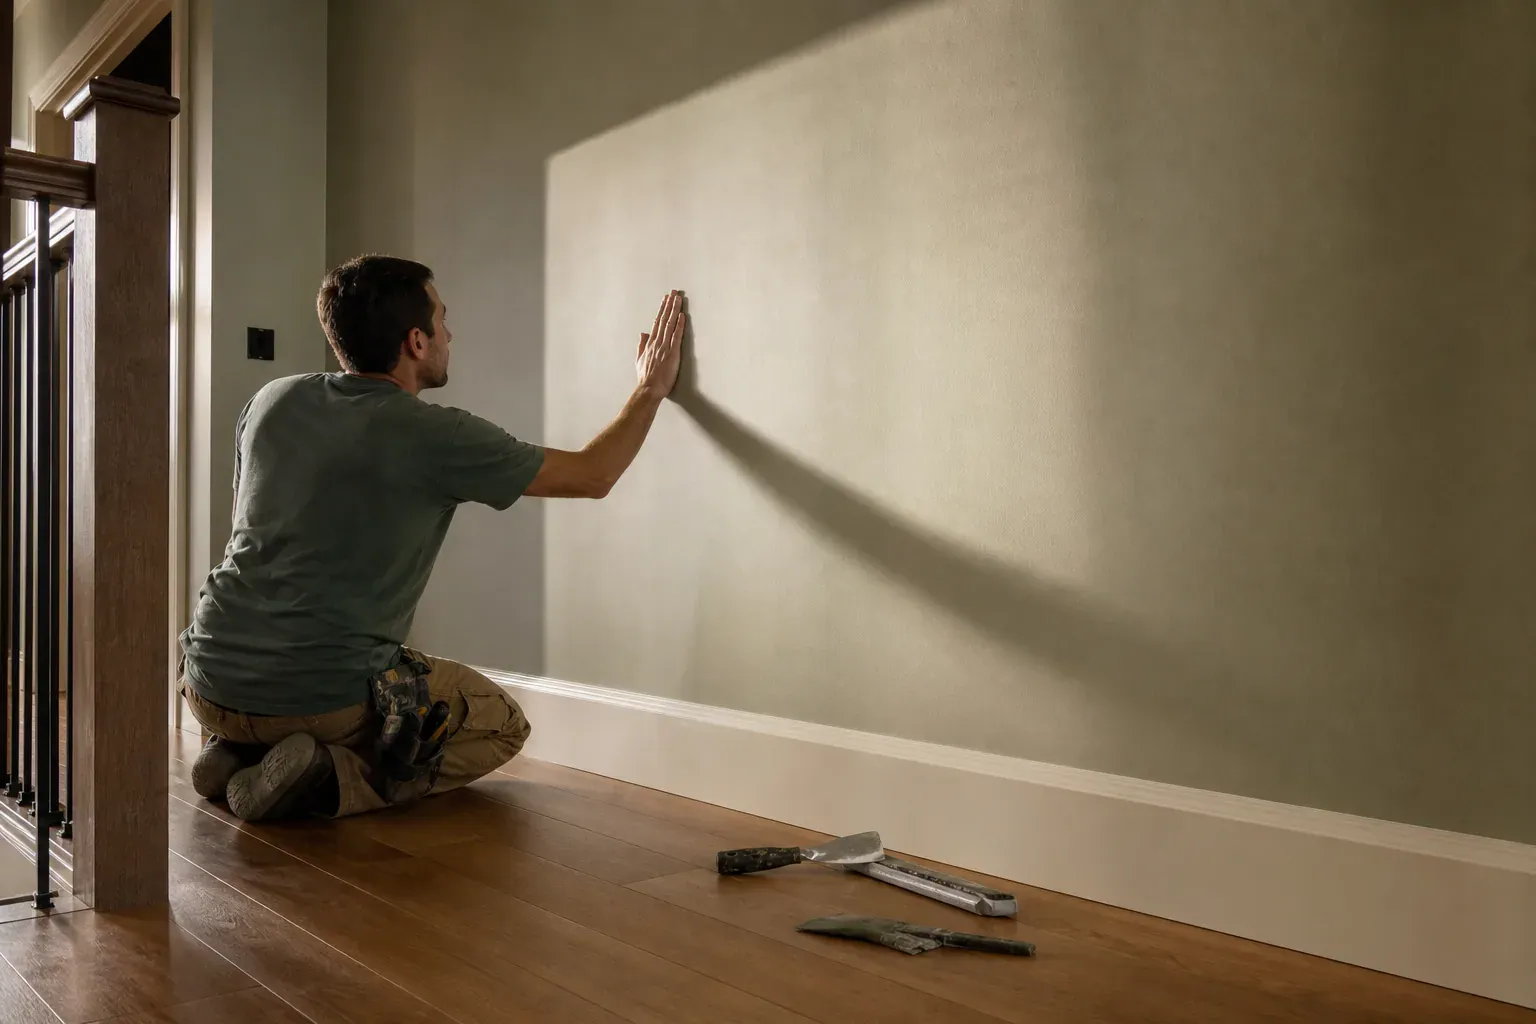
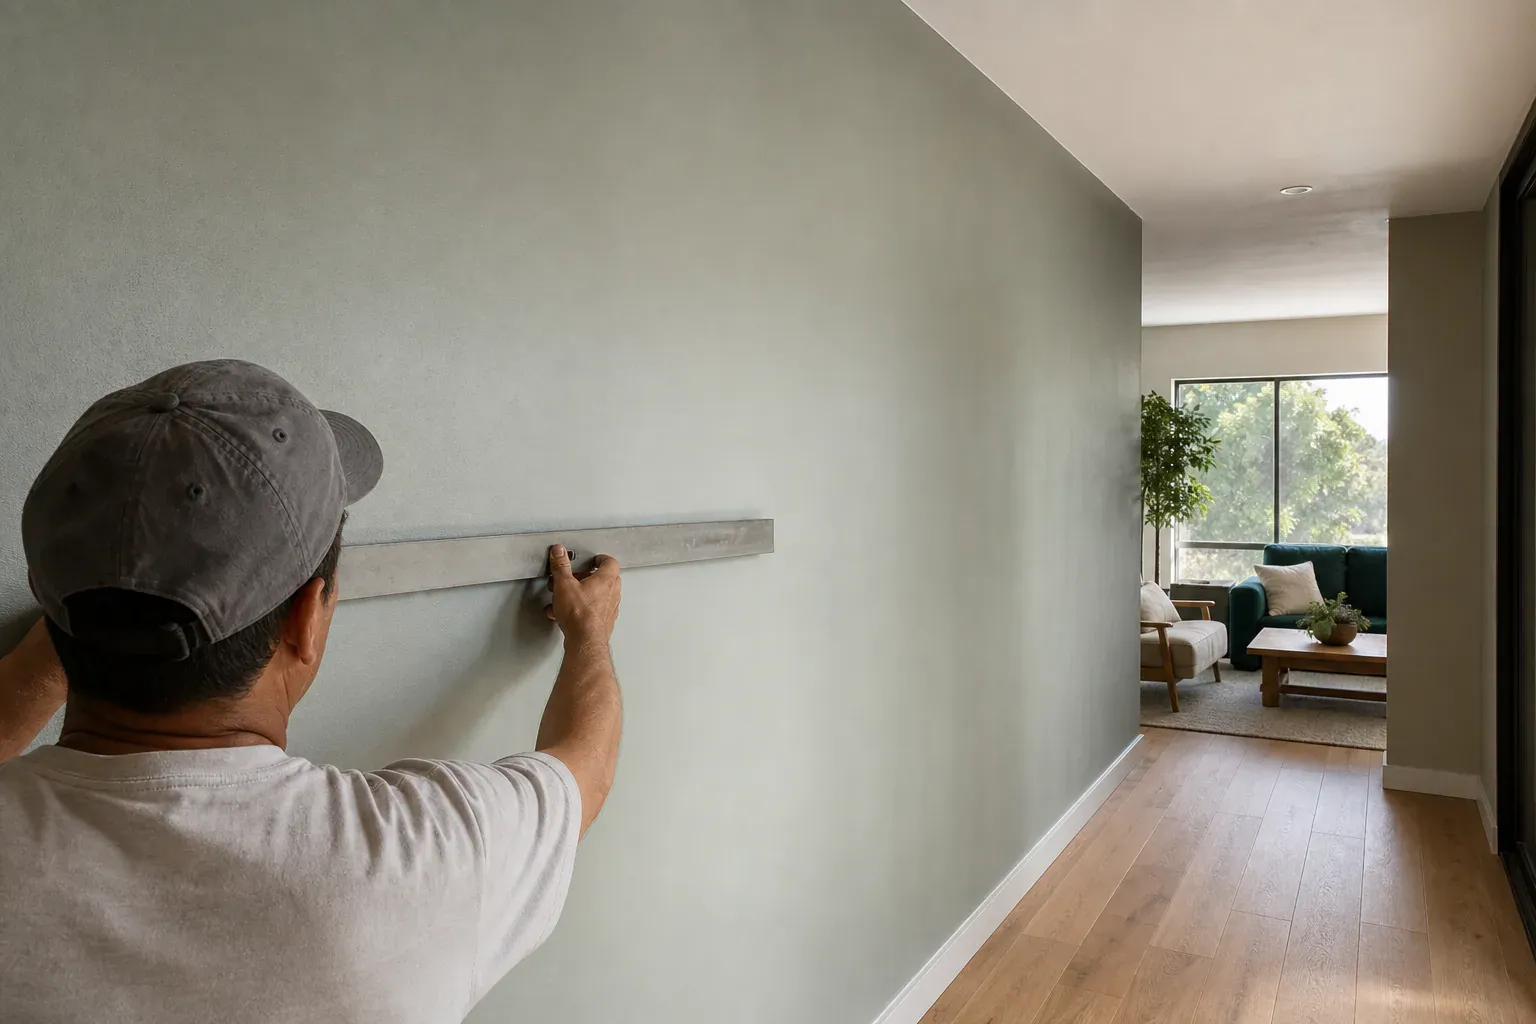
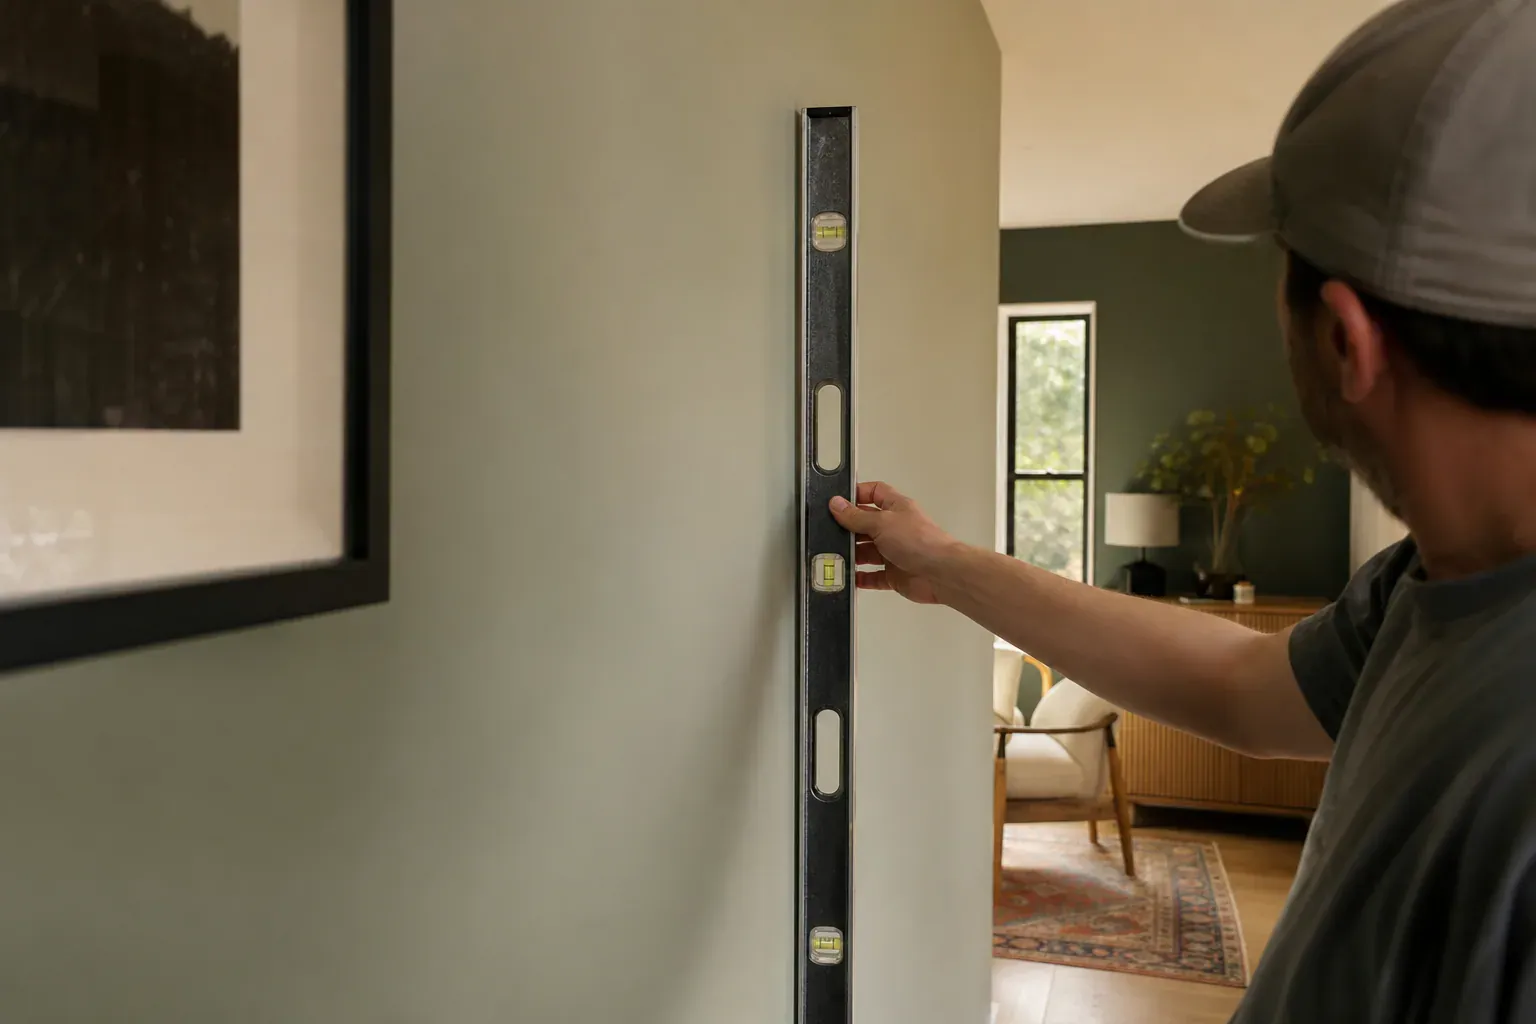
Once tape and mud go on, framing and hanging mistakes get harder to see and harder to fix. A flashlight held at a low angle across a wall reveals fastener pops, seams that weren't screwed tight to the framing, and board that's proud or recessed at the joints. Out-of-plumb corners show up the same way — sight down a corner bead and you can see if it's actually straight. That's a framing problem, not a finishing problem, and it needs to get fixed before compound goes on top of it.
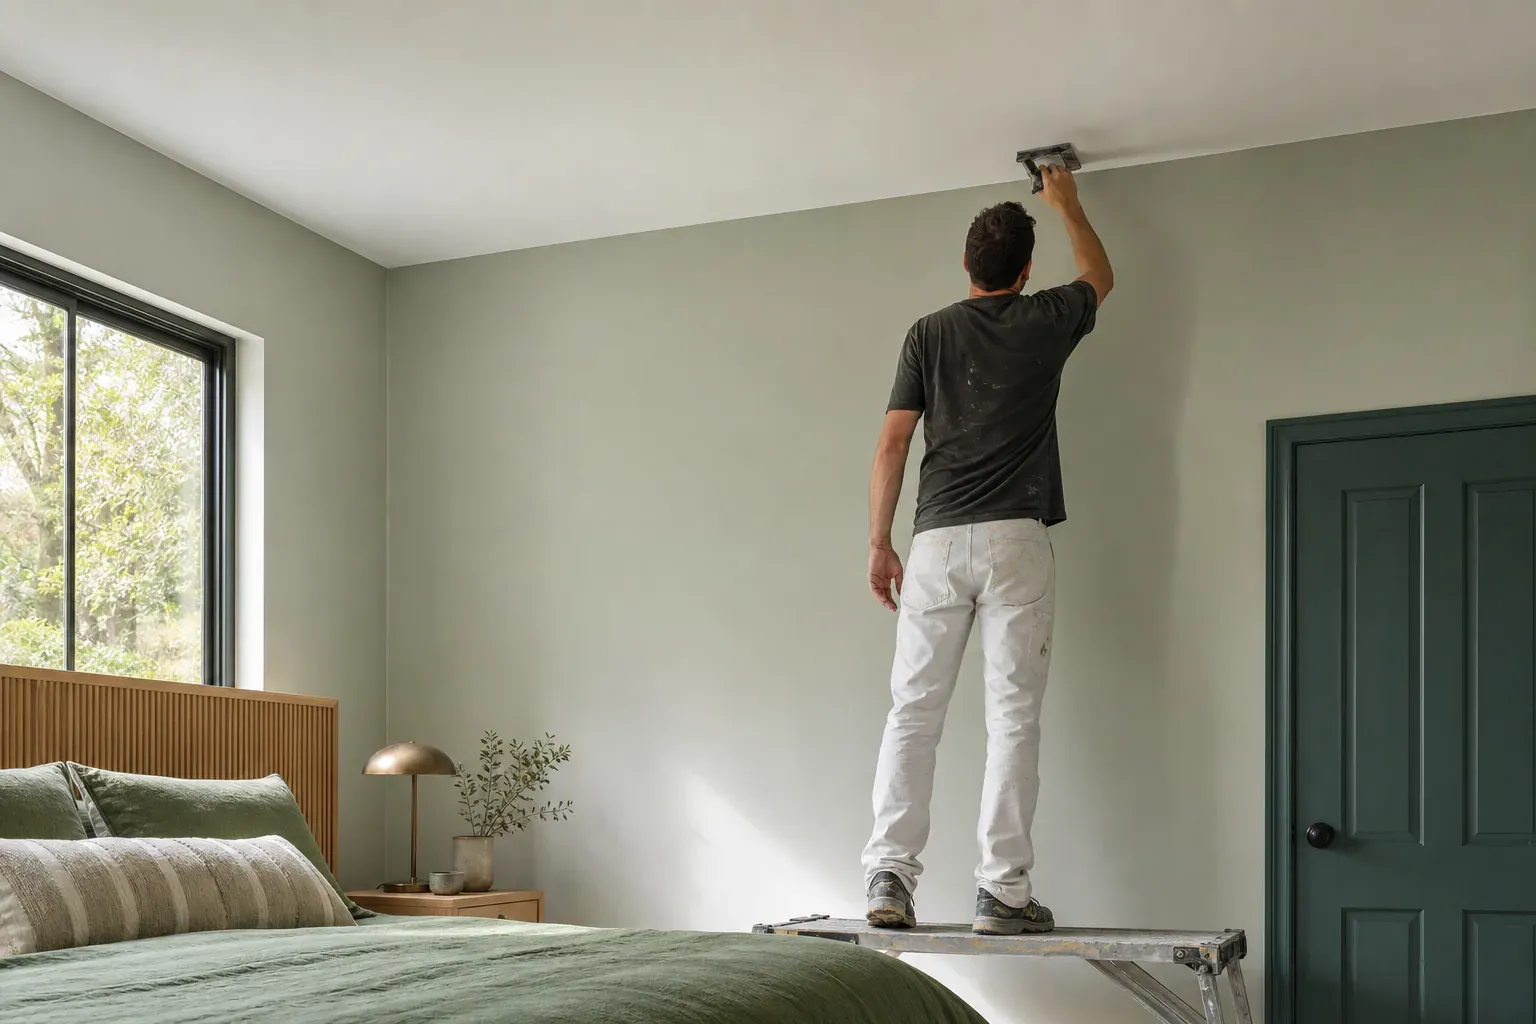
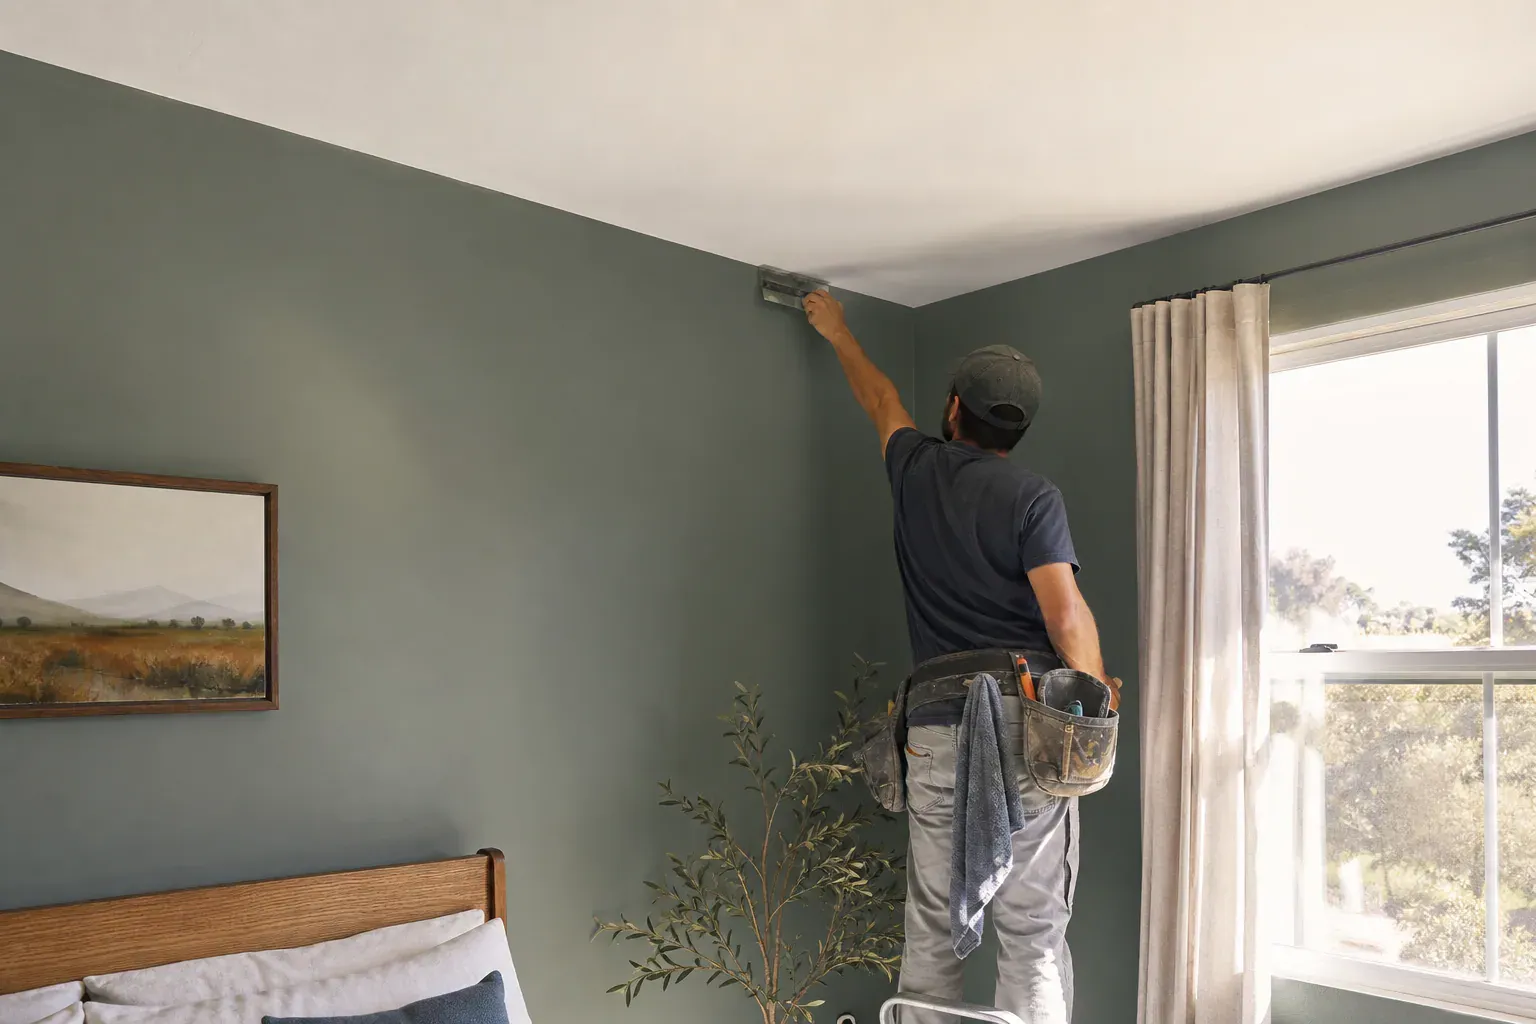
Drywall finishing and taping is where the wall becomes a surface someone will live with for years. We embed paper or mesh drywall tape into the first coat of joint compound at every seam and corner, let it dry fully, then come back with progressively wider coats of finishing compound to feather the seam into the field of the board. We use a setting-type compound for the embed coat on new construction because it dries by chemical reaction rather than evaporation, which means we can recoat the same day instead of waiting overnight. Corner bead gets set with the same compound and checked for straightness before it locks up — a bowed corner bead is nearly impossible to correct once it's coated.
The drywall sanding process knocks down ridges, feathers the compound edges into the board, and prepares the surface for primer. We use pole sanders for ceilings and flat walls and hand sand tight corners, checking with a work light held at a low angle to catch anything a straight-on look would miss. Drywall dust cleanup happens as we go, not just at the end — shop vac on the sander where possible, followed by a full vacuum of the room and a tack cloth pass on window sills and door casings before primer goes on. Dust left behind shows up as texture and adhesion problems under paint.
Primer selection for new drywall isn't optional. Raw gypsum board is porous and absorbs paint unevenly, and joint compound absorbs paint differently than the paper face of the board does — without primer that difference shows up as flashing, dull patches over every taped seam, under the topcoat.
PVA primer is the standard choice for new drywall because it seals the porous paper and compound evenly at a reasonable cost, giving the topcoat a uniform surface to grip. High-build primer application comes into play when the finish level is lower than ideal, or the client wants extra insurance against flashing — high-build primer has more film thickness and can fill minor surface irregularities that a standard PVA coat won't hide. New drywall gets a minimum of one full primer coat, and on new construction we typically recommend two, especially under critical lighting like foothill-facing windows that rake light across a wall at low sun angles.
Painting new construction walls is the last step before the space starts looking finished, and it's also where finish-level mistakes made earlier become visible or stay hidden. Spraying gives the most even film build and is standard on open new construction before trim and cabinets go in, since overspray isn't a concern yet. We back-roll sprayed walls to work the paint into the texture and avoid the flat, plasticky look a spray-only finish can have. Roller application alone is more common on occupied renovation work where overspray control matters.
New construction paint specifications on residential jobs usually call for a low-VOC or zero-VOC product, since builders want a durable, low-odor coating that holds up under repeated cleaning. Textured ceiling finishes remain common on Glendale's older housing stock replacements — knockdown texture is the most requested replacement when a popcorn ceiling gets removed during a remodel tied into new construction work. Flat ceiling paint is standard; walls usually run eggshell or satin in kitchens and bathrooms for durability and cleanability.
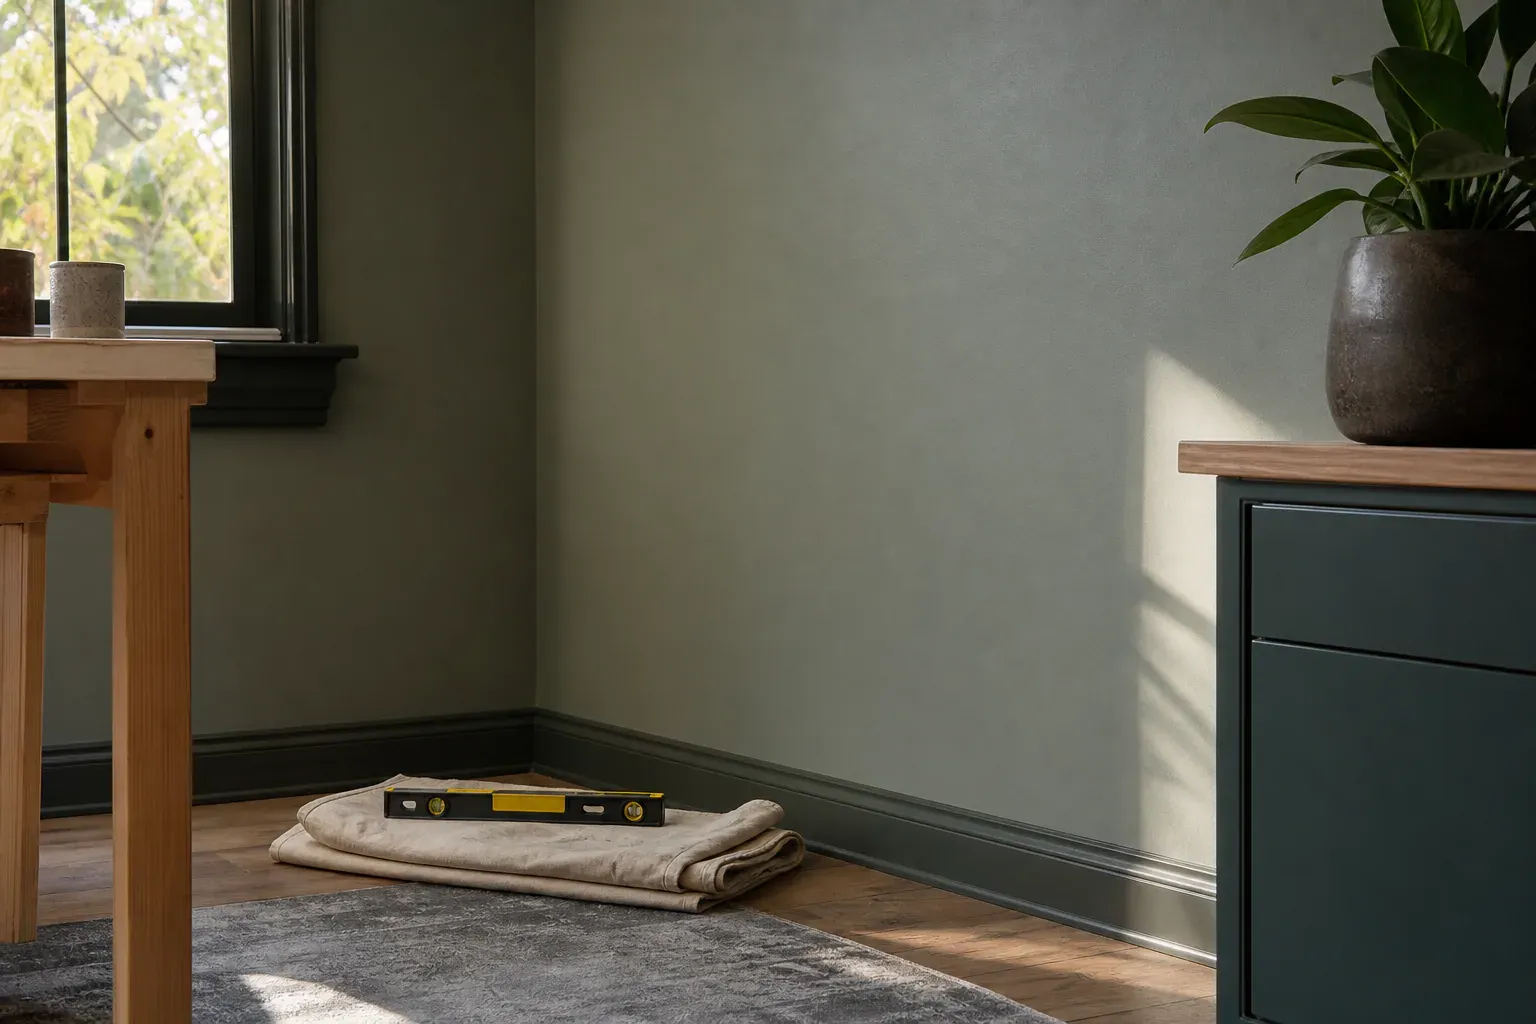
Interior trim installation after drywall — baseboards, door casing, crown molding — happens once primer is on and before the final coat of wall paint, so trim gets caulked and painted along with the walls rather than creating a visible seam. Doors get hung in this same window. Baseboards and crown molding installation is scheduled after texture and primer are fully cured so nail holes and caulk seams take paint evenly.
Cabinet installation timeline follows painting in most residential builds — cabinets go in after walls are painted to avoid scuffing finished cabinet boxes during wall work, though rough cabinet layout gets confirmed against blocking before drywall is even hung. Countertop installation and backsplash work happen after cabinets are set and templated. Flooring installation after drywall typically happens last among the major interior finishes, protecting new floors from paint drips, dust, and foot traffic during the drywall and paint phases. Electrical fixture completion — switch plates, light fixtures, outlet covers — happens after paint, once walls are fully cured and won't be damaged by installation work.
The final quality control walkthrough happens with a work light before we call a job done, checking seams, corners, and texture consistency room by room in kitchen and bathroom finishing areas, hallways, and anywhere with strong window light. It doubles as part of the new home orientation process, where we walk the owner or builder through the finished work and flag anything that needs a touch-up before move-in.
Not every job on our schedule is new construction. Drywall repair on existing walls — patching, crack and seam repair, and water damage restoration after a roof leak or plumbing failure — comes with its own problems that new construction doesn't have. The compound and texture have to blend into surrounding wall that's already painted, aged, and possibly a different texture profile than what's available off the shelf today.
Water-damaged board gets cut back to sound material, often past the visible stain line, because gypsum wicks moisture sideways inside the wall cavity further than the stain shows on the surface. We check for mold before closing the wall back up, since papering over a damp cavity just moves the problem behind fresh drywall. Cracked seams usually mean the tape has let go from movement or humidity cycling — we cut the tape back, re-embed with fresh compound, and feather it wider than the original repair so the patch doesn't telegraph as a ridge under paint.
Texture matching is the part of repair work that separates a clean patch from an obvious one. We match knockdown, orange peel, or hand-troweled texture by testing on a scrap board first and adjusting hopper pressure, mud consistency, or trowel technique until it reads the same under the room's actual lighting, not just under a work light.
Most single-family builds in Glendale still use wood studs, and drywall hangs on wood pretty forgivingly — the material has enough give that minor framing irregularities don't always telegraph through. Metal stud systems, more common on additions, ADUs, and tenant improvement work, hang differently. Metal studs don't compress the way wood does, so fastener torque has to be dialed in tighter, and out-of-plumb studs show up in the finished wall immediately because there's no wood fiber to absorb the discrepancy. We adjust screw pattern and board handling based on which system we're on rather than treating every wall the same.
Gypsum board absorbs moisture, and Glendale's dry-heat stretches followed by damp winter weeks can both cause problems if the building isn't controlled during installation. We check that the structure is weathertight — roof on, windows in — before board goes up, and we watch ambient humidity during mudding, since joint compound that dries too fast skips lamination and cracks later, while compound that dries too slow delays the schedule and invites mold in stacked, unopened board. On slab construction we confirm the slab has cured and isn't still off-gassing moisture into the bottom few inches of board.
Drywall quality standards differ depending on whether the space is residential or commercial, and code requirements around fire-rated assemblies apply regardless of finish level. Residential standards generally call for standard 1/2-inch gypsum board on walls and 5/8-inch on ceilings to control sag, with Type X gypsum required in garages, furnace closets, and shared walls between living space and garage for fire separation. Commercial standards are usually more prescriptive — fire-rated assemblies documented to a specific hourly rating, control joints at specified intervals, and often a higher minimum finish level specified in the contract documents. We build to whichever standard the project's plans and local code require.
A level 5 finish — a full skim coat of drywall finishing compound over the entire surface — is specified where walls will get high-gloss paint, strong side lighting, or heavy scrutiny, since it eliminates the flashing and texture variation that shows up under those conditions on a lower finish level. Kitchen and bathroom finishing areas, hallways with skylights, and any wall near a large window are common places to request it.
Labor costs for new construction drywall are driven by square footage, ceiling height, the amount of corner bead and inside/outside angles, and the finish level specified — a level 5 finish takes meaningfully more labor than a standard level 4 orange-peel or knockdown texture job. New construction pricing generally runs lower per square foot than renovation and drywall repair work, since open framing with no existing finishes to protect or match is faster to hang and finish than working around occupied rooms, furniture, and existing texture that needs matching. Crack and seam repair, water damage restoration, and texture matching on existing walls all carry a labor premium because the crew has to blend new compound and texture into old work without a visible line — new construction doesn't carry that constraint. We provide a walkthrough estimate based on square footage, access, and finish level before work starts rather than quoting a blind number over the phone.
Hanging drywall correctly the first time is what keeps a job from turning into a repair call two years later.
Drywall finishing and taping is where the wall becomes a surface someone will live with for years.
Primer selection for new drywall isn't optional. Raw gypsum board is porous and absorbs paint unevenly, and joint compound absorbs paint differently than the paper face of the board does —…
Interior trim installation after drywall — baseboards, door casing, crown molding — happens once primer is on and before the final coat of wall paint, so trim gets caulked and painted along…
Not every job on our schedule is new construction. Drywall repair on existing walls — patching, crack and seam repair, and water damage restoration after a roof leak or plumbing failure —…
Most single-family builds in Glendale still use wood studs, and drywall hangs on wood pretty forgivingly — the material has enough give that minor framing irregularities don't always…
Why homeowners call us
Every drywall job is scoped and priced in writing, so the number you approve is the number you pay. If something behind the wall changes the work, we stop and price it first.
You speak to the people doing the work, not a call centre, and cover certificates go to your building manager or general contractor on request.
Containment, floor protection and same-day debris removal on every interior job — the space stays usable while the work is going on.
Crews work Glendale and the surrounding cities every week, so a walkthrough is usually available within the same week you call.
FAQ
Residential work typically specifies a level 4 finish for standard walls and a level 5 finish for areas with strong lighting or gloss paint, using 1/2-inch board on walls and 5/8-inch on ceilings, with Type X gypsum required in fire-rated locations like garage-to-house walls. Commercial jobs often specify higher finish levels and documented fire-rated assemblies per the project's construction documents.
Taping, mudding, and sanding a typical new construction house runs roughly one to two weeks depending on square footage and finish level, since each coat of compound needs to dry or set before the next one goes on. A level 5 finish adds time because of the full skim coat. Weather and humidity can shift setting-compound dry times as well.
Yes. Raw gypsum board and joint compound absorb paint at different rates, and without primer the topcoat shows flashing — dull patches over every taped seam. PVA primer is the standard choice for sealing new board evenly; high-build primer is used when extra film thickness is needed to hide minor surface irregularities.
After hanging, the sequence runs taping and mudding, sanding, primer, texture if specified, then paint. Once paint is done, interior trim, baseboards, crown molding, and doors go in, followed by cabinets, countertops, and flooring. Electrical fixtures, switch plates, and plumbing fixtures get finished last, followed by a final quality control walkthrough before occupancy.
Priming and painting come immediately after drywall finishing is complete and sanded smooth. From there the build moves into interior trim and door installation, then cabinets and countertops, then flooring, and finally electrical fixtures and plumbing trim. The project closes with a final walkthrough and new home orientation covering the finished work.
One full coat is the minimum on new gypsum board, but two coats are common on new construction, particularly in rooms with strong natural light where uneven absorption over taped seams would otherwise show through the topcoat. High-build primer can sometimes achieve adequate coverage in a single heavier coat where a standard PVA primer would need two.
Call (213) 555-0110 for a walkthrough, usually within the same week.