Soft Spongy Drywall Detection and Structural Integrity Assessment
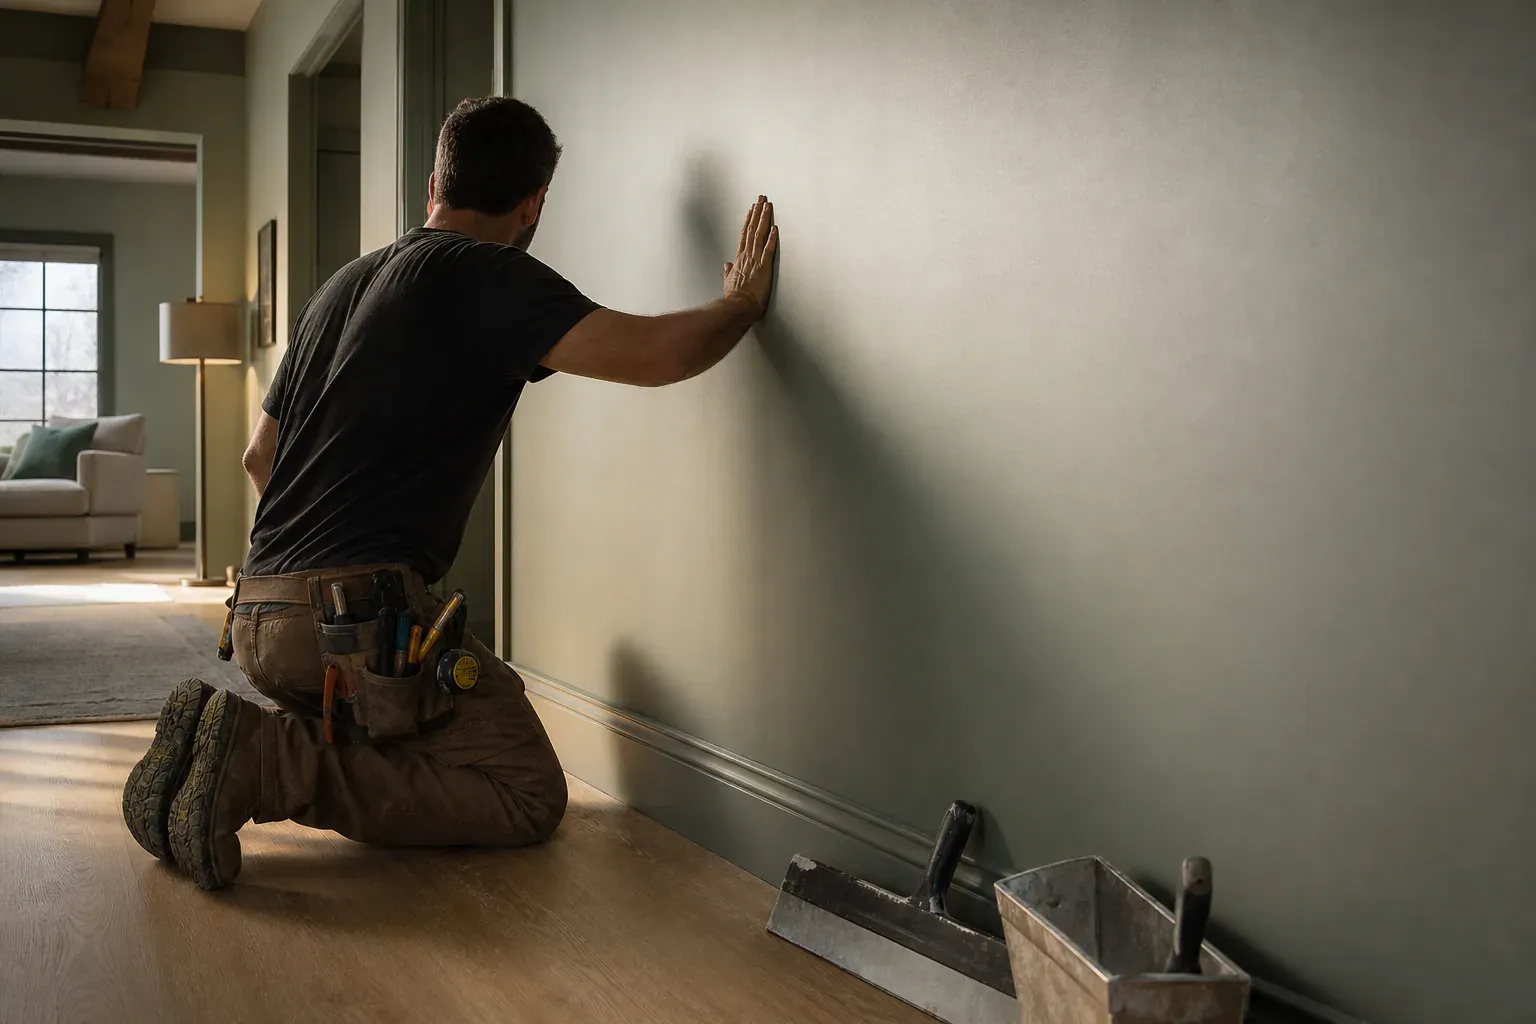
Press on the wet area with a gloved hand or the flat of a putty knife. If it flexes, bulges, or feels soft and spongy, the gypsum core has absorbed water and failed structurally.
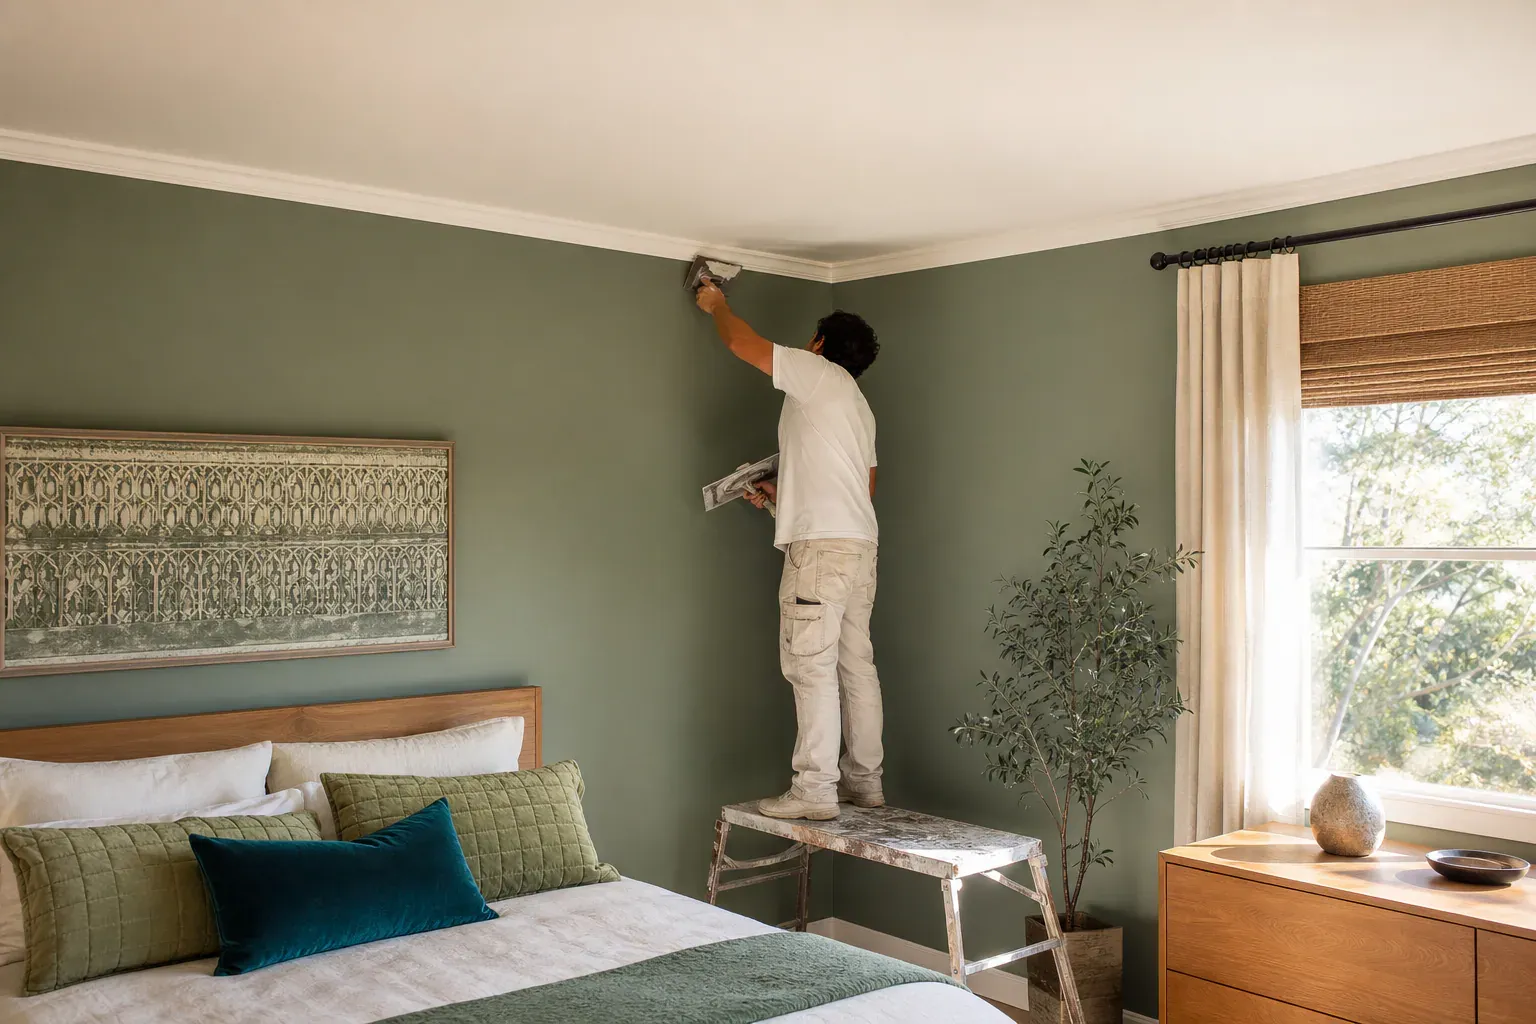
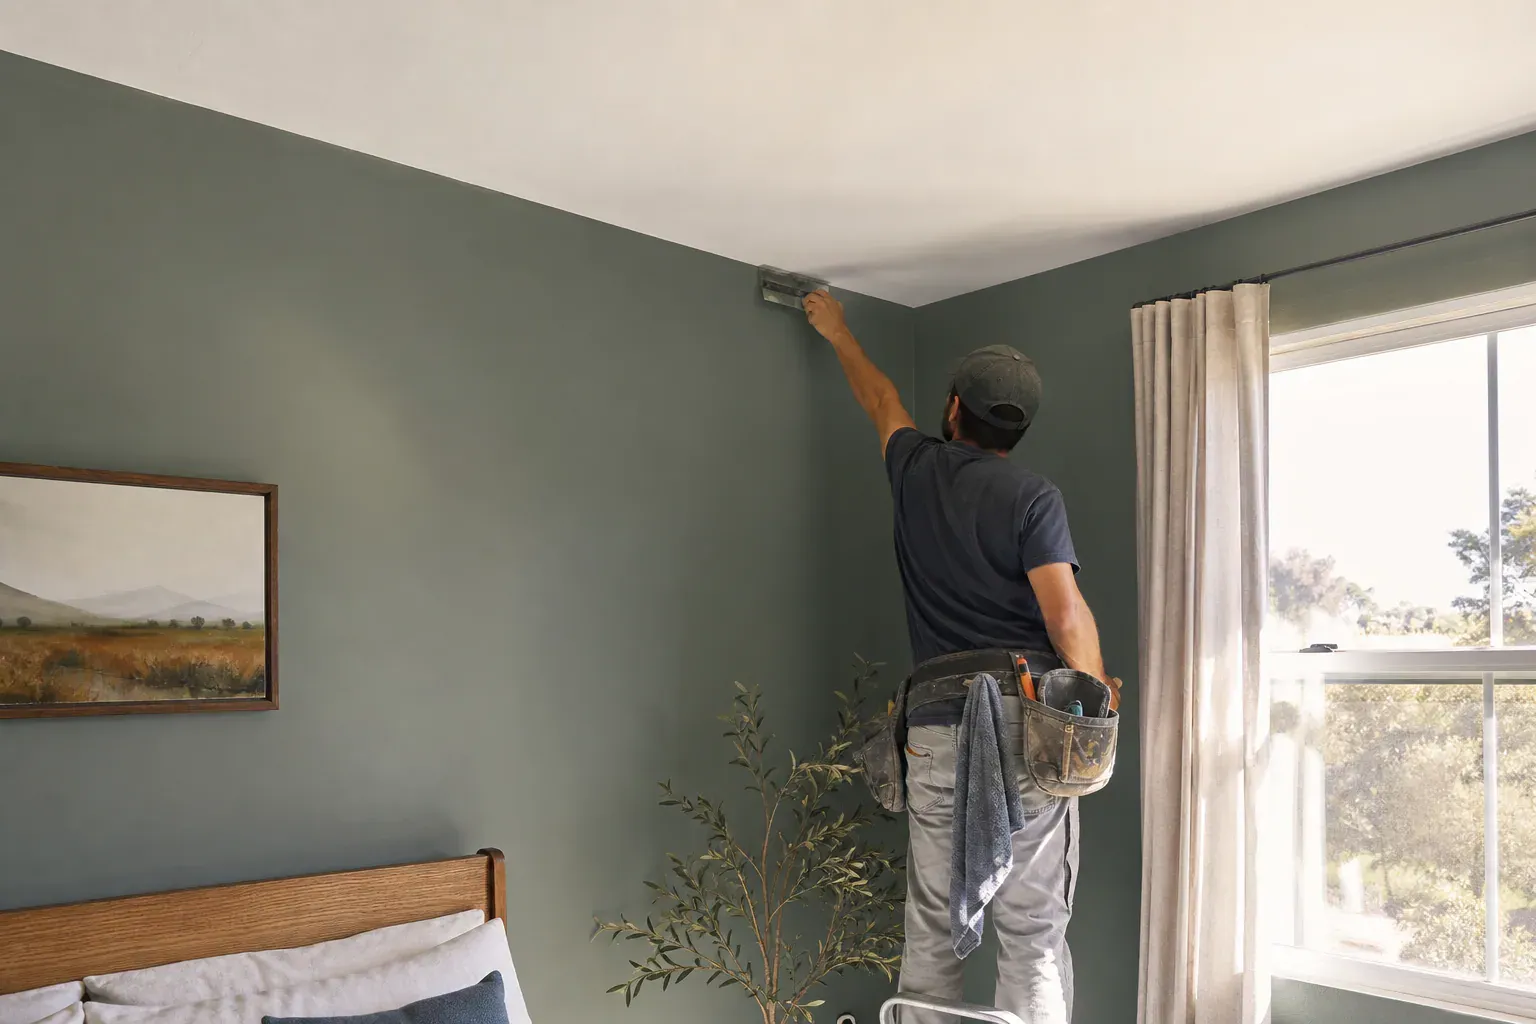
Glendale Quality Drywall handles water damage drywall repair, ceiling water damage repair, and full panel replacement for homes and buildings across Glendale, CA, working from active leaks through final texture and paint match. Glendale Quality Drywall sends the same crew that assesses the damage to do the cutting, taping, and finishing, so nothing gets lost between the estimate and the work.
Not every water stain needs a contractor. A small brown ring from a one-time overflow, caught and dried within a day, might just need stain-blocking primer and paint. Once drywall has stayed wet for more than 24-48 hours, or the source was a slow hidden leak instead of a one-time spill, the paper facing and gypsum core start breaking down in ways primer alone won't fix.
Press on the wet area with a gloved hand or the flat of a putty knife. If it flexes, bulges, or feels soft and spongy, the gypsum core has absorbed water and failed structurally. Soft spongy drywall detection is the fastest field test for a structural integrity assessment before deciding whether a section can be dried and skim-coated or has to come out. Hairline cracks that appear along taped seams after a leak usually mean the tape bond failed underneath — that's a drywall crack repair job, not a full-wall replacement. Sagging ceiling drywall, visible mold growth, or a panel separated from its framing means the material is done.
Wet gypsum board becomes a mold substrate within 24 to 48 hours in the right humidity and temperature range, and Glendale's humid spring stretches give mold exactly that window. Mold assessment in drywall means checking the back side of removed panels and the framing behind them, not just the visible face. If mold covers more than a small patch, or a musty smell persists after drying, we bring in a remediation specialist before any rebuild work. Safety precautions for wet drywall include a dust mask rated for mold spores rather than a paper dust mask, plus goggles, since disturbed wet gypsum and mold spores both irritate eyes and lungs.
This decision drives most of the cost difference on a water damage job, and it's worth getting right the first time.
If the wet area is limited, the core is firm outside a defined boundary, and there's no mold or odor, a patch is the right call. Drywall patching techniques for water damage mean cutting back to solid, dry material a few inches past the visible stain, not just covering the stain, because compromised gypsum right at the patch edge will eventually show through the new mud. Drywall hole patching from a smaller puncture or test-cut follows the same logic: cut to sound material, not just to the size of the hole.
When damage runs floor to ceiling, spans multiple studs, or the core has failed across a wide area, full panel replacement is faster and holds up better than feathering a patch across that much surface. For garages, laundry rooms, and areas near plumbing chases, we often suggest moisture-resistant drywall, sometimes called green board, instead of standard panels. In fire-rated assemblies like garage-to-house walls, we replace with Type X gypsum to keep the fire rating intact, which standard half-inch board won't do.
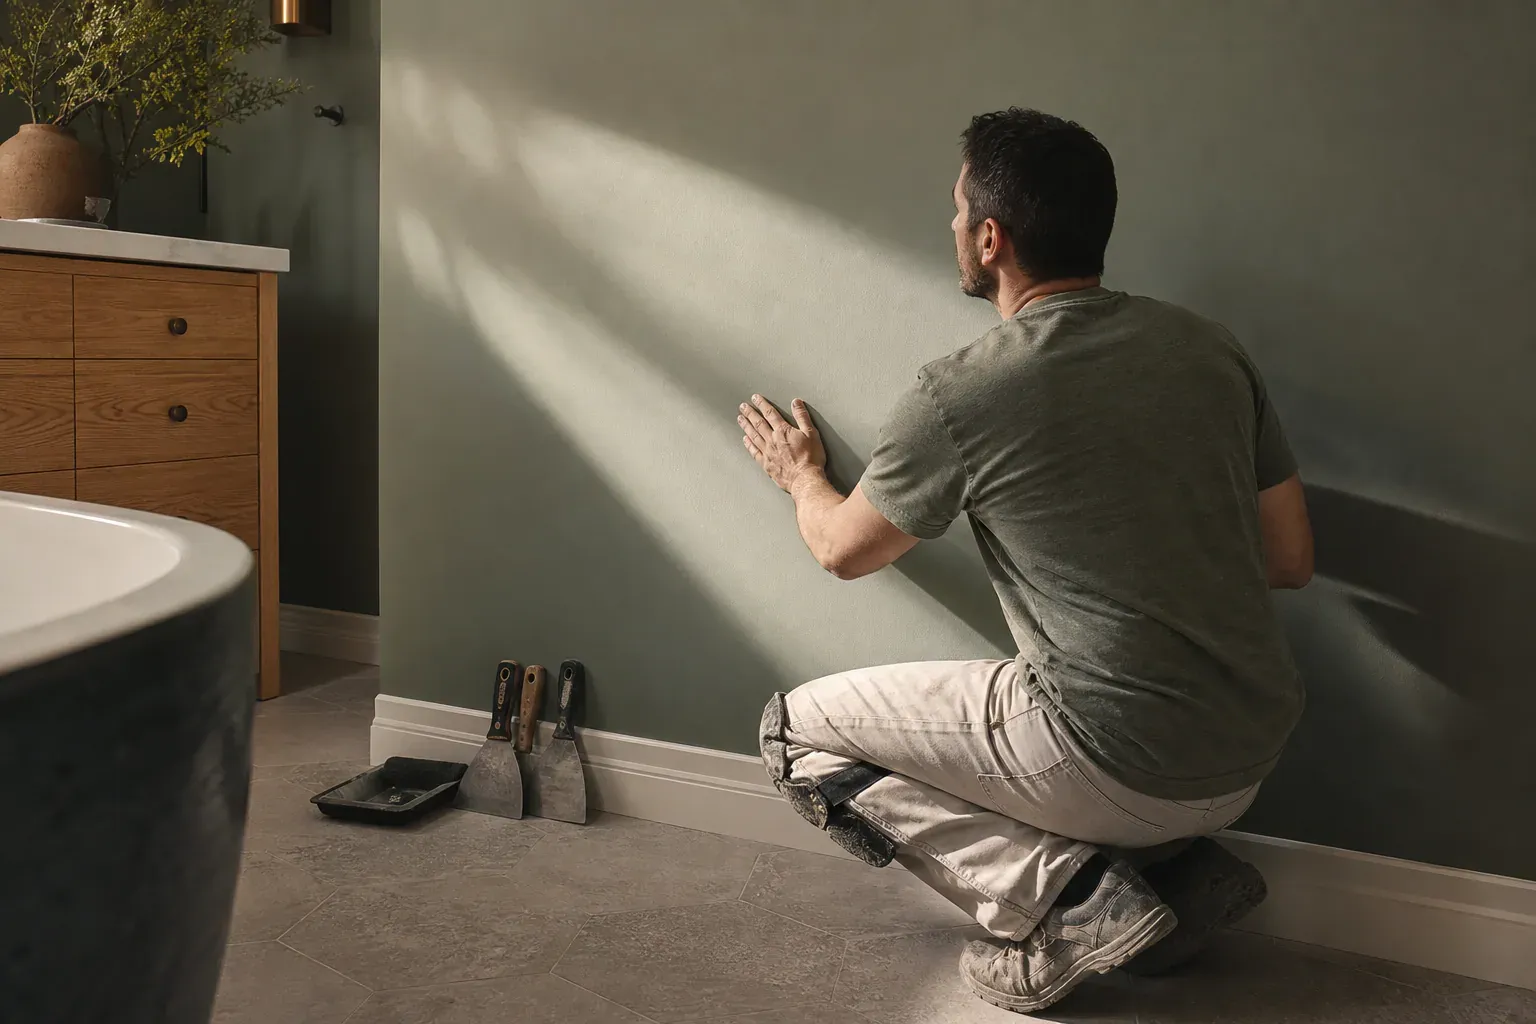
Ceilings fail differently than walls, and the repair reflects that.
Ceiling drywall repair carries more risk of sagging because gravity works against a wet, weakened panel in a way it doesn't on a wall. We cut back further than the visible stain on ceilings, since water travels and pools at low points not obvious from below. Texture matching ceiling repairs is harder than wall texture because raking light shows inconsistencies that would be invisible on a vertical surface, so we spray test patches under the room's actual lighting before finishing the real repair.
Many homes in Glendale's older hillside blocks still have original popcorn texture, and water staining on these ceilings usually means removing the popcorn in the affected area rather than patching around it. Homes built before the late 1970s may have asbestos in that texture, so we recommend testing before scraping. Once cleared, we match surrounding popcorn density with a hopper gun, or, if the homeowner wants to be rid of popcorn for good, we skim the whole ceiling smooth instead of patch-matching an outdated texture.
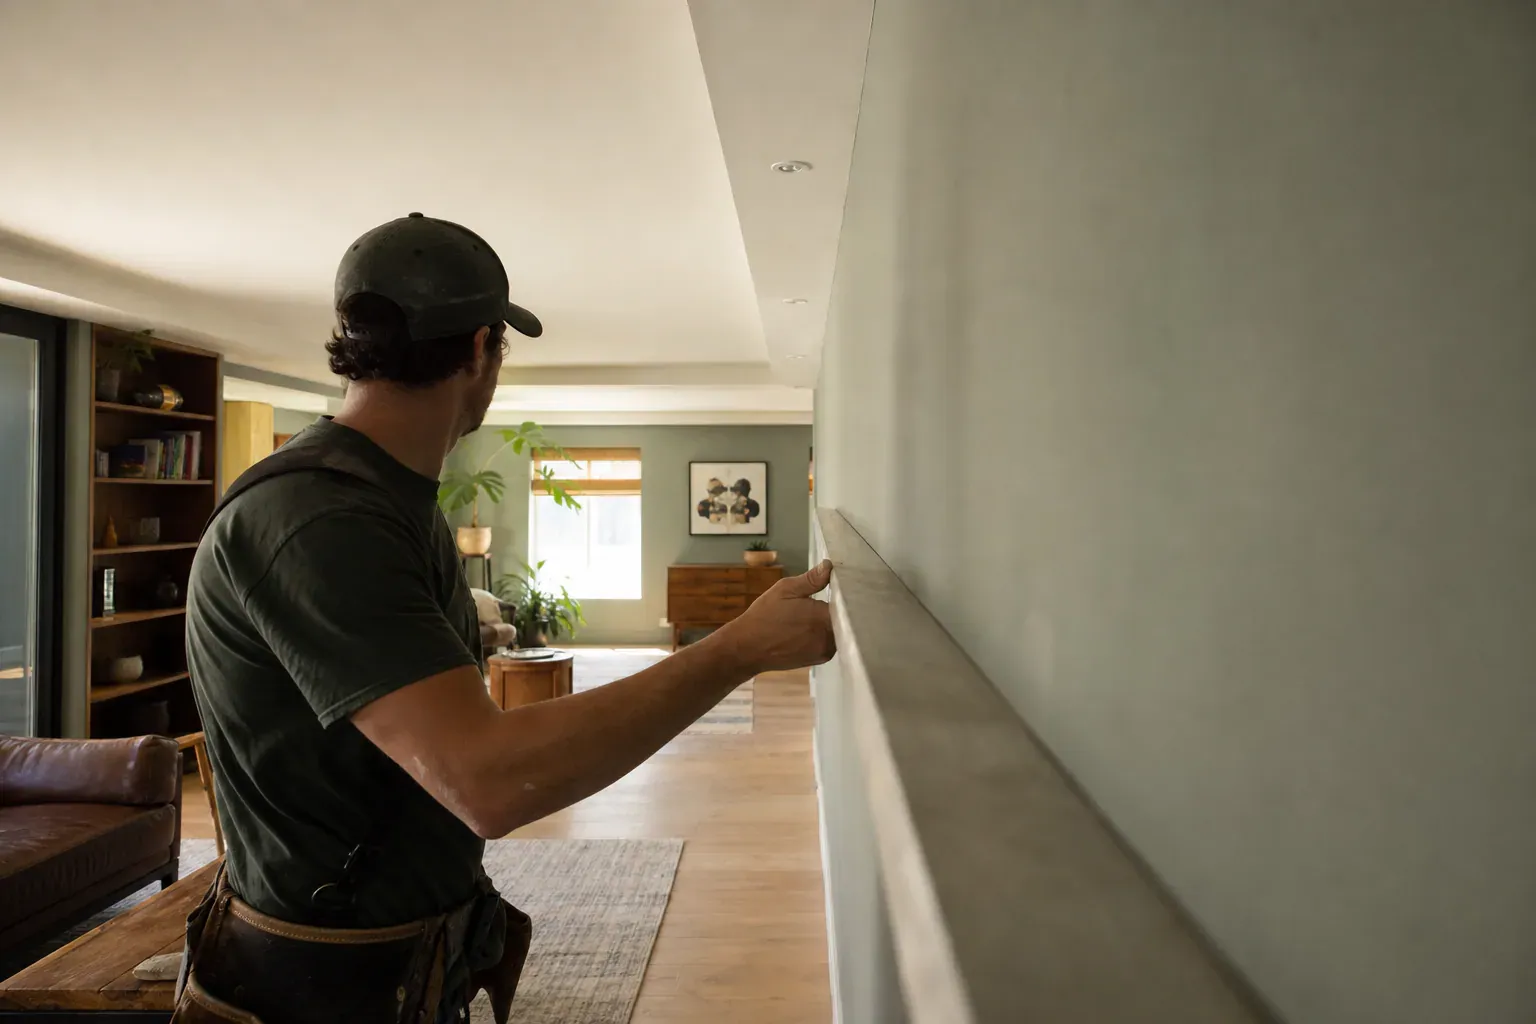
Patching over a wall before the source is fixed just buys a repeat visit in a few months. We won't close up a wall until we know where the water came from and that it's stopped.
Leak source identification starts with the obvious suspects: supply lines behind bathroom walls, drain lines under kitchens, roof penetrations above top-floor ceilings, and window flashing on exterior walls. We look for staining patterns that point uphill or upstream of the visible damage, check for blocked weep holes on exterior stucco or brick, and in stubborn cases cut a small relief hole with a keyhole saw at a low point to check for standing water inside the cavity before opening the whole wall. For plumbing-related damage we ask homeowners to have a plumber confirm the fix in writing, since we don't rebuild a wall around a leak that's still active.

Rebuilding too soon is one of the most common mistakes we see from rushed jobs.
A wall cavity wet from a short-duration leak, with good airflow and a dehumidifier running, can dry out in three to five days. A slow leak that soaked insulation or wood backing over weeks can take two to three weeks of active drying, longer if there's no way to get airflow behind the wall. The water damage restoration timeline depends more on how long the material was wet and what's behind it than on the size of the visible stain.
We don't guess. A pin-type or pinless moisture meter reads actual moisture content in drywall and framing, and readings need to settle near the dry baseline for the region before any new material goes in. An infrared scanner helps map the wet area behind an intact wall without cutting it open first, which is useful for figuring out how far damage actually spread before we commit to a repair plan.
Every job follows the same sequence, whether it's a two-foot patch or a full room.
We mark the boundary of sound material, then use a drywall saw or keyhole saw to cut clean lines back to the nearest stud on each side when possible, so the new piece has something solid to fasten into. An oscillating multi-tool works well for tight cuts around outlets, pipes, and corners where a full saw blade would risk hitting wiring. Water damaged drywall removal also means pulling out wet insulation and checking exposed studs for rot or lingering moisture before anything new goes up.
When a cut doesn't land on a stud, we add drywall backing strips or 2x4 wood backing so every edge of the new panel has a fastening surface. Drywall backing board installation matters most on ceiling repairs, where an unsupported seam will crack again within a season. New panels get screwed in on a consistent pattern rather than nailed, since screws hold better against the kind of movement that caused the original cracking.
Once the new panel is in, we tape seams with paper or mesh tape set in joint compound, working in thin coats rather than one thick pass. Drywall taping and mudding for a water repair usually takes three coats: an embedding coat, a fill coat, and a final skim, with drying time between each. Corners get new corner bead if the old one was damaged by water, and for same-day turnaround on small patches we sometimes use a fast-setting compound that lets us recoat the same day instead of waiting overnight.
Drywall finishing seams to match the surrounding wall means matching not just the mud work but the texture on top of it. For smooth walls we sand and finish to a level 5 finish, a full skim coat over the whole repaired area, which is the only way to keep a patch from flashing under paint sheen. For textured walls we match the spray pattern, knockdown, or hand-trowel texture already on the wall using test boards before touching the actual repair.
Before any paint goes on, water stains get sealed with a shellac-based or oil-based, alcohol-based primer designed to block tannin and water stains from bleeding through. Water stain primer sealing is a step some painters skip, and it's the reason a "fixed" water stain reappears a few months later, ghosting right through fresh latex paint. Paint blending water damage into the surrounding wall means feathering new paint out past the patch edge and, on older walls, sometimes repainting the full wall to avoid a visible sheen line.
A repair that doesn't address why the damage happened is a temporary fix.
For bathrooms, laundry rooms, and rooms adjacent to plumbing walls, mold-resistant drywall with a fiberglass facing instead of paper resists mold growth even when it gets damp. It's not waterproof, and it won't survive standing water any better than standard board, but it buys time against ambient humidity that would otherwise feed mold in a paper-faced panel.
If a bathroom ceiling failed from years of shower steam with no working exhaust fan, we flag that before closing up the new drywall, because the same failure will happen again. Basic fixes include verifying the exhaust fan vents outside rather than into the attic, adding a humidity-sensing fan switch, and checking that dryer vents and kitchen exhausts aren't dumping moisture into a wall cavity.
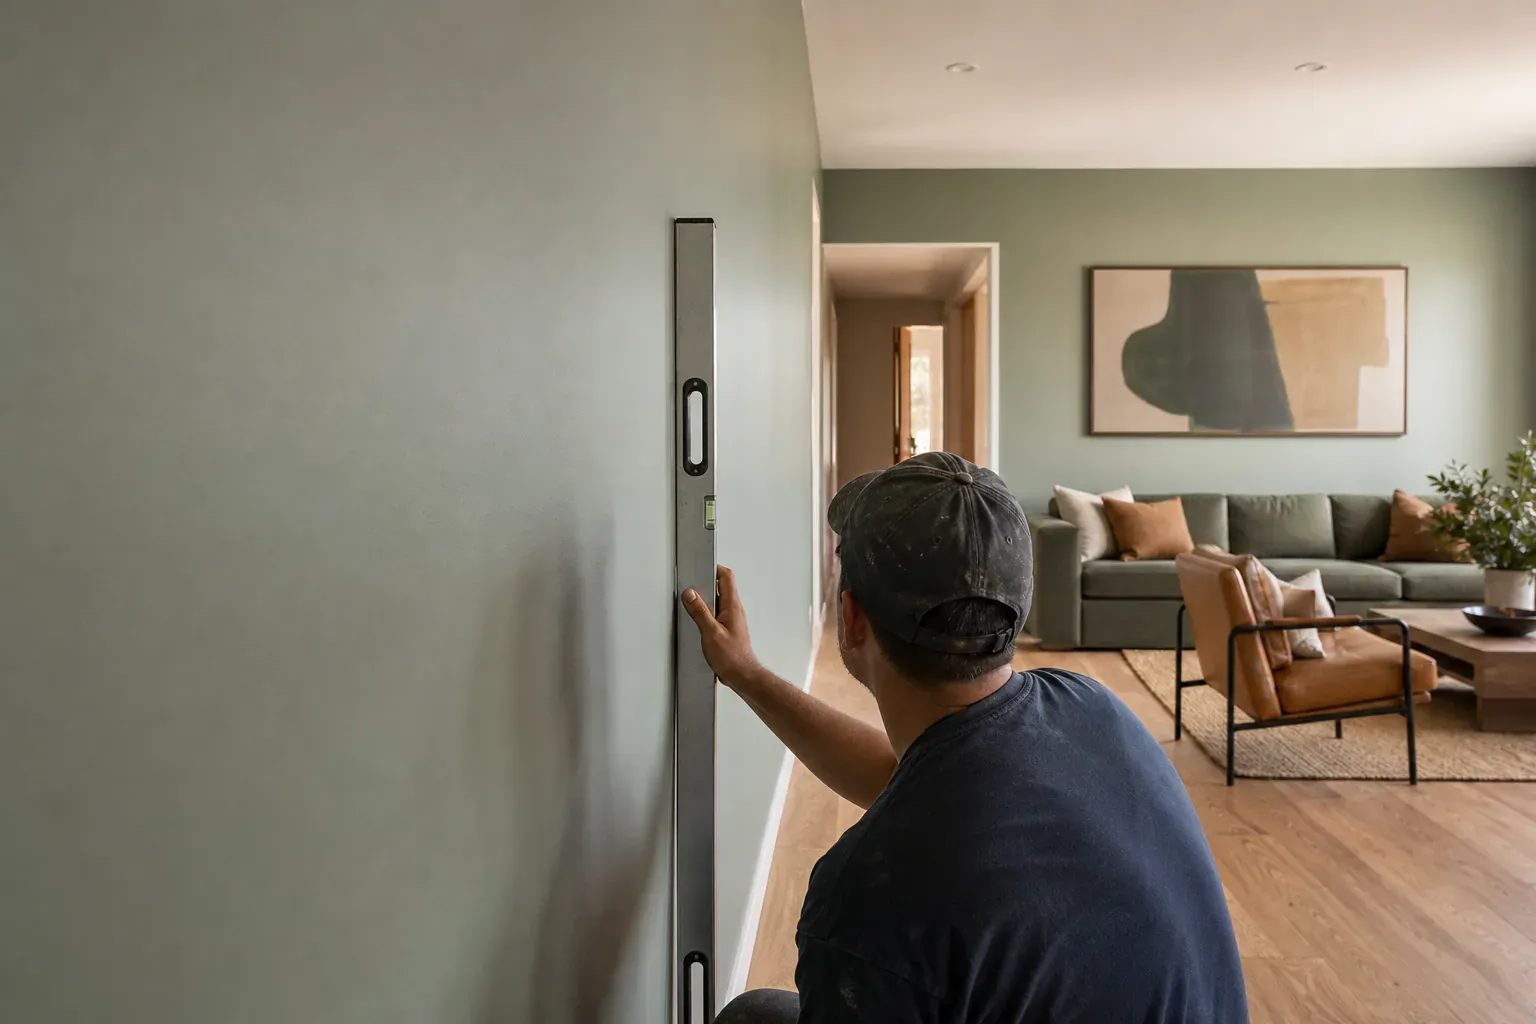
Cost depends on scope, access, and finish level more than square footage alone.
Materials for drywall are a small part of the bill; joint compound, tape, screws, and a sheet of board cost little compared to labor. Labor covers cutting out damaged material, drywall dust cleanup, framing repair if needed, multiple coats of mud with drying time between each, texture matching, and priming. A small patch with simple texture costs far less than a ceiling section requiring popcorn removal, backing installation, and full-room texture matching. Access matters too: a patch behind a water heater or in a tight attic crawl space takes longer than the same size patch on an open wall.
Homeowner's insurance often covers water damage drywall repair when the cause is sudden, like a burst pipe, but typically excludes damage from long-term leaks or lack of maintenance. We document the damage with photos before any demolition, note moisture meter readings, and keep the removed material available for the adjuster's inspection if requested. A written scope of repair, separate from a general handyman quote, tends to move claims along faster because it lines up with how adjusters categorize drywall replacement versus repair.
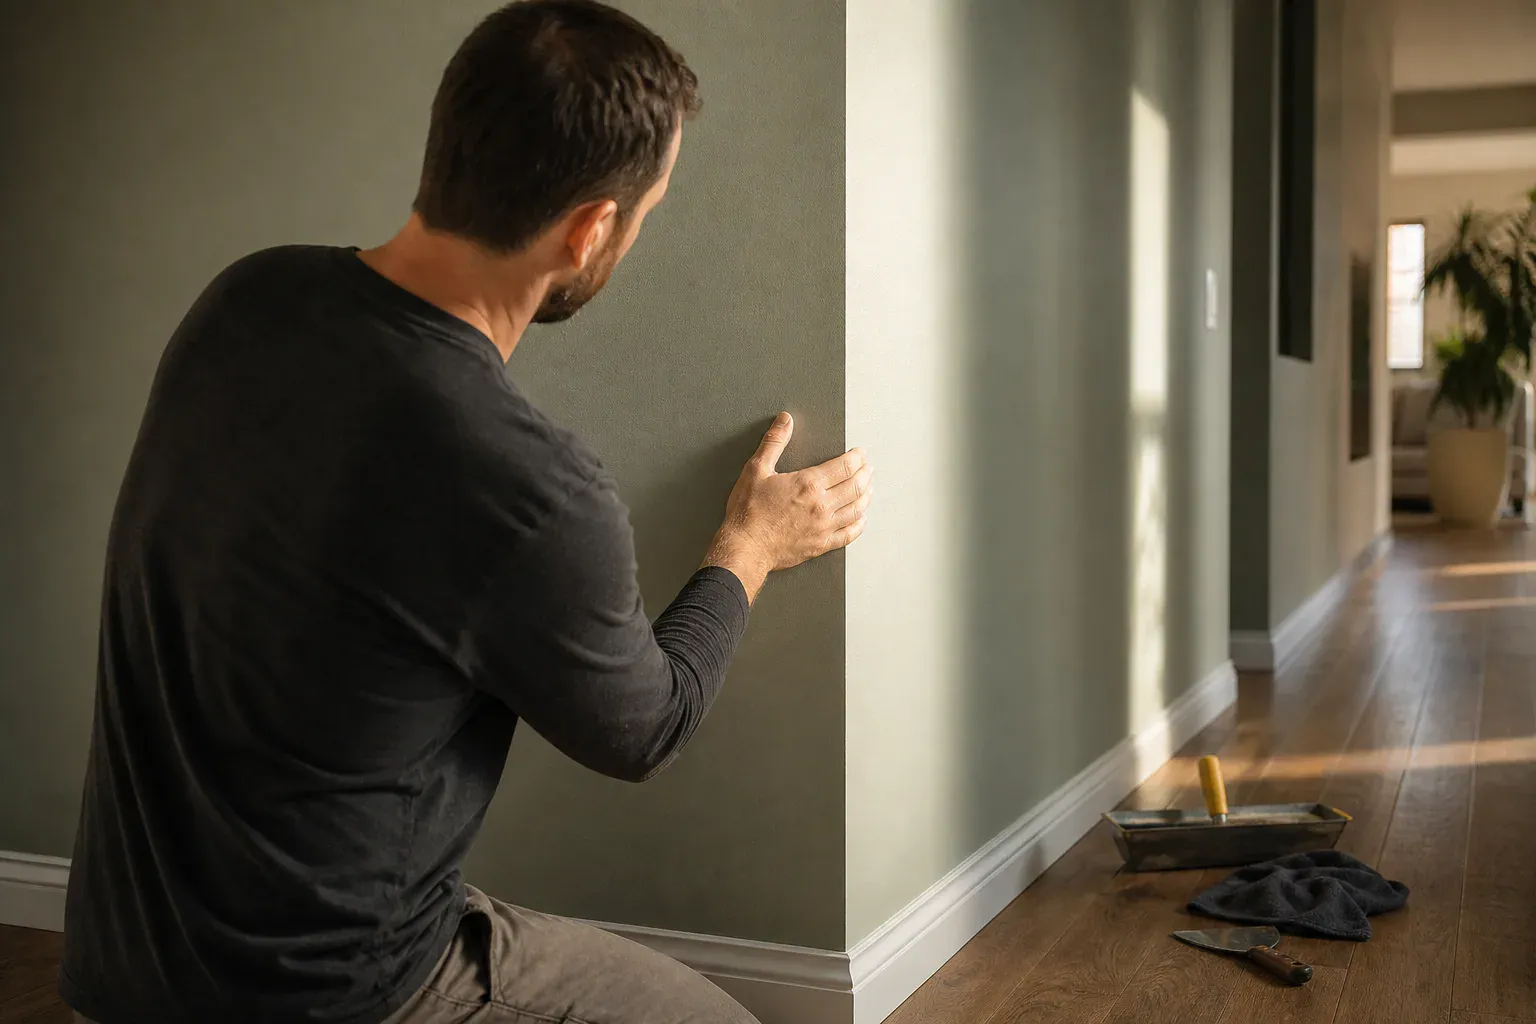
Before we hand a job back, we recheck the framing and new drywall with a moisture meter to confirm readings have settled at a stable dry baseline, not just dry to the touch. We inspect finished seams under raking light for flashing or texture mismatch, confirm primer has fully sealed any old staining, and check that the original water source, whether a plumbing leak, roof issue, or ventilation gap, has been resolved before painting goes on. Painting over drywall that still reads damp on a moisture meter traps moisture and guarantees a repeat failure.
Press on the wet area with a gloved hand or the flat of a putty knife. If it flexes, bulges, or feels soft and spongy, the gypsum core has absorbed water and failed structurally.
Wet gypsum board becomes a mold substrate within 24 to 48 hours in the right humidity and temperature range, and Glendale's humid spring stretches give mold exactly that window.
If the wet area is limited, the core is firm outside a defined boundary, and there's no mold or odor, a patch is the right call.
When damage runs floor to ceiling, spans multiple studs, or the core has failed across a wide area, full panel replacement is faster and holds up better than feathering a patch across that…
Ceiling drywall repair carries more risk of sagging because gravity works against a wet, weakened panel in a way it doesn't on a wall.
Many homes in Glendale's older hillside blocks still have original popcorn texture, and water staining on these ceilings usually means removing the popcorn in the affected area rather than…
Why homeowners call us
Every drywall job is scoped and priced in writing, so the number you approve is the number you pay. If something behind the wall changes the work, we stop and price it first.
You speak to the people doing the work, not a call centre, and cover certificates go to your building manager or general contractor on request.
Containment, floor protection and same-day debris removal on every interior job — the space stays usable while the work is going on.
Crews work Glendale and the surrounding cities every week, so a walkthrough is usually available within the same week you call.
FAQ
It depends on how long the material was wet and whether there's airflow behind the wall. A short-duration leak with a dehumidifier running can dry in three to five days. A slow, hidden leak that soaked framing and insulation can take two to three weeks. We confirm readiness with a moisture meter rather than a fixed calendar date.
If the affected area is limited, the core still feels firm outside the stain, and there's no mold or odor, patching is usually sufficient. Full replacement makes more sense when damage spans multiple studs, the ceiling sagged, or mold has spread. We check moisture content and structural integrity before recommending either option.
Look for staining that trends upward or upstream of the visible damage, check plumbing walls, roof penetrations, and window flashing first, and look for blocked weep holes on exterior walls. In unclear cases we cut a small relief hole to check for standing water inside the cavity before opening the full wall.
Seal it first. Water stains contain tannins and minerals that bleed through standard latex paint even after the area is dry. A shellac-based or oil-based, alcohol-based primer blocks the stain from resurfacing. Skipping this step is the most common reason a "repaired" water stain reappears a few months after painting.
Wear a dust mask rated for mold spores, safety goggles, and gloves, and lay down a drop cloth to contain debris. Check for mold on the back of removed panels and on framing before proceeding. If mold covers a significant area or a musty smell persists, stop and bring in a remediation specialist before continuing demolition.
We test the spray pattern, knockdown level, or hand-trowel texture on a scrap board under the room's actual lighting before touching the real ceiling, since raking light exposes texture mismatches invisible on walls. For popcorn ceilings, we match density with a hopper gun, or offer to skim the whole ceiling smooth if the homeowner wants popcorn gone entirely.
Call (213) 555-0110 for a walkthrough, usually within the same week.